

ADP Workforce Now – How do I create a time-off request?
Updated 2 weeks ago
This guide provides a step-by-step walkthrough on how to create Time-Off requests in ADP using Bindbee Write APIs.
Step 1: Log in to your Bindbee account.
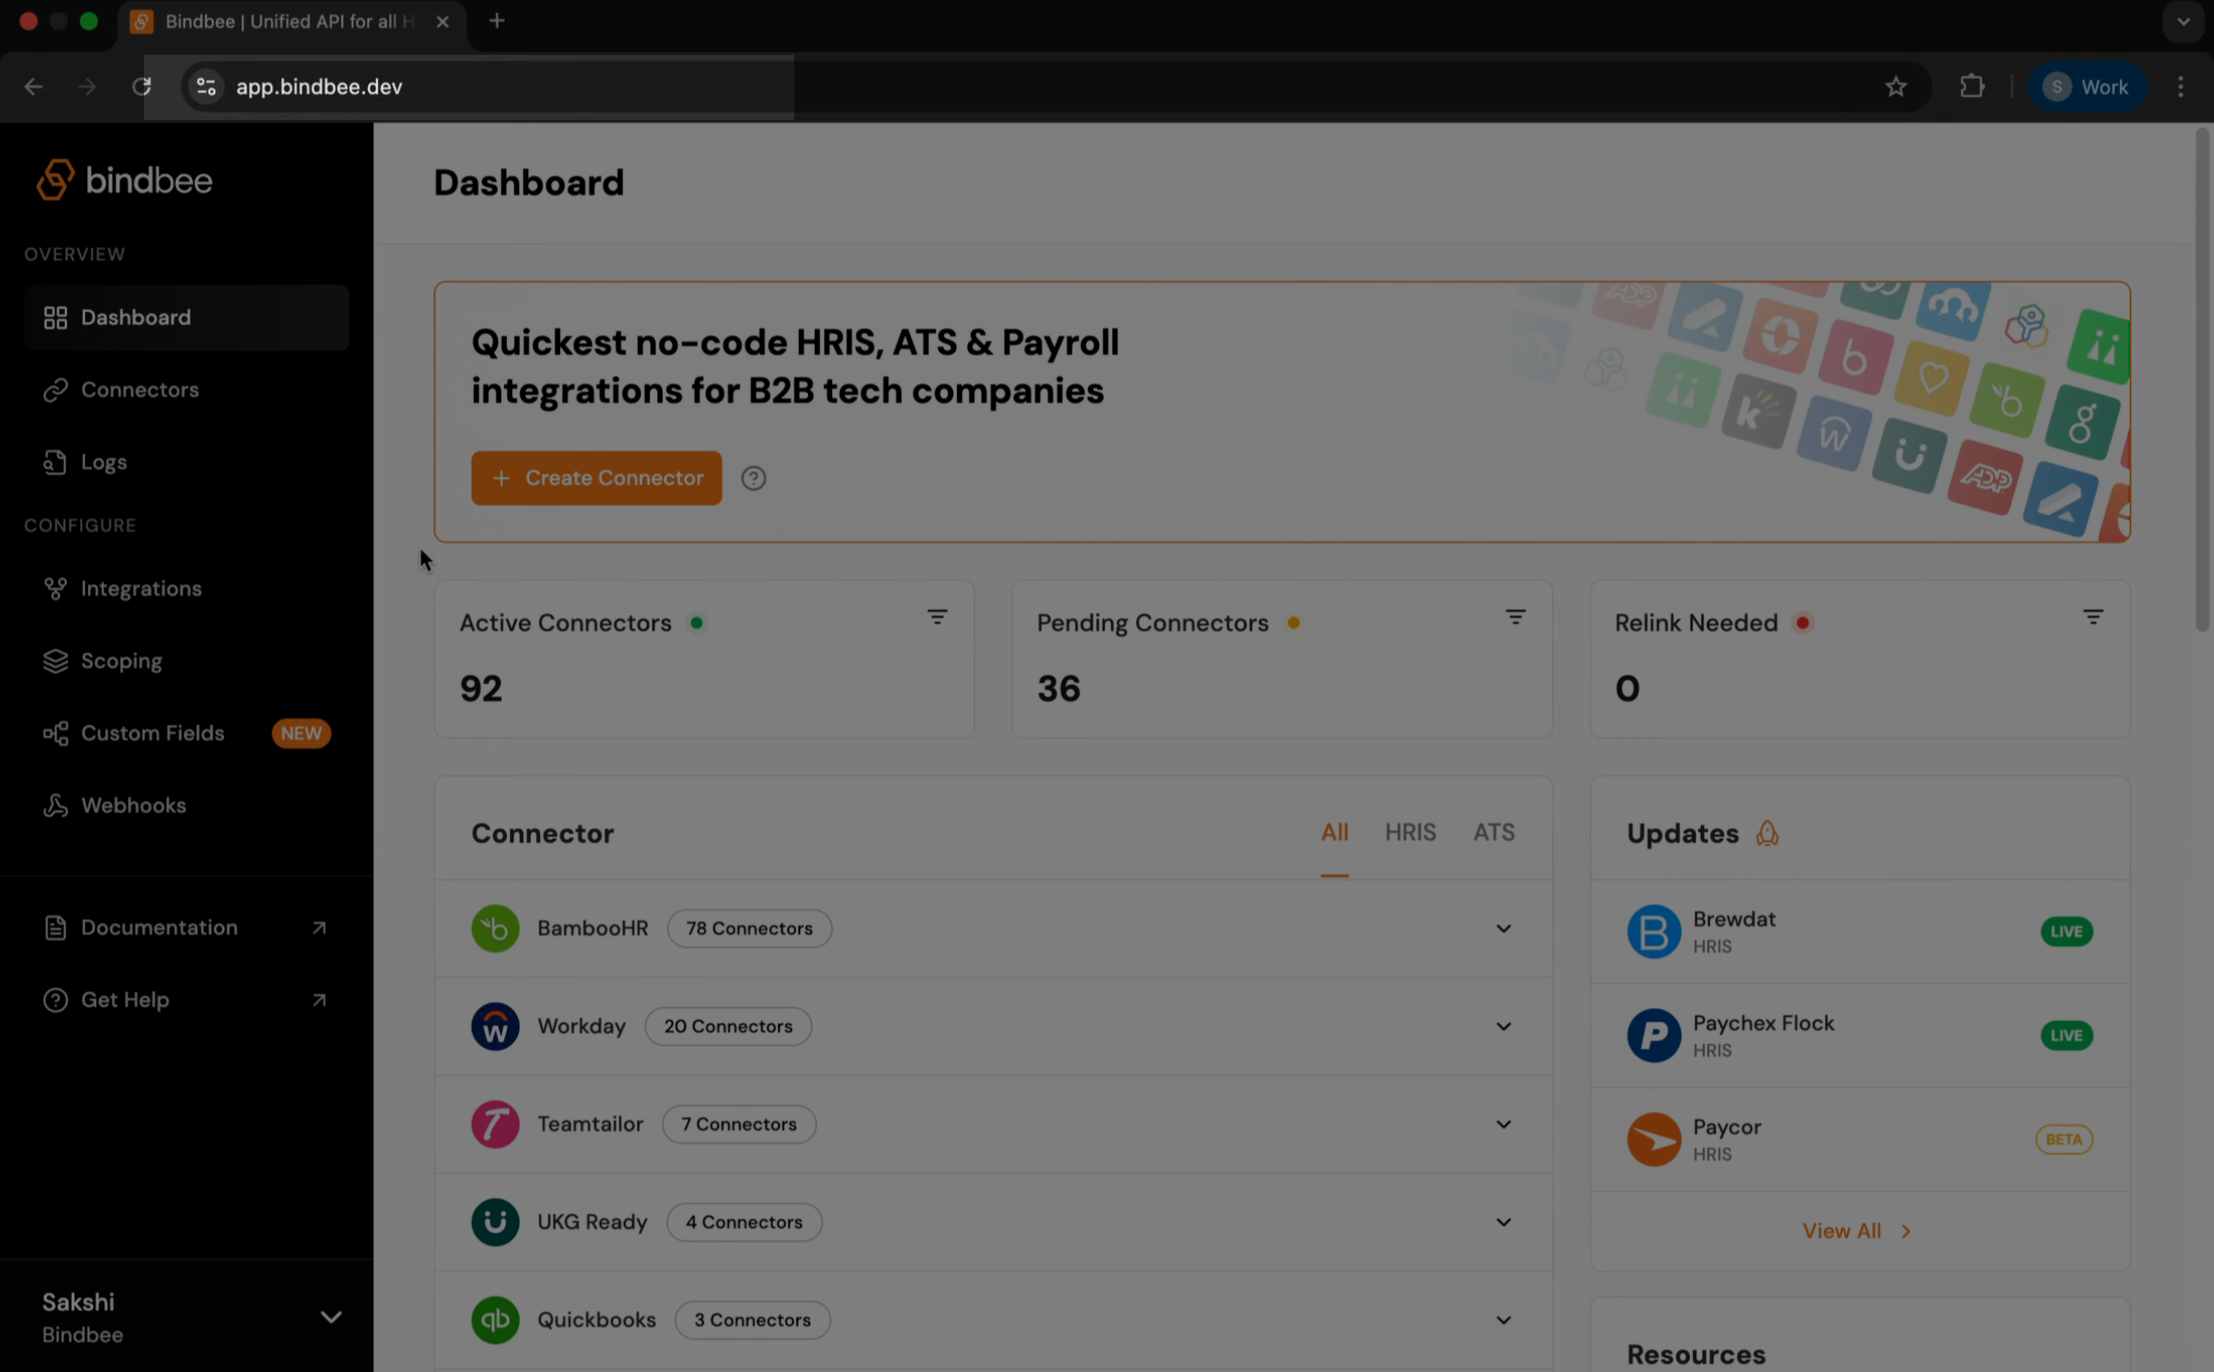
Step 2: Go to Connectors and locate the connector you want to use.
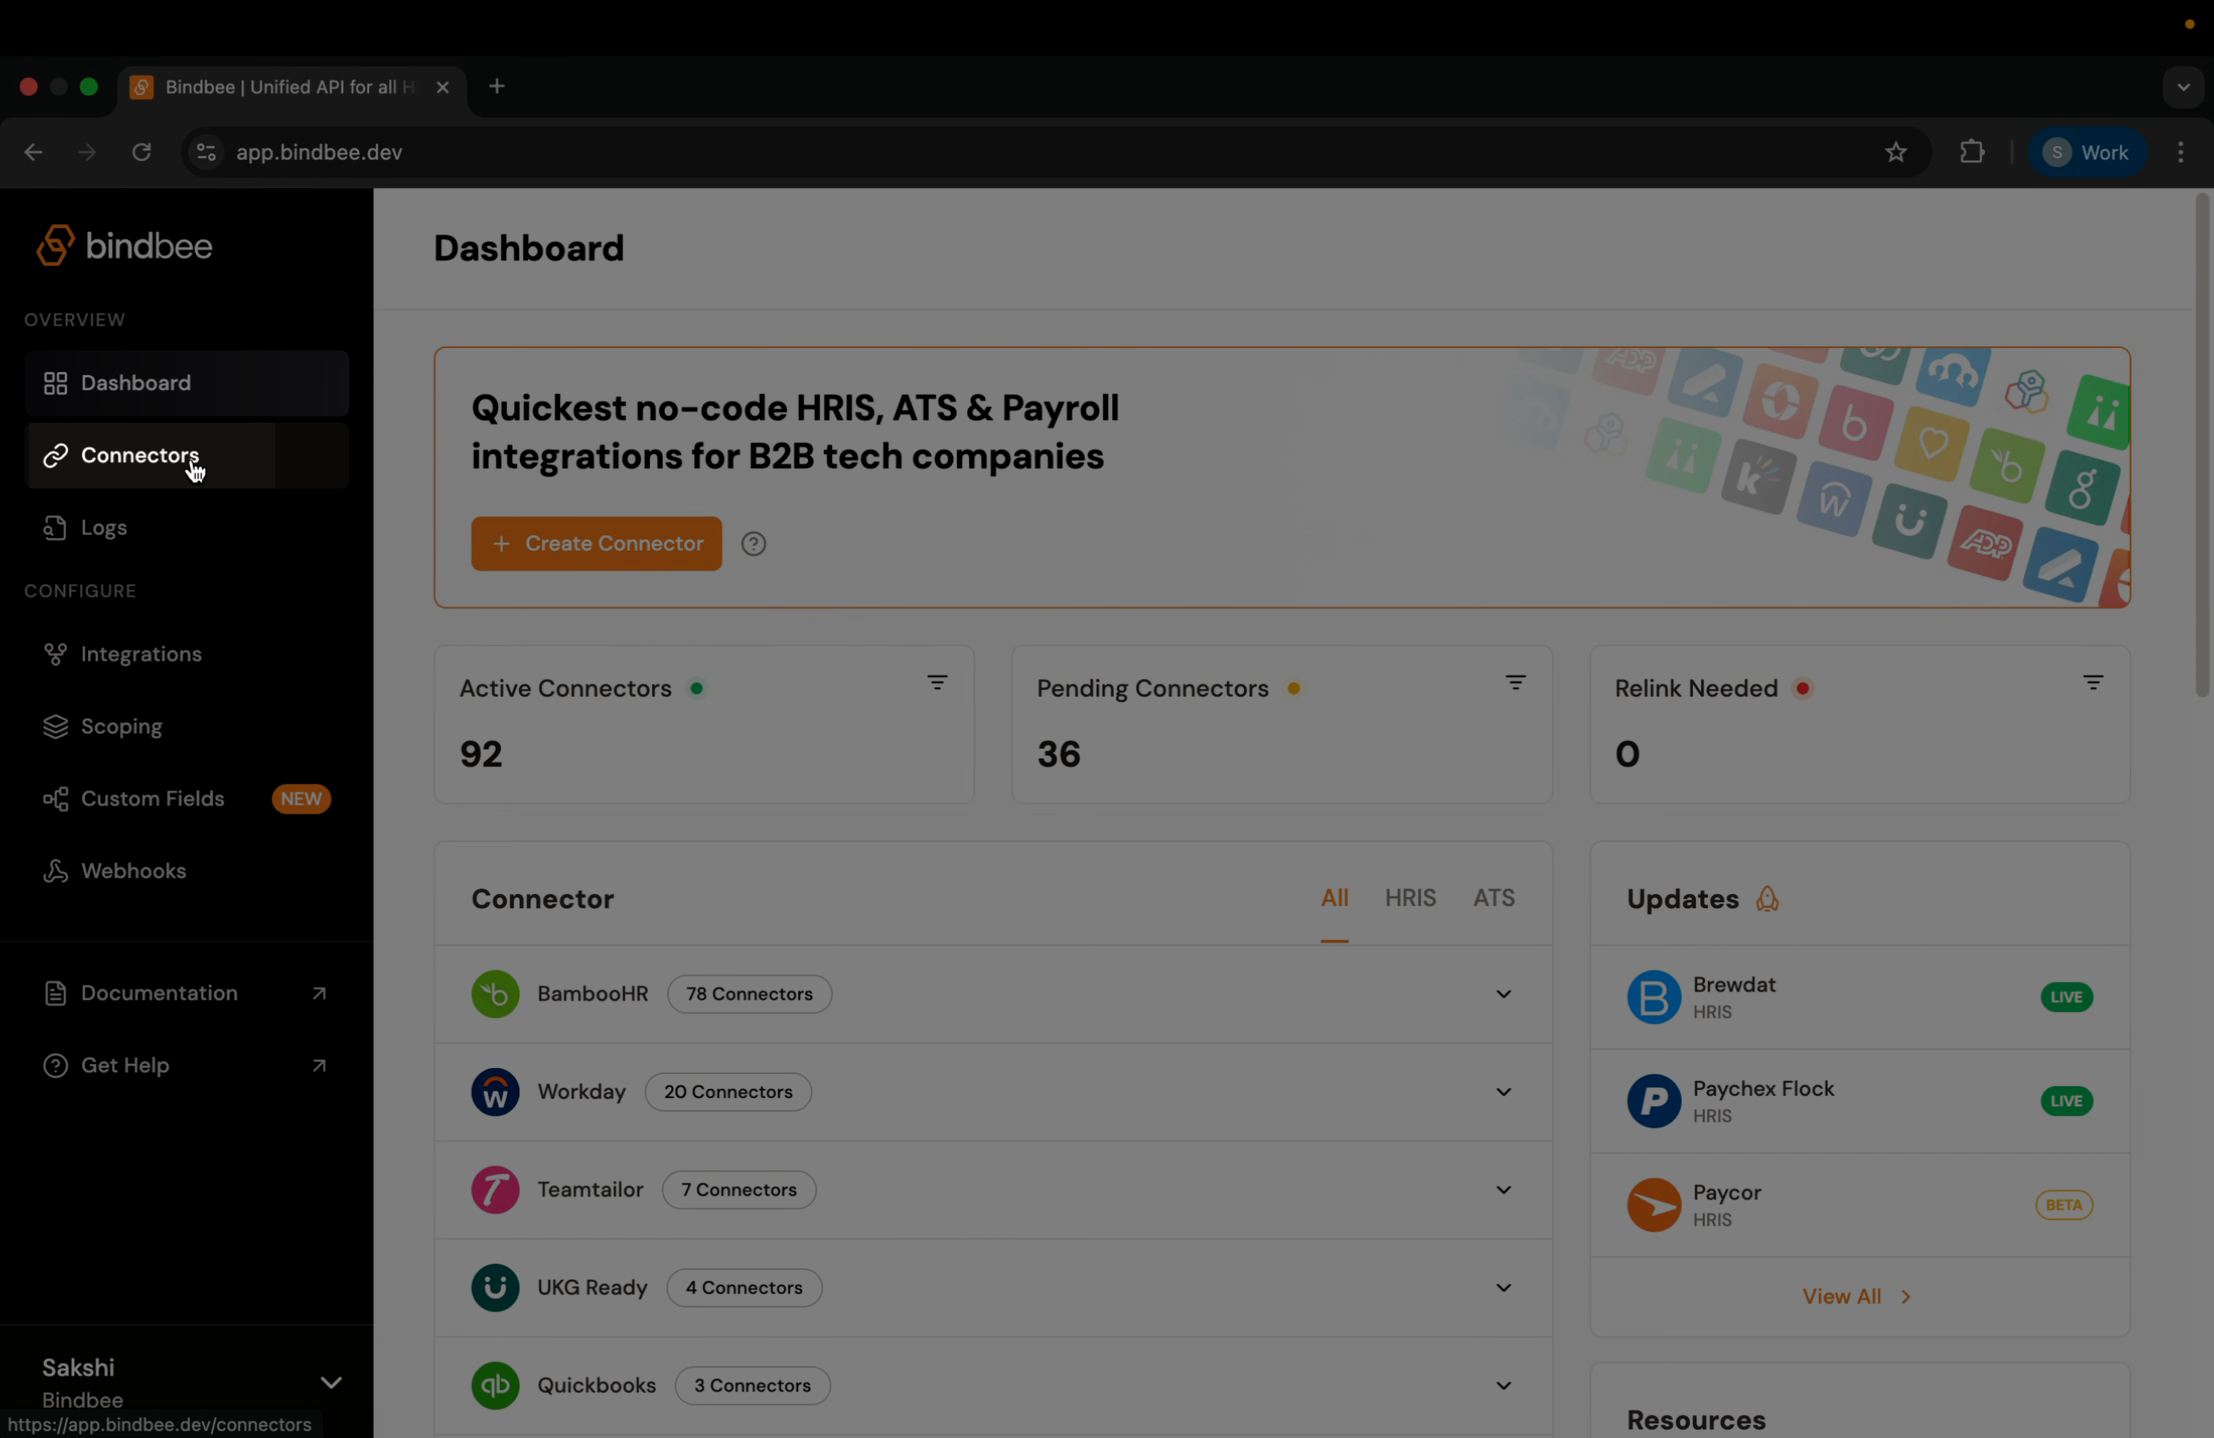
Step 3: Copy the Connector Token from the connector’s details.
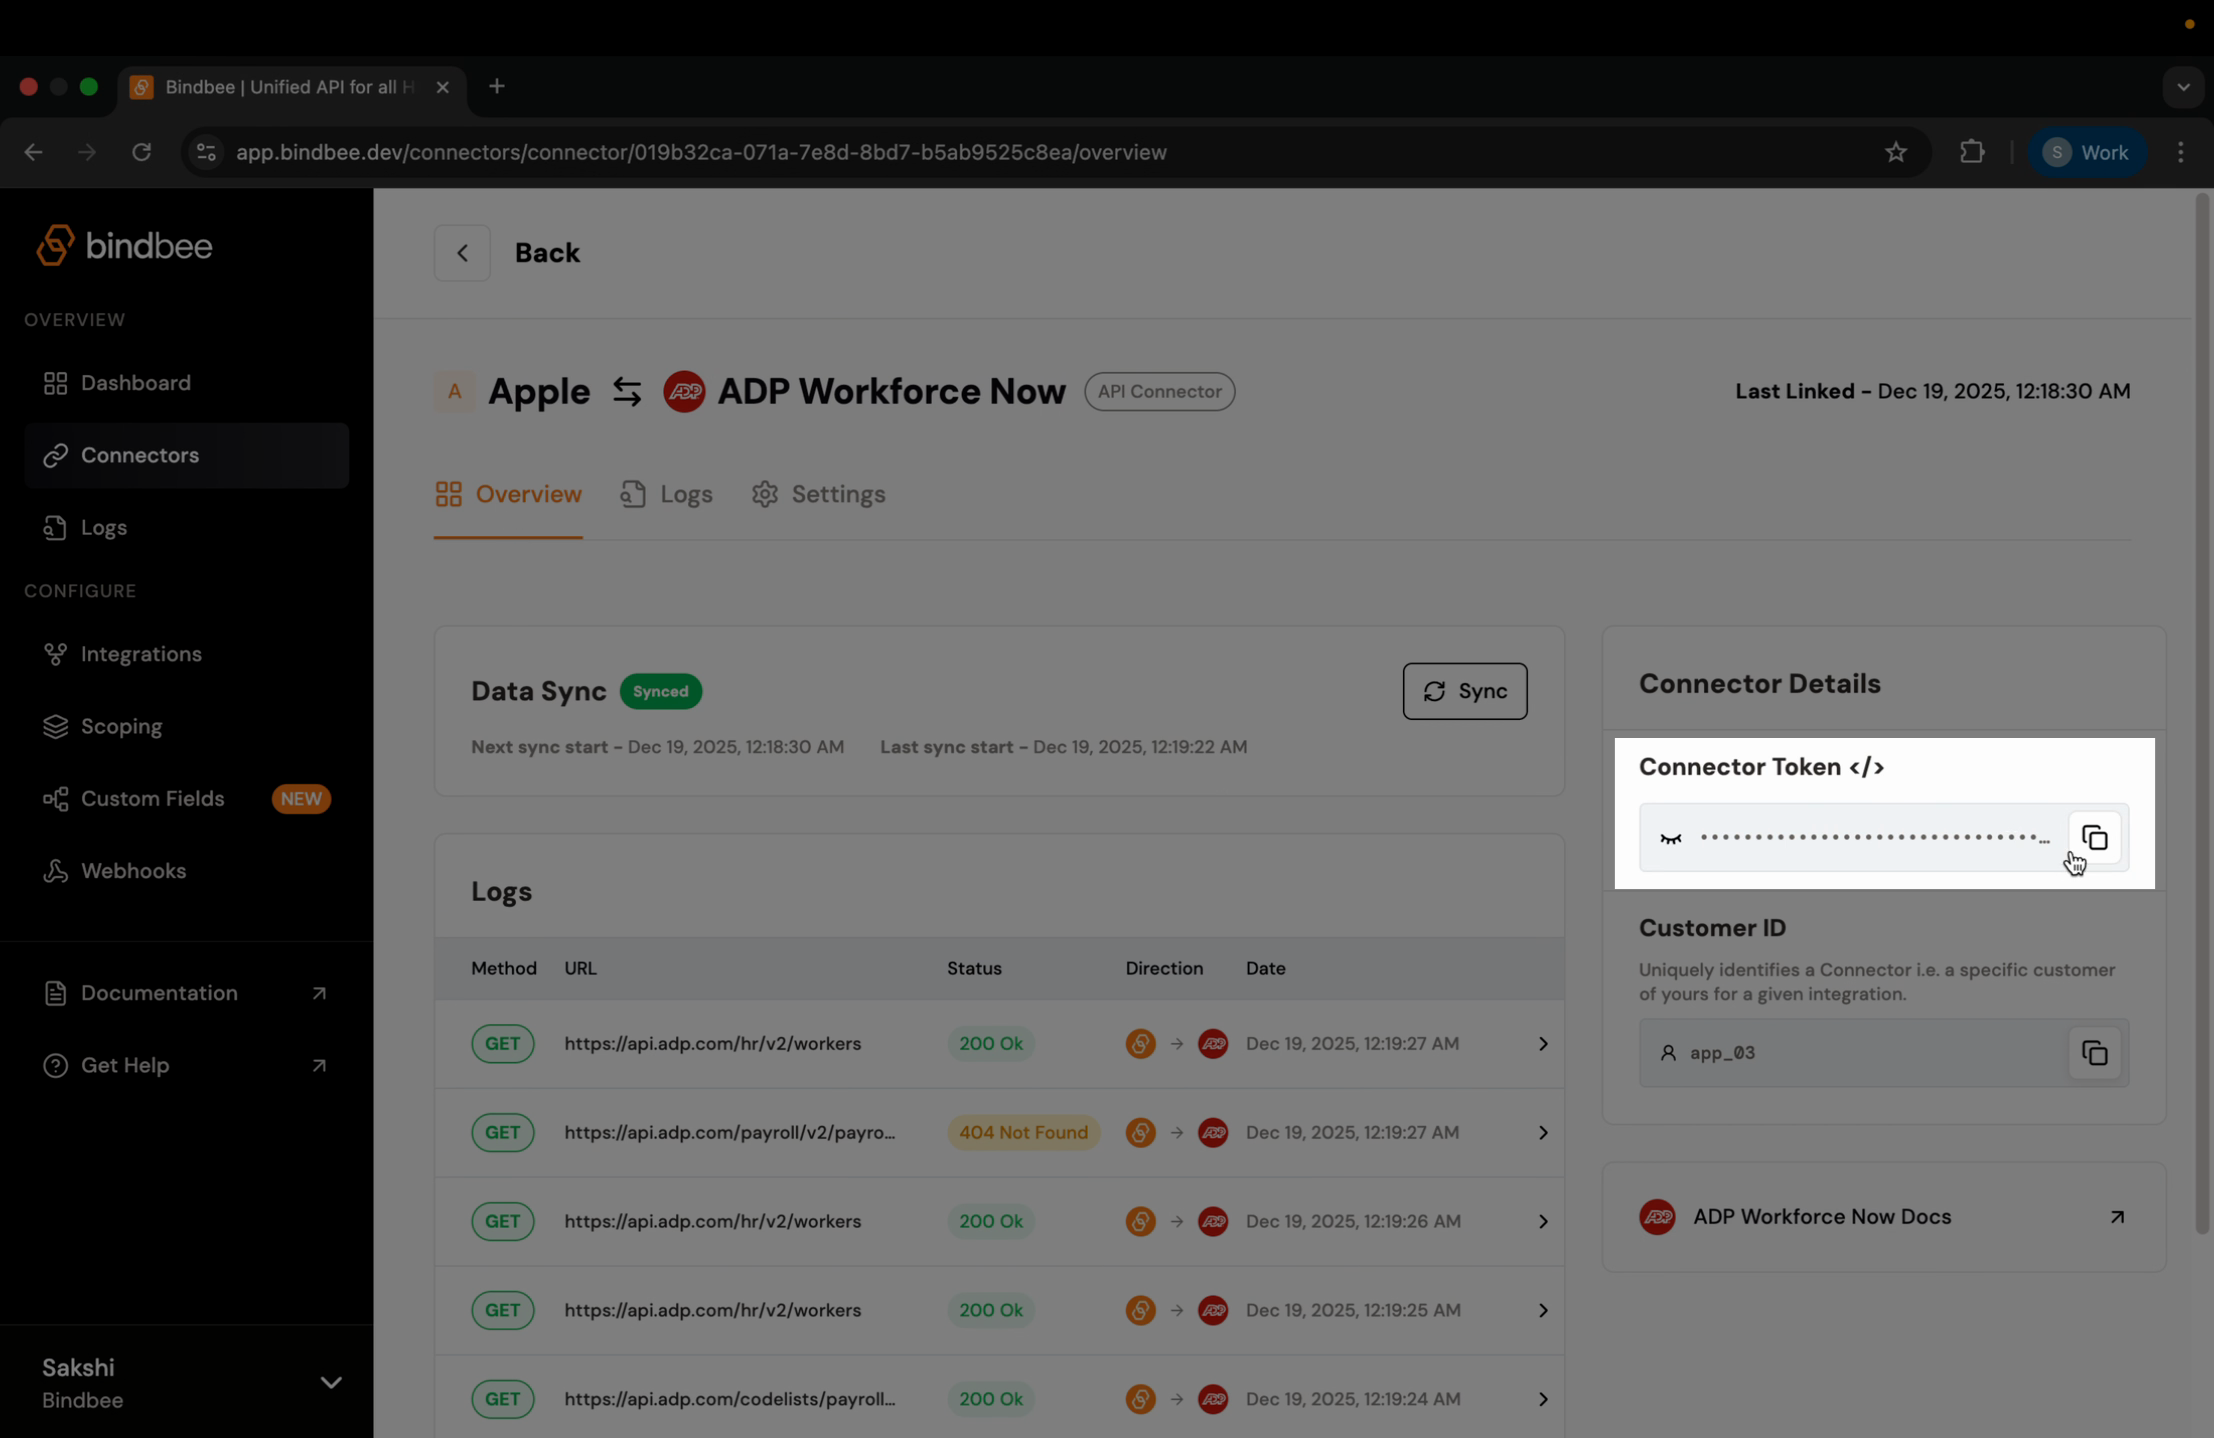
Step 4: Open the Bindbee documentation. Go to the HR, Payroll, and Directory section, then find the Time Off section and select Create Time Off.
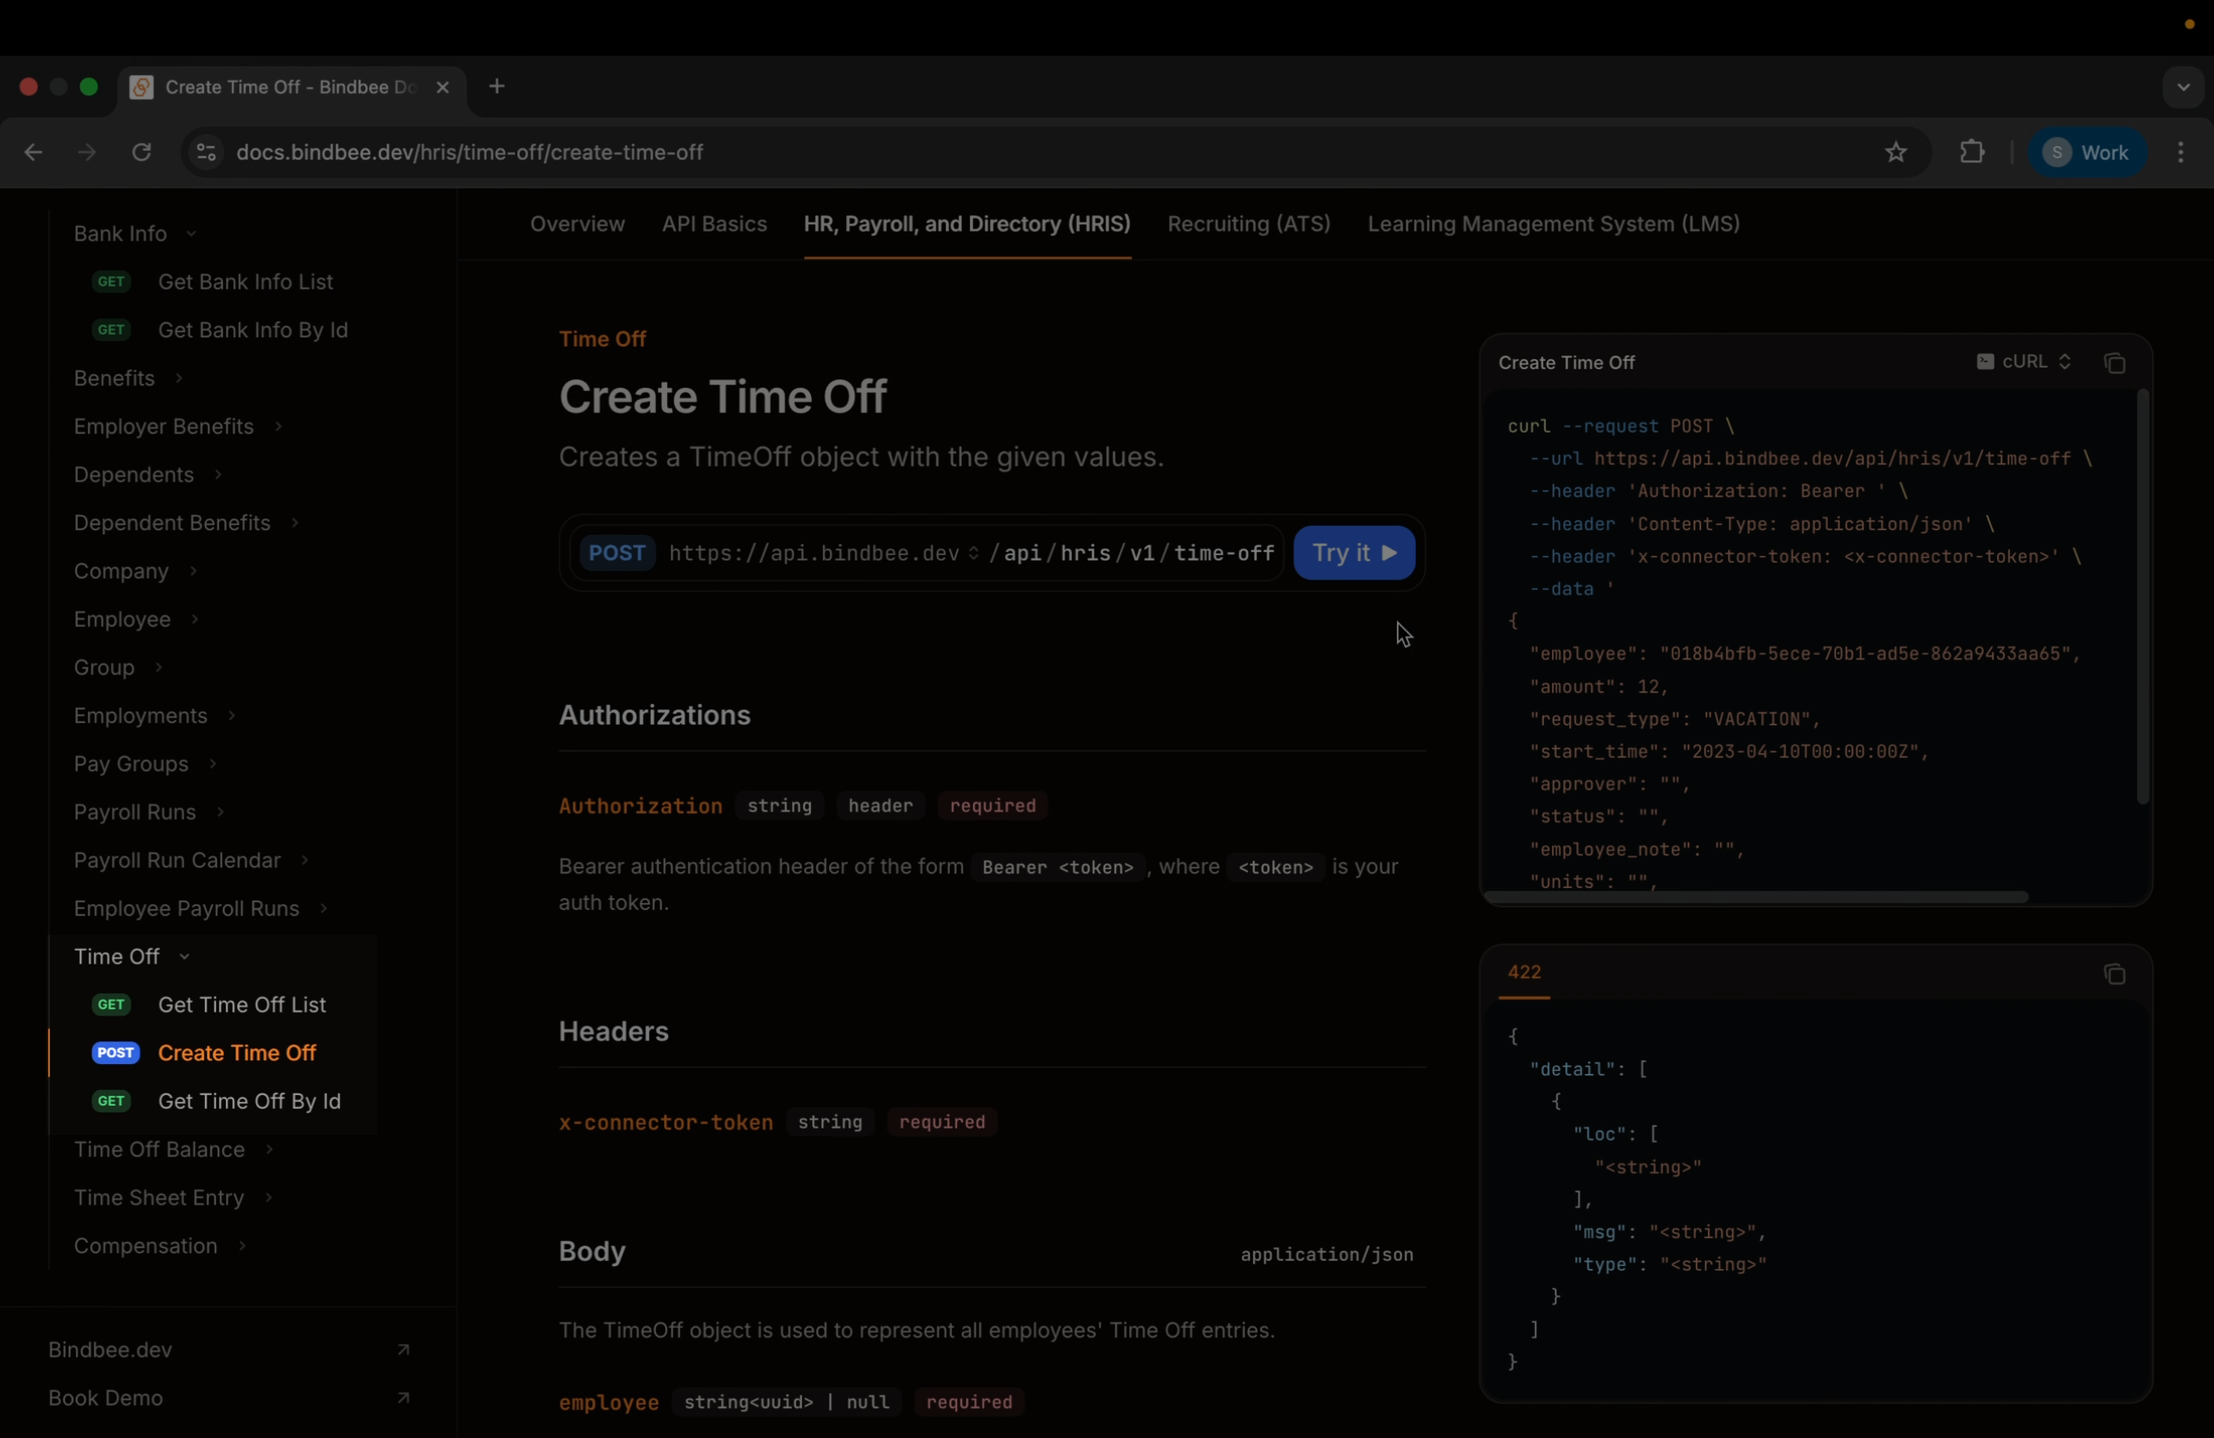
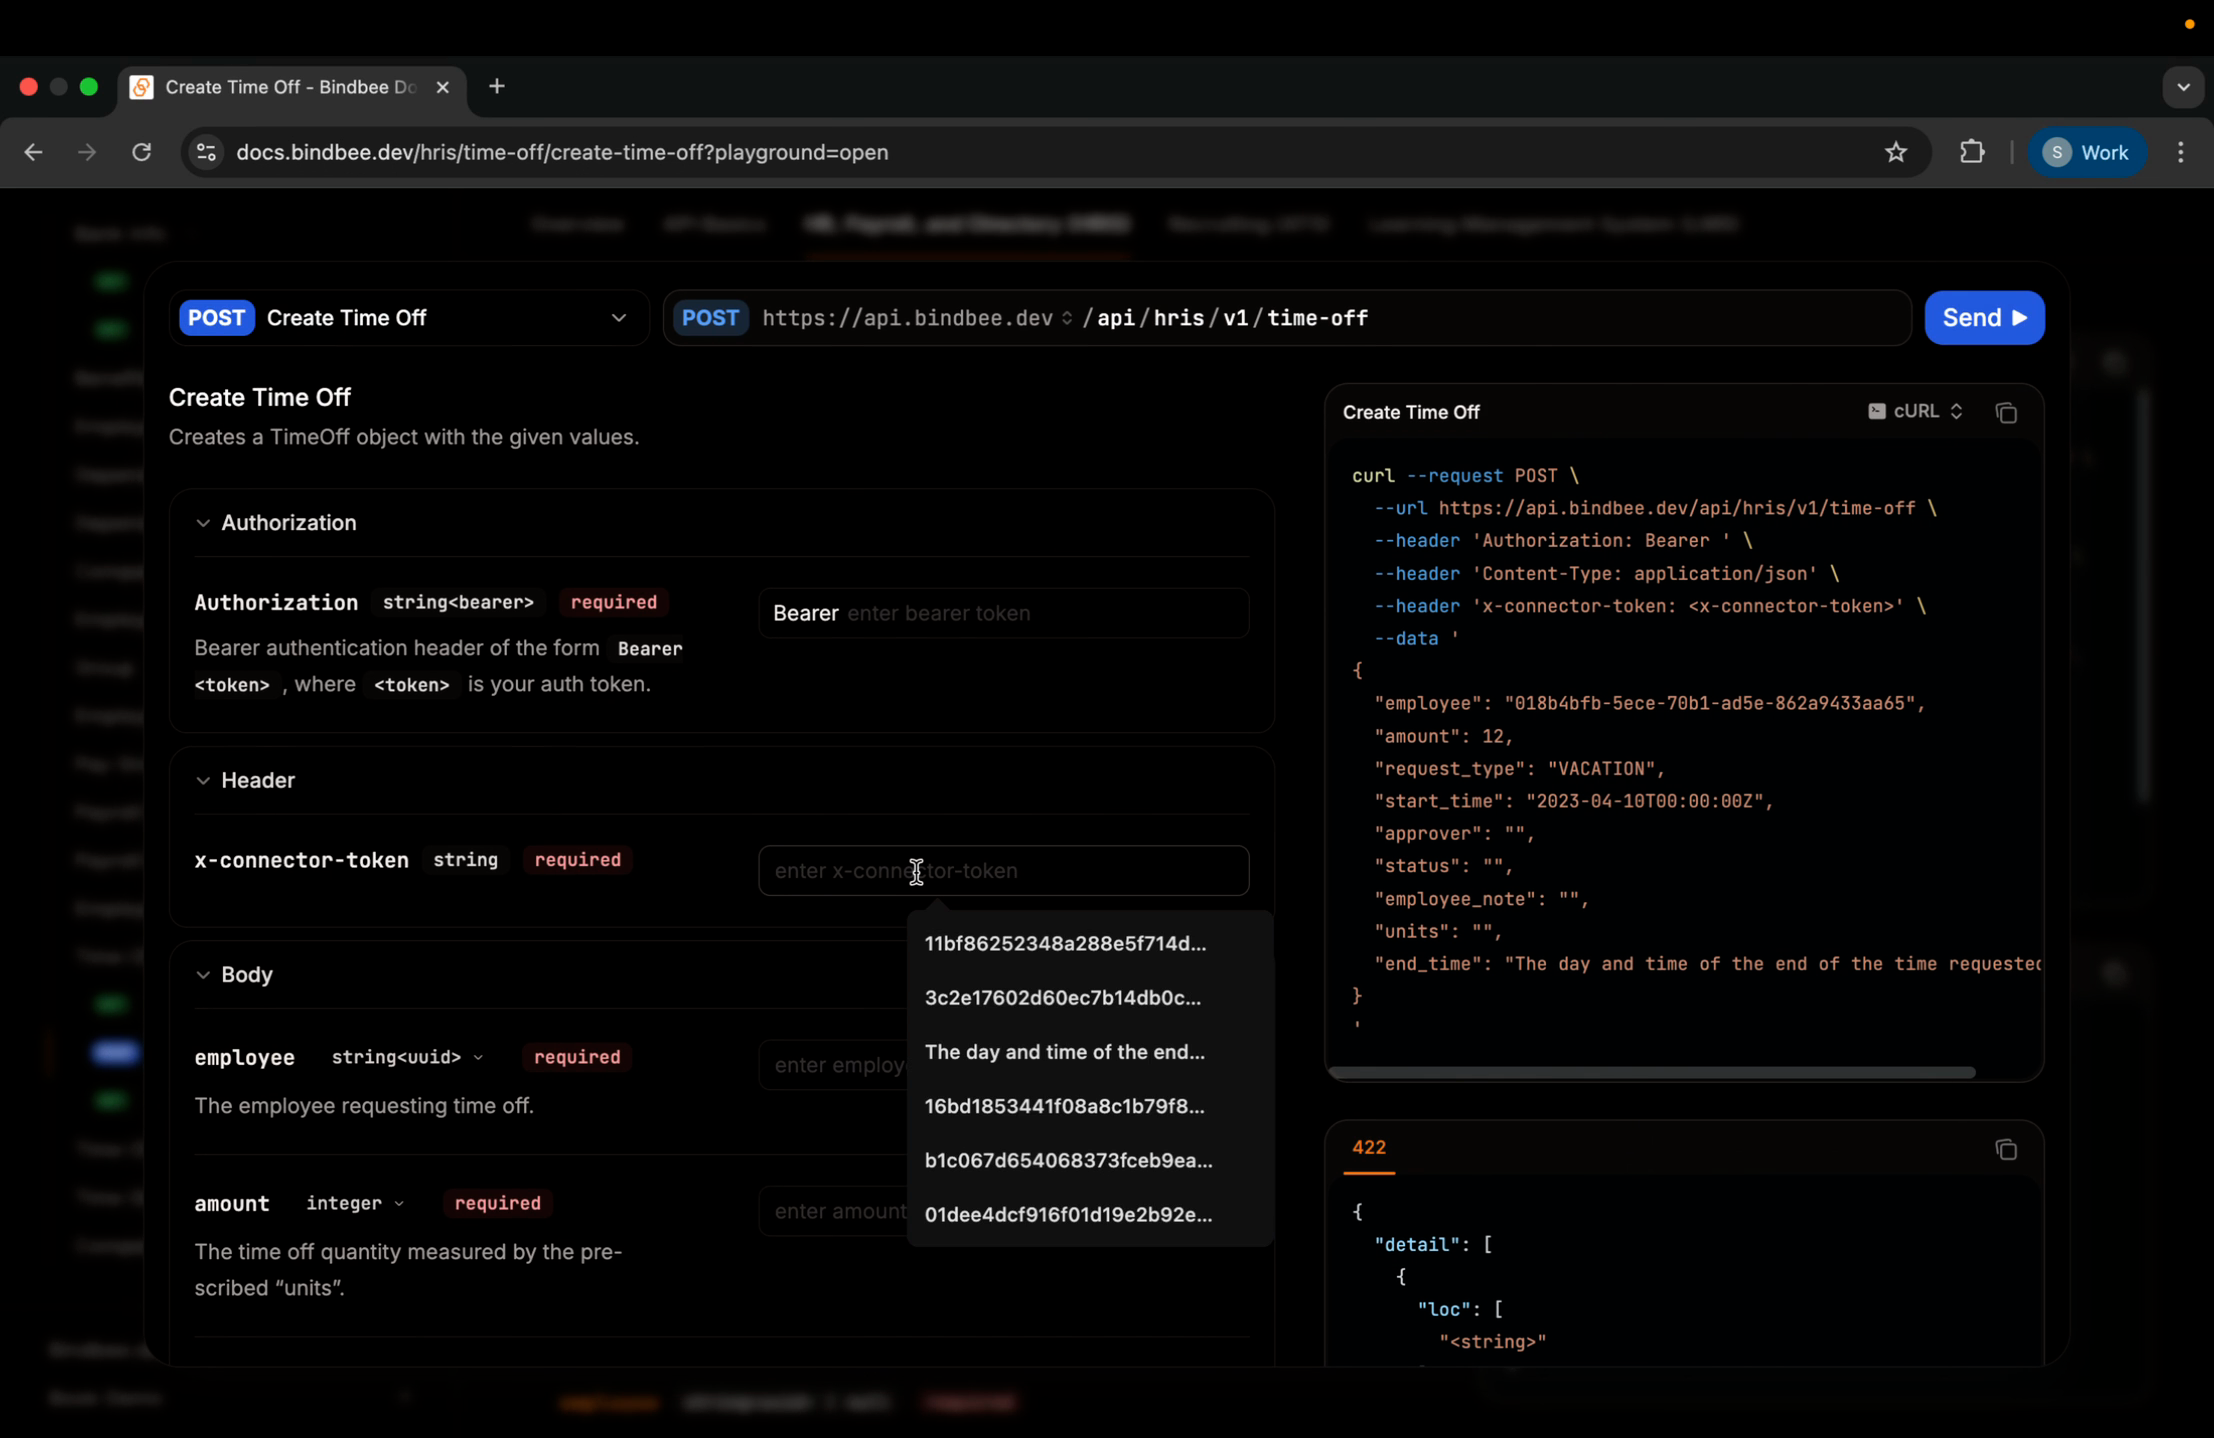
Step 5: Click Try This in the API documentation. Enter your Bearer Token and paste the connector token you copied earlier into the X-Connector-Token field.
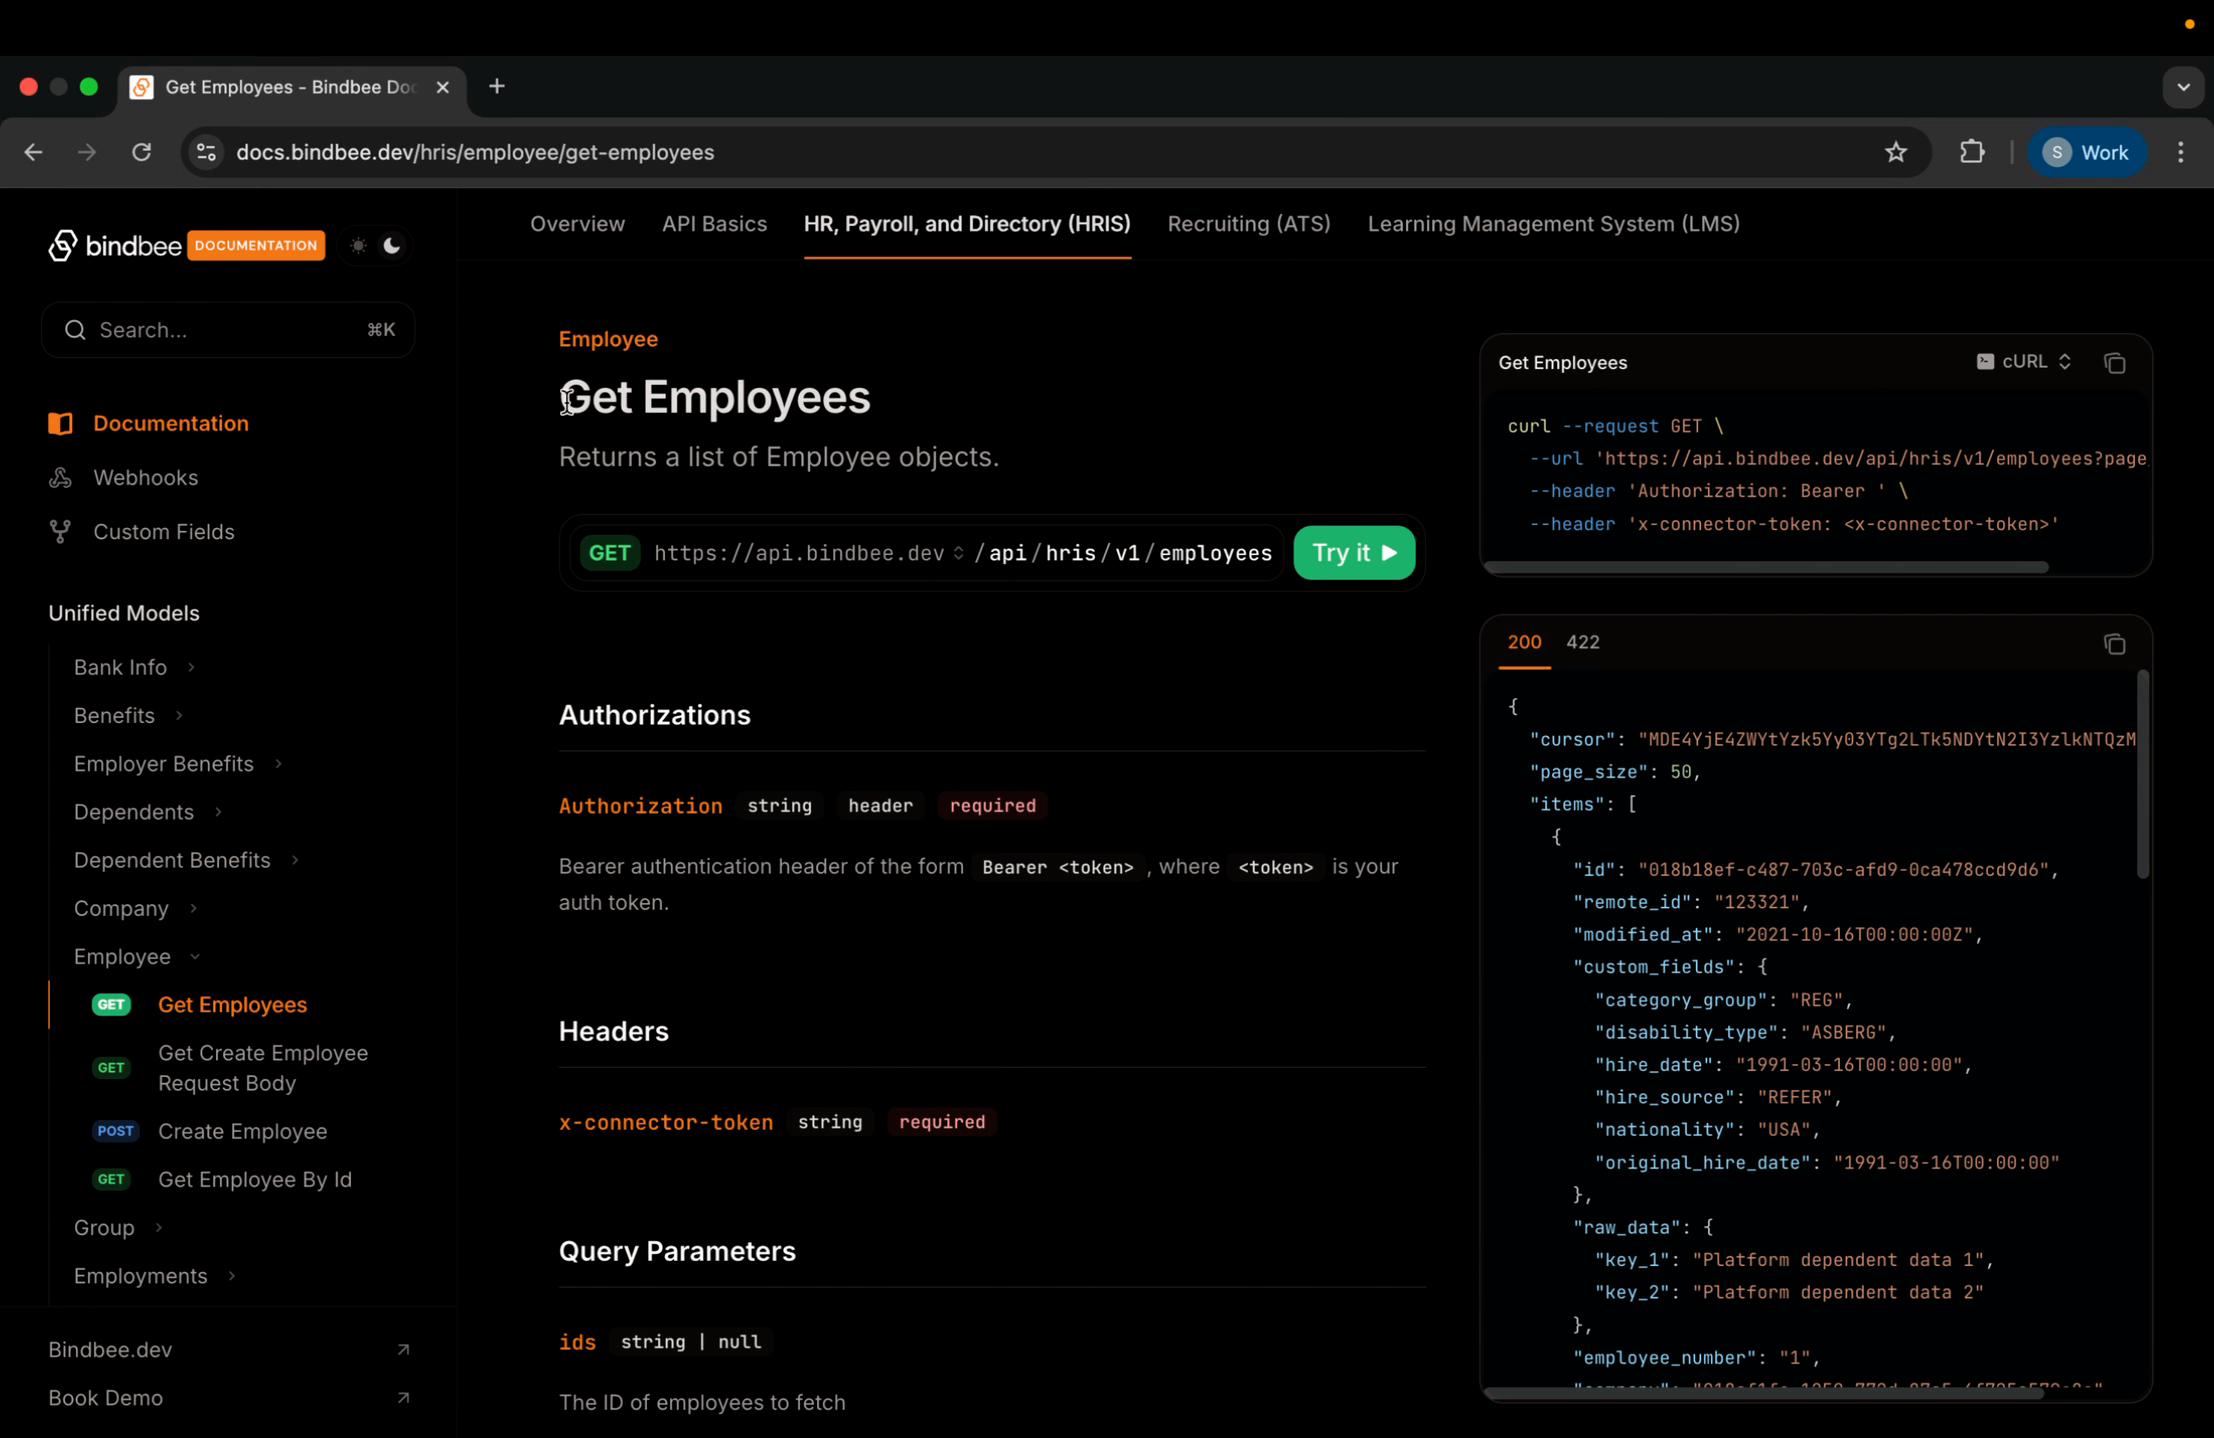
Step 6: To get the employee ID, open the Get Employees API and click Try It.
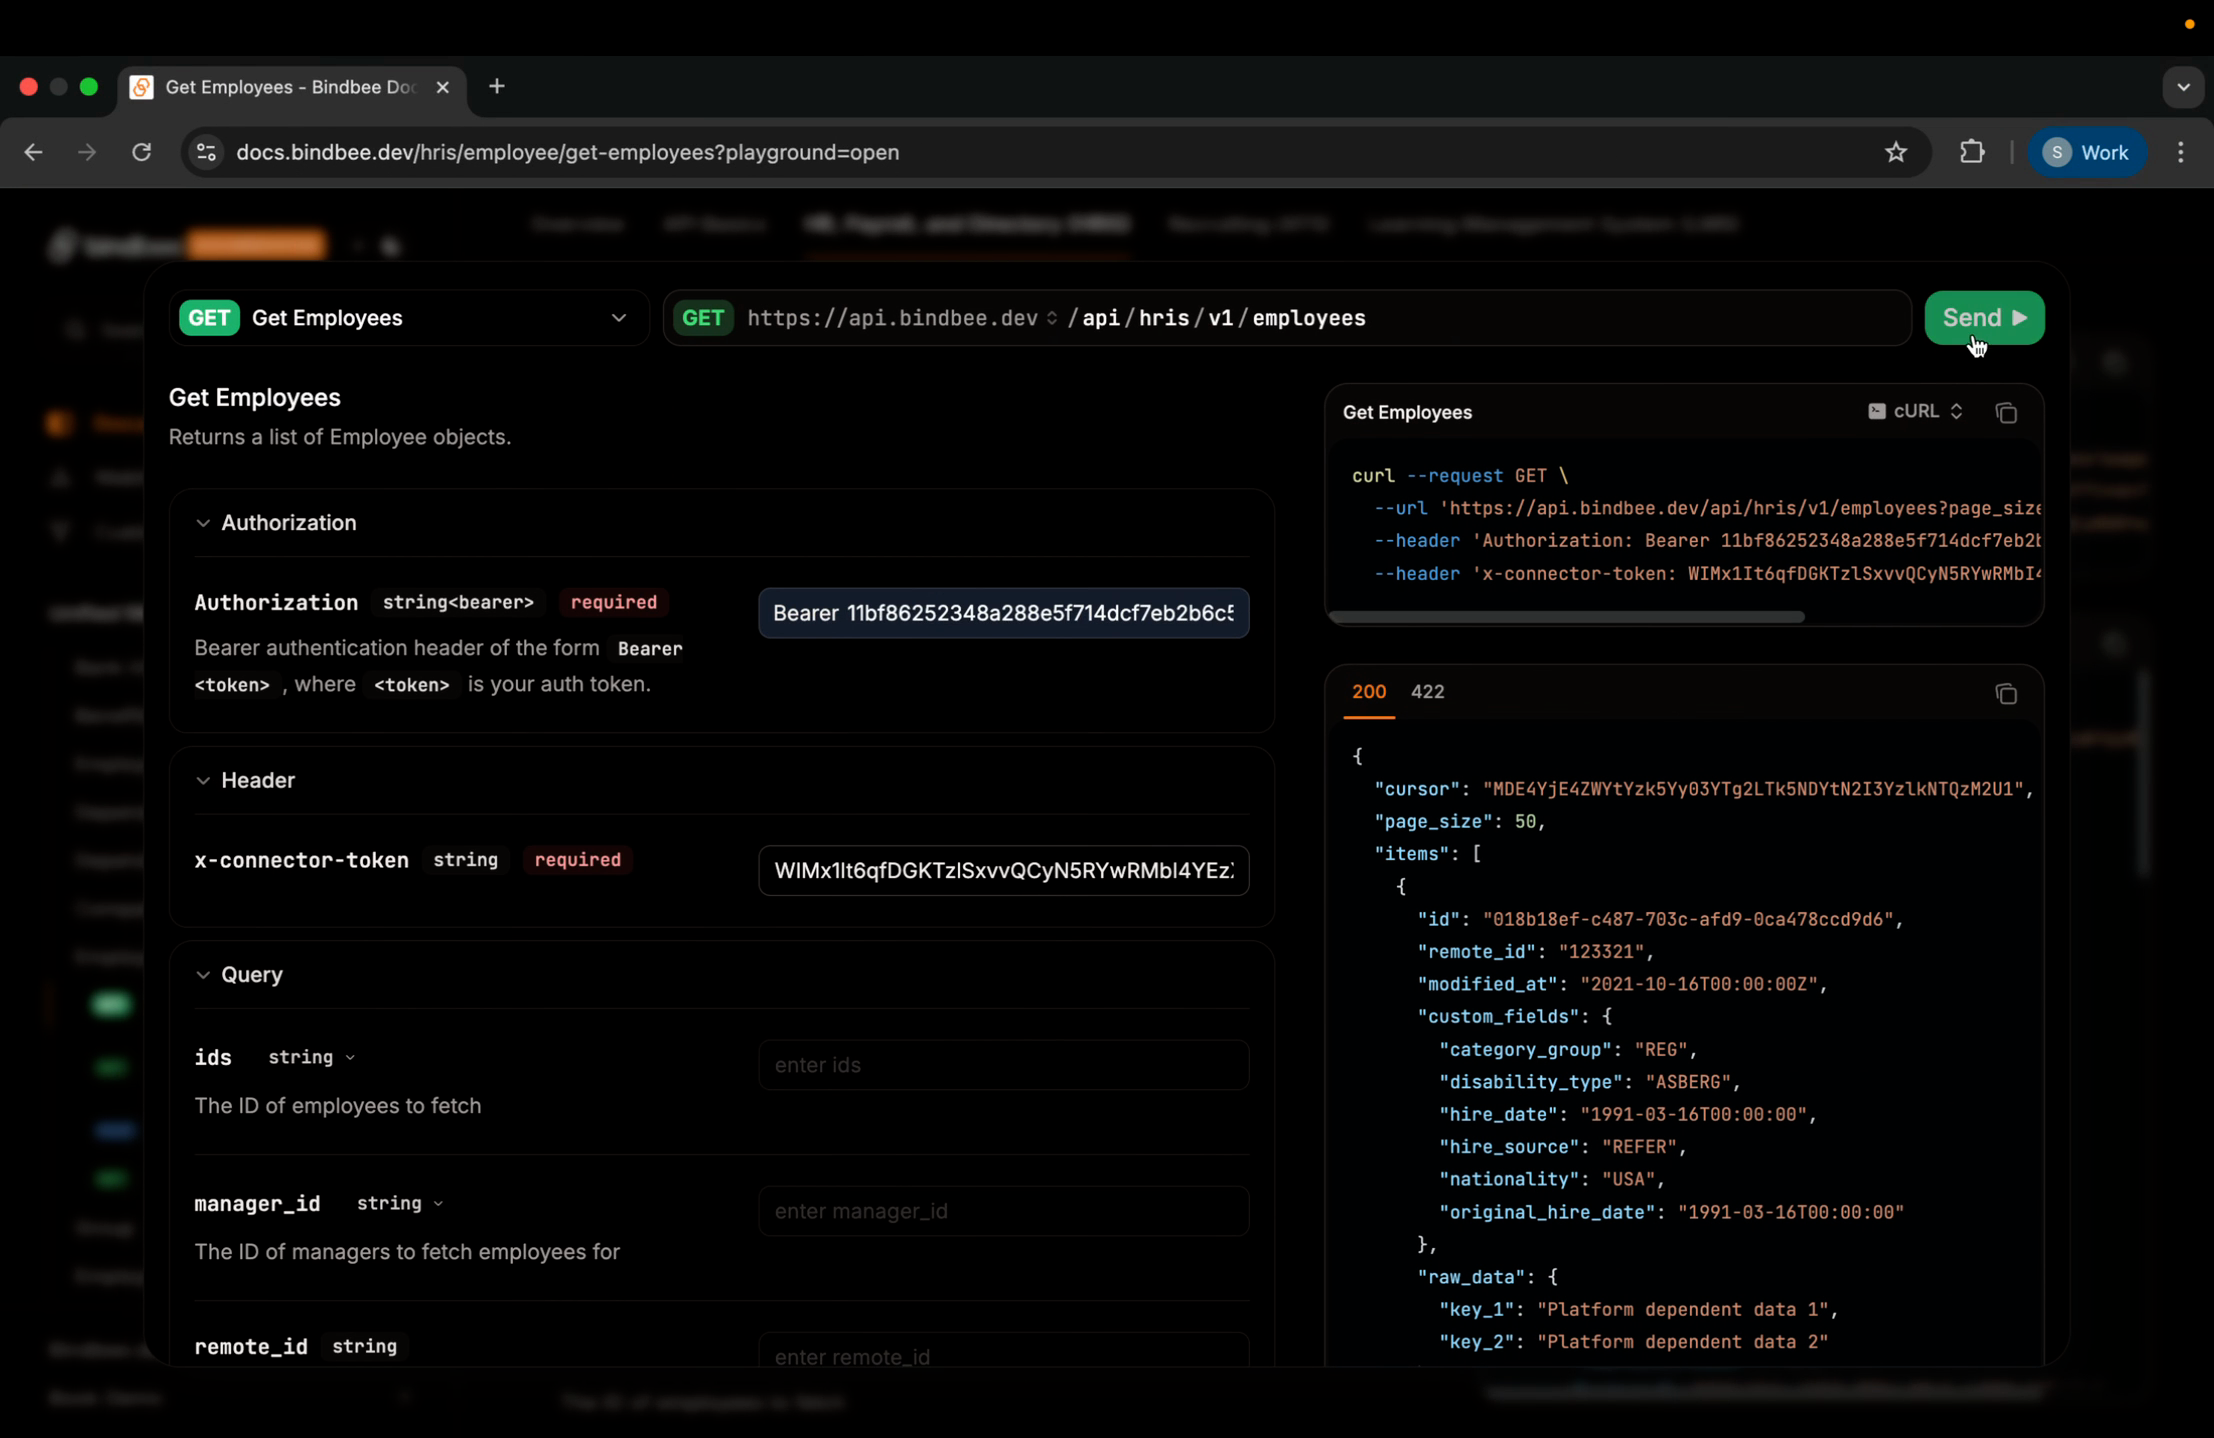
Step 7: Enter your Bearer Token and Connector Token and press Send.
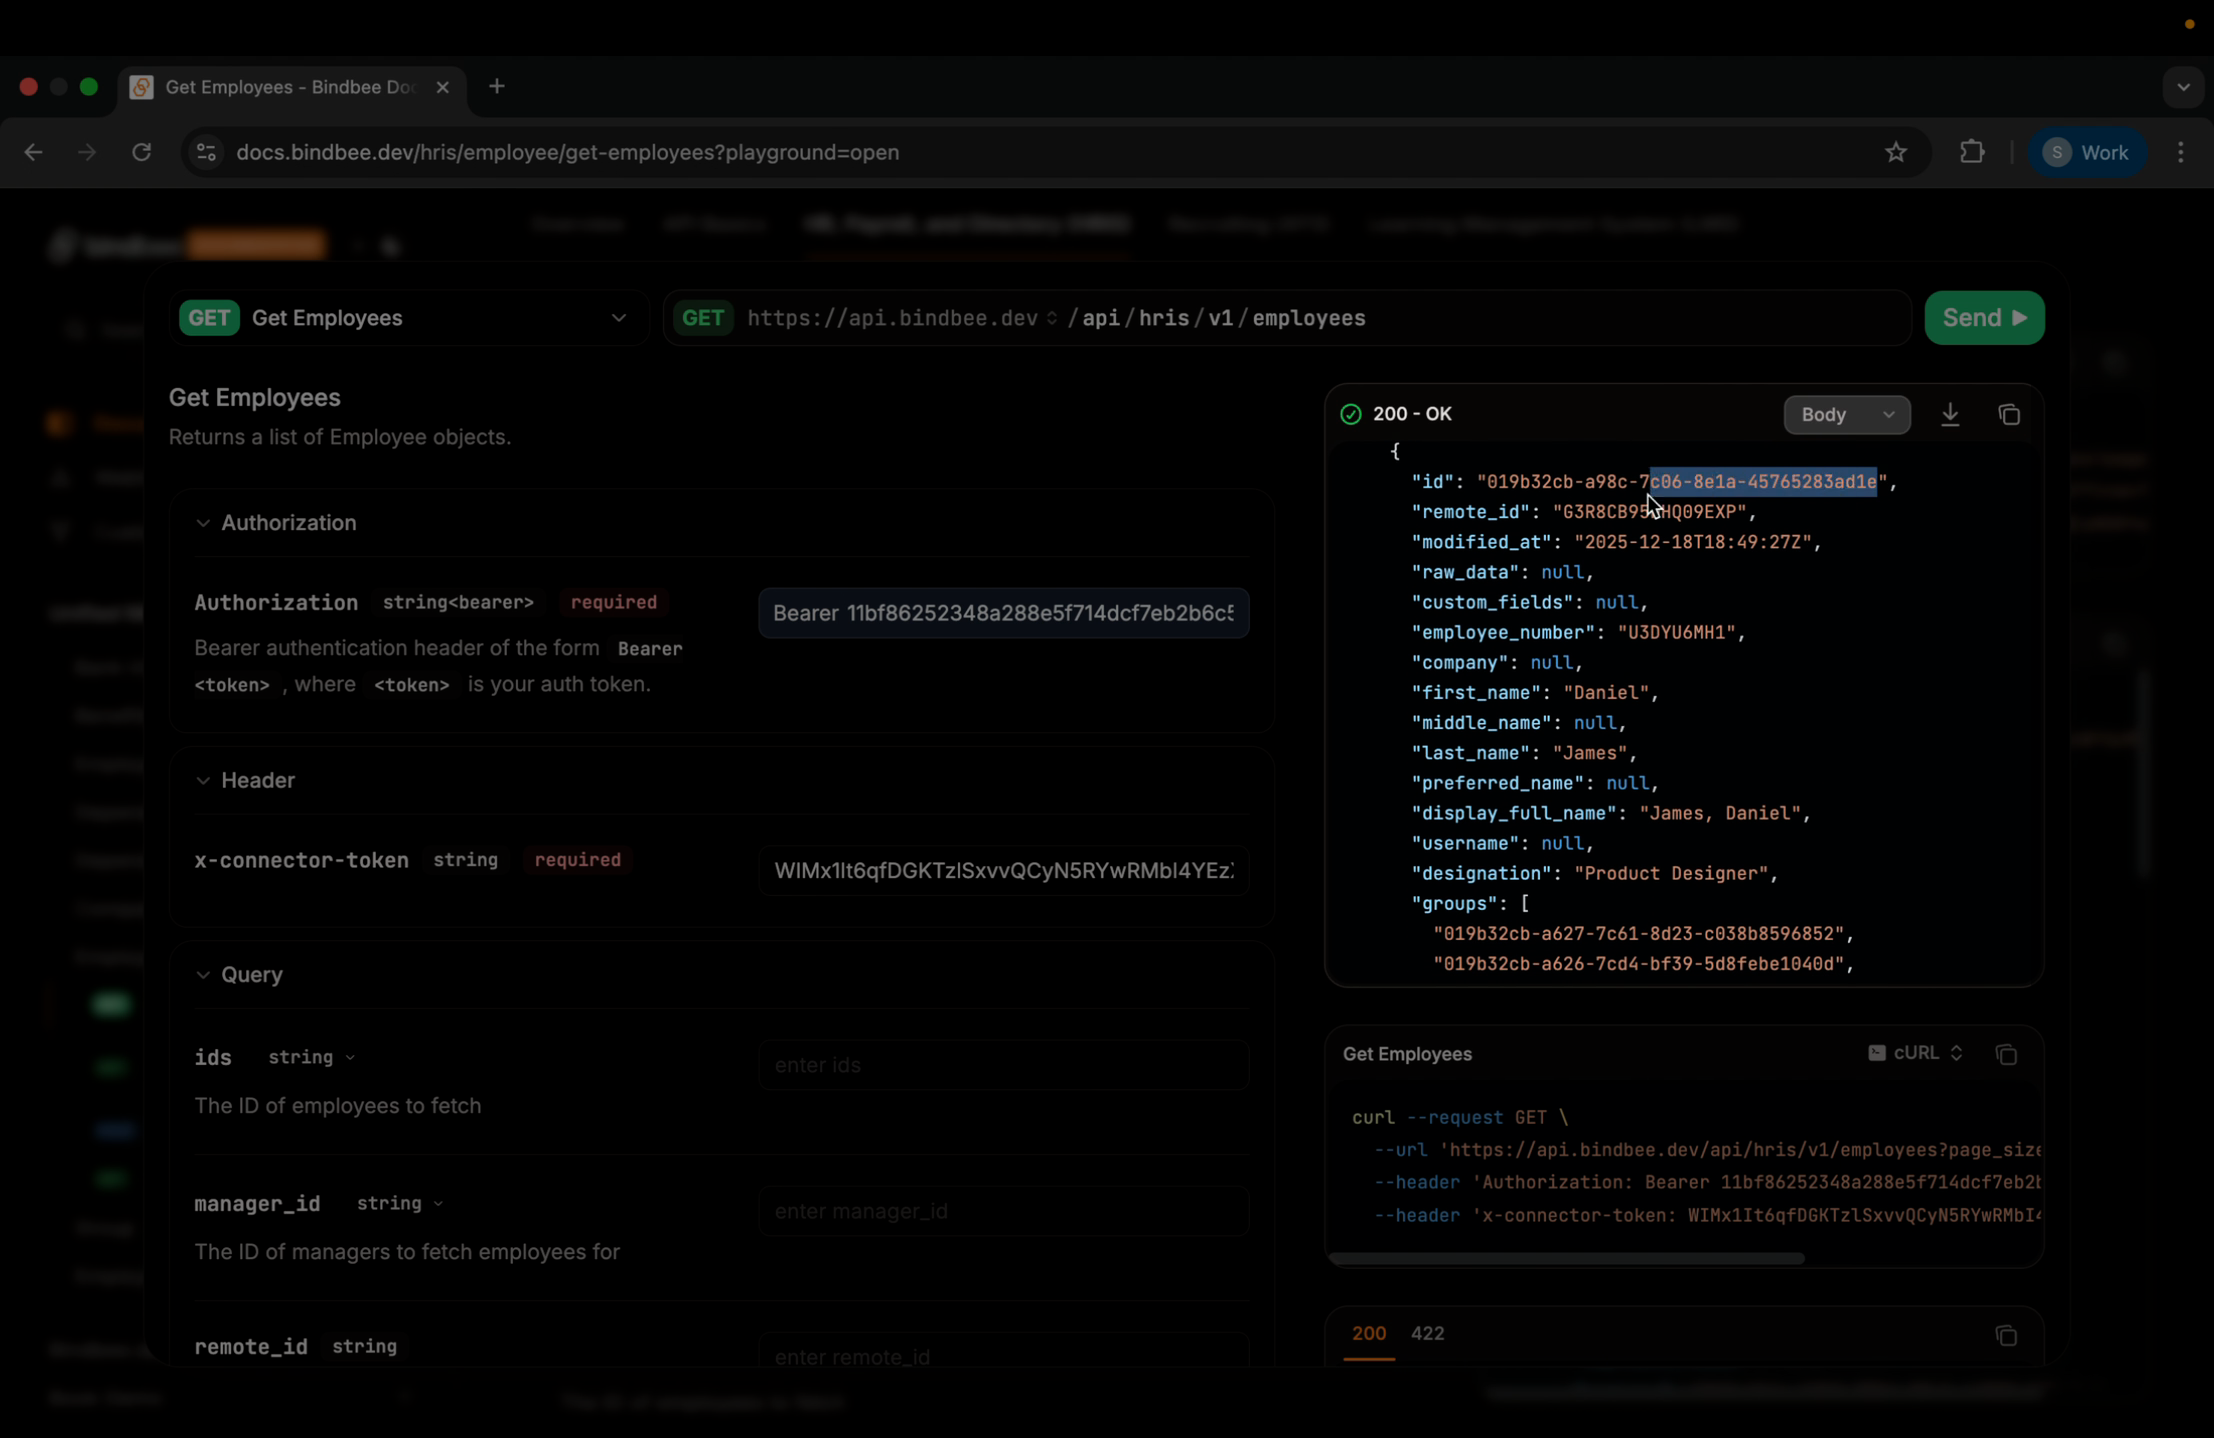
Step 8: Review the list of employee IDs returned. Pick the ID you need and copy it.
Step 9: Paste the employee ID into the appropriate field and fill out the remaining fields for the time off entry:
Amount: Number of hours or units (e.g., 4 for four hours)
Request Type: Select the type (e.g., vacation)
Start Time: Enter the start date and time
Approver ID: (Optional) Assign a manager or approver
Status: Set the request status (e.g., approved)
Employee Note: Add any note for context
Units: Specify the unit type, such as hours
End Time: You can specify an end time for longer absences
Step 10: Click Send to submit the request.
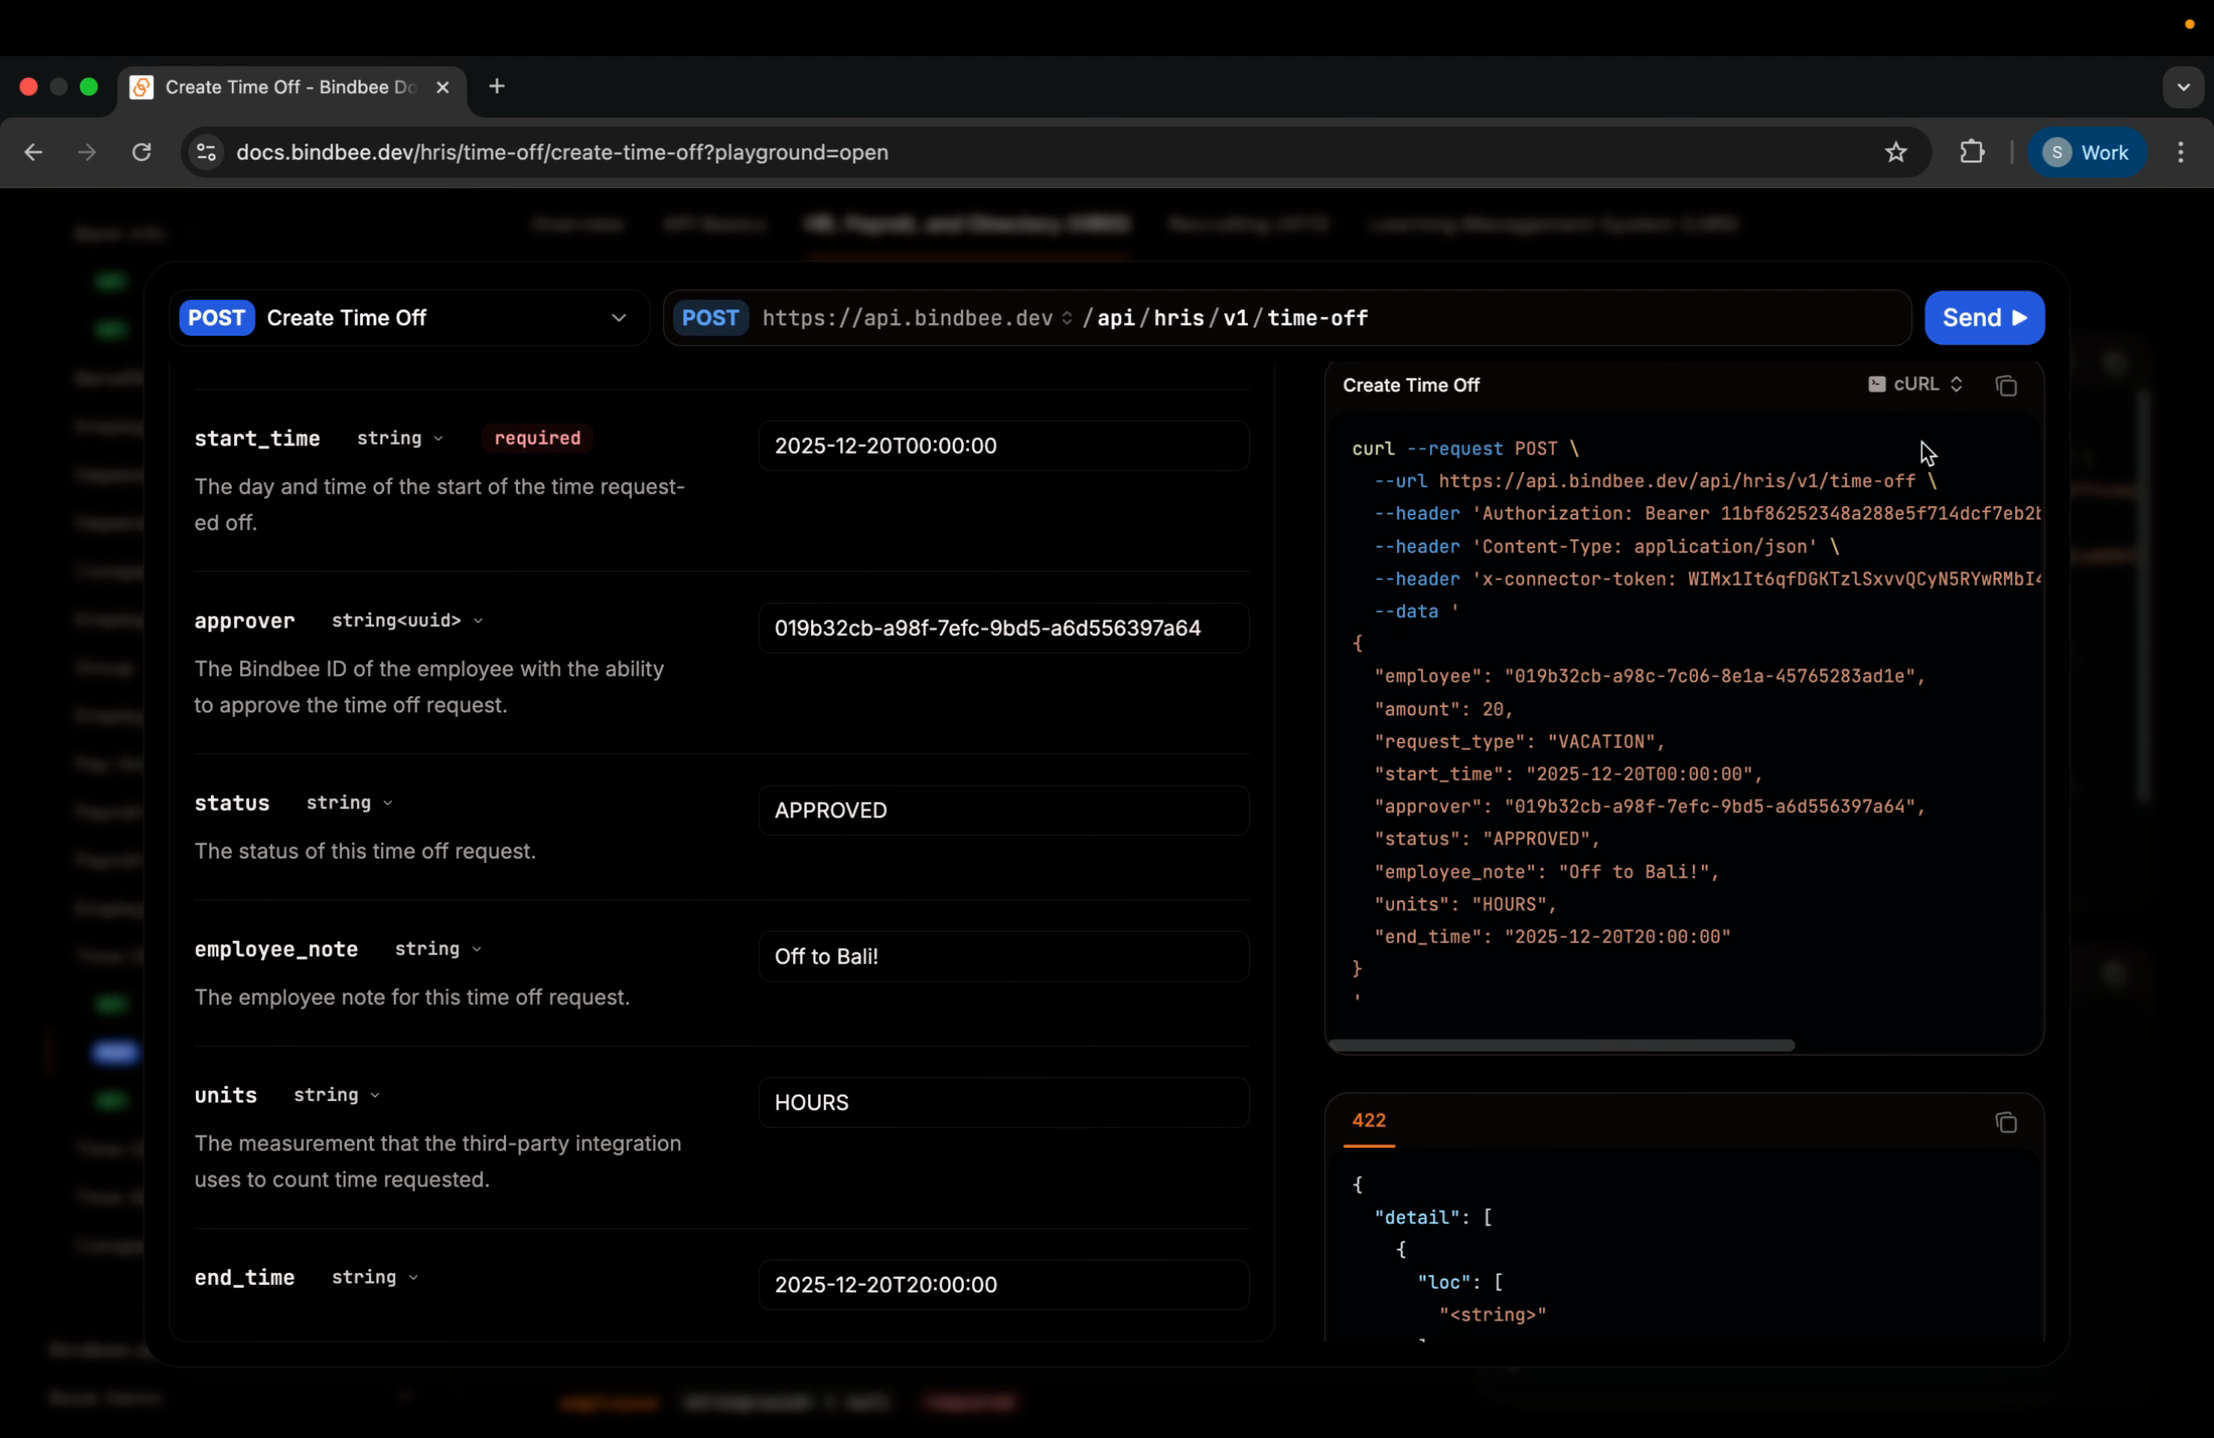
A successful creation returns a 201 (Created) status.
Confirm the Entry in ADP Workforce Now
Step 1: Log in to your ADP Workforce Now account.
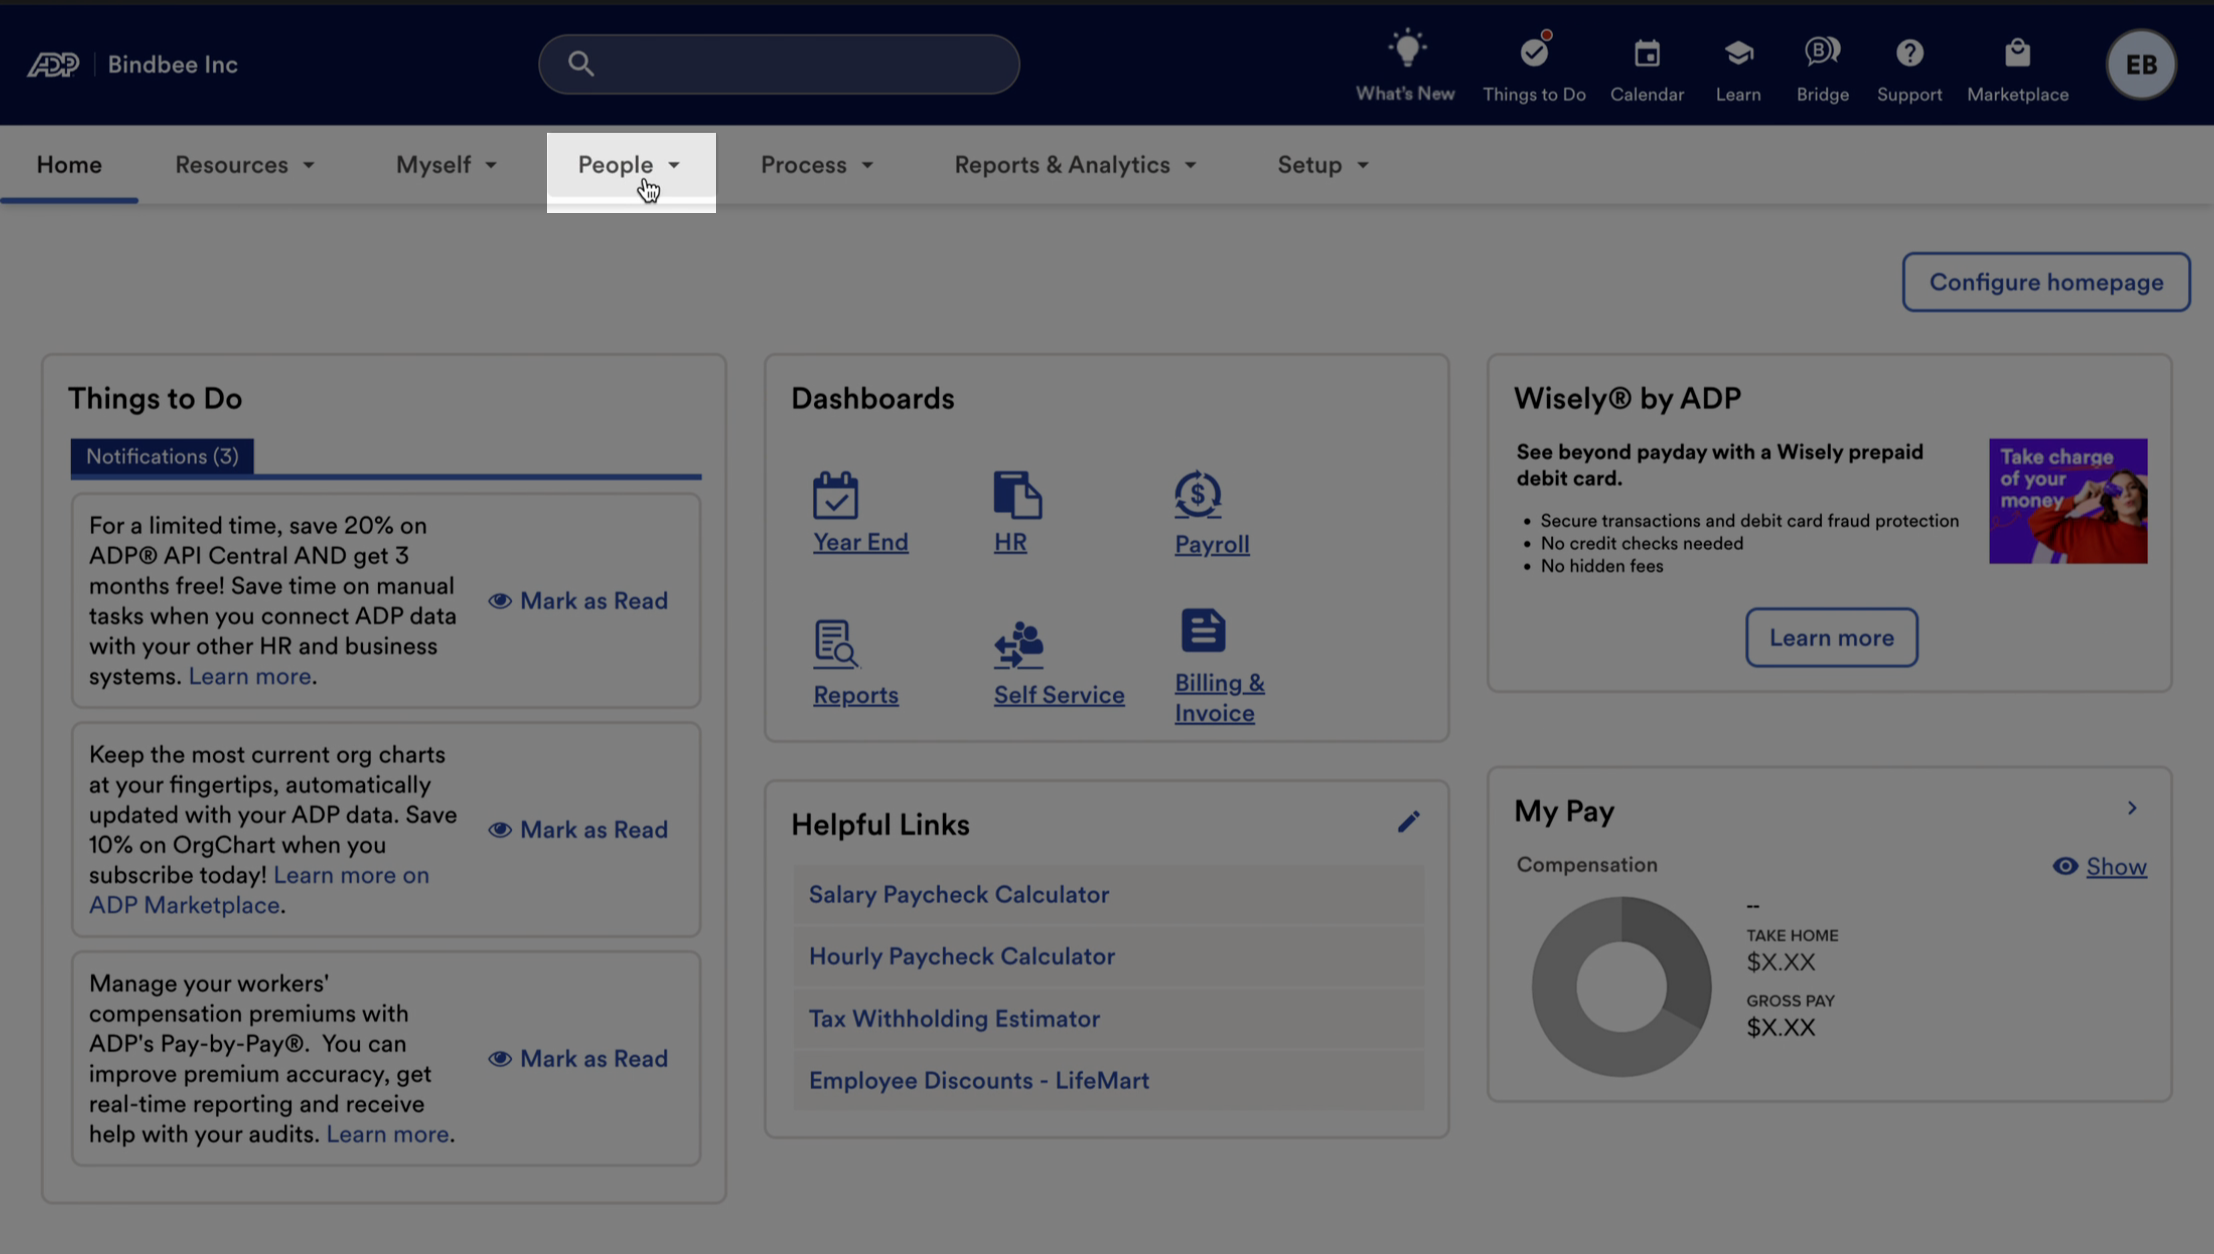
Step 2: On the main dashboard, go to People.
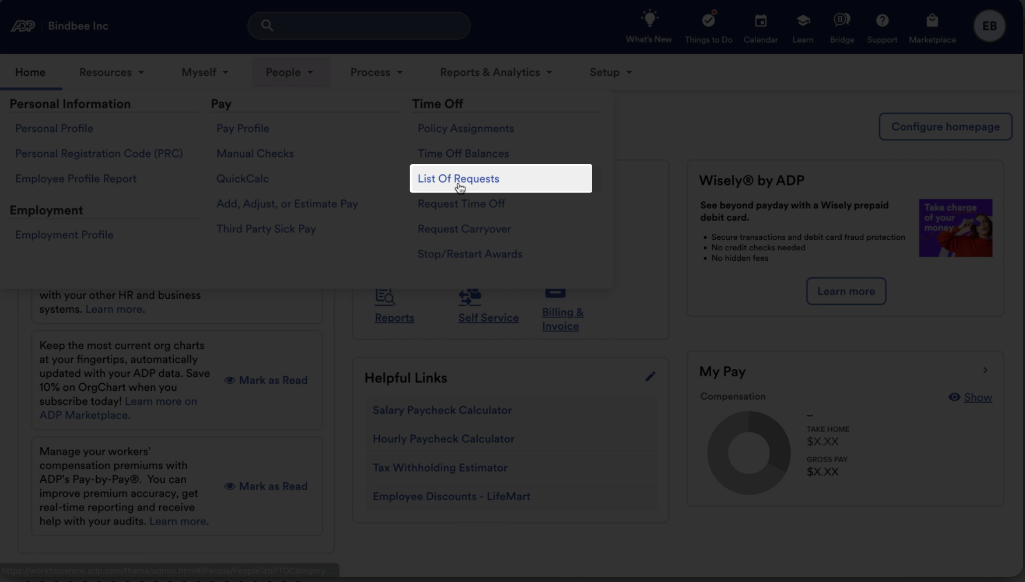
Step 3: Select List of Requests to view recent entries.
Step 4: Find the employee whose entry you just created.
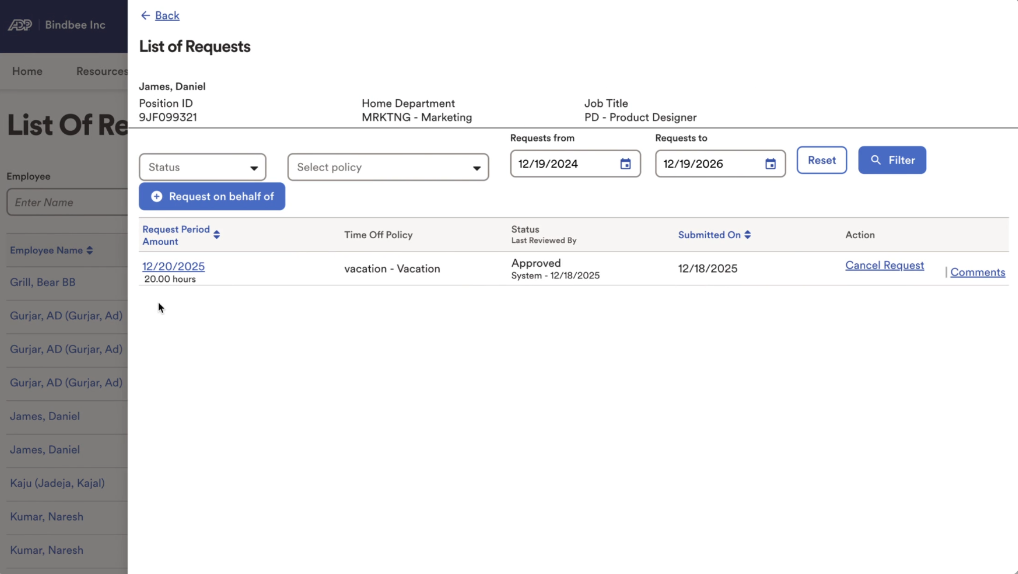
Check the employee’s details to ensure your time off entry appears and is recorded correctly.