

How do I create and test my first connector?
Updated 5 days ago
This is a detailed guide on how to set up, connect and test a connector on Bindbee. Let's get started!
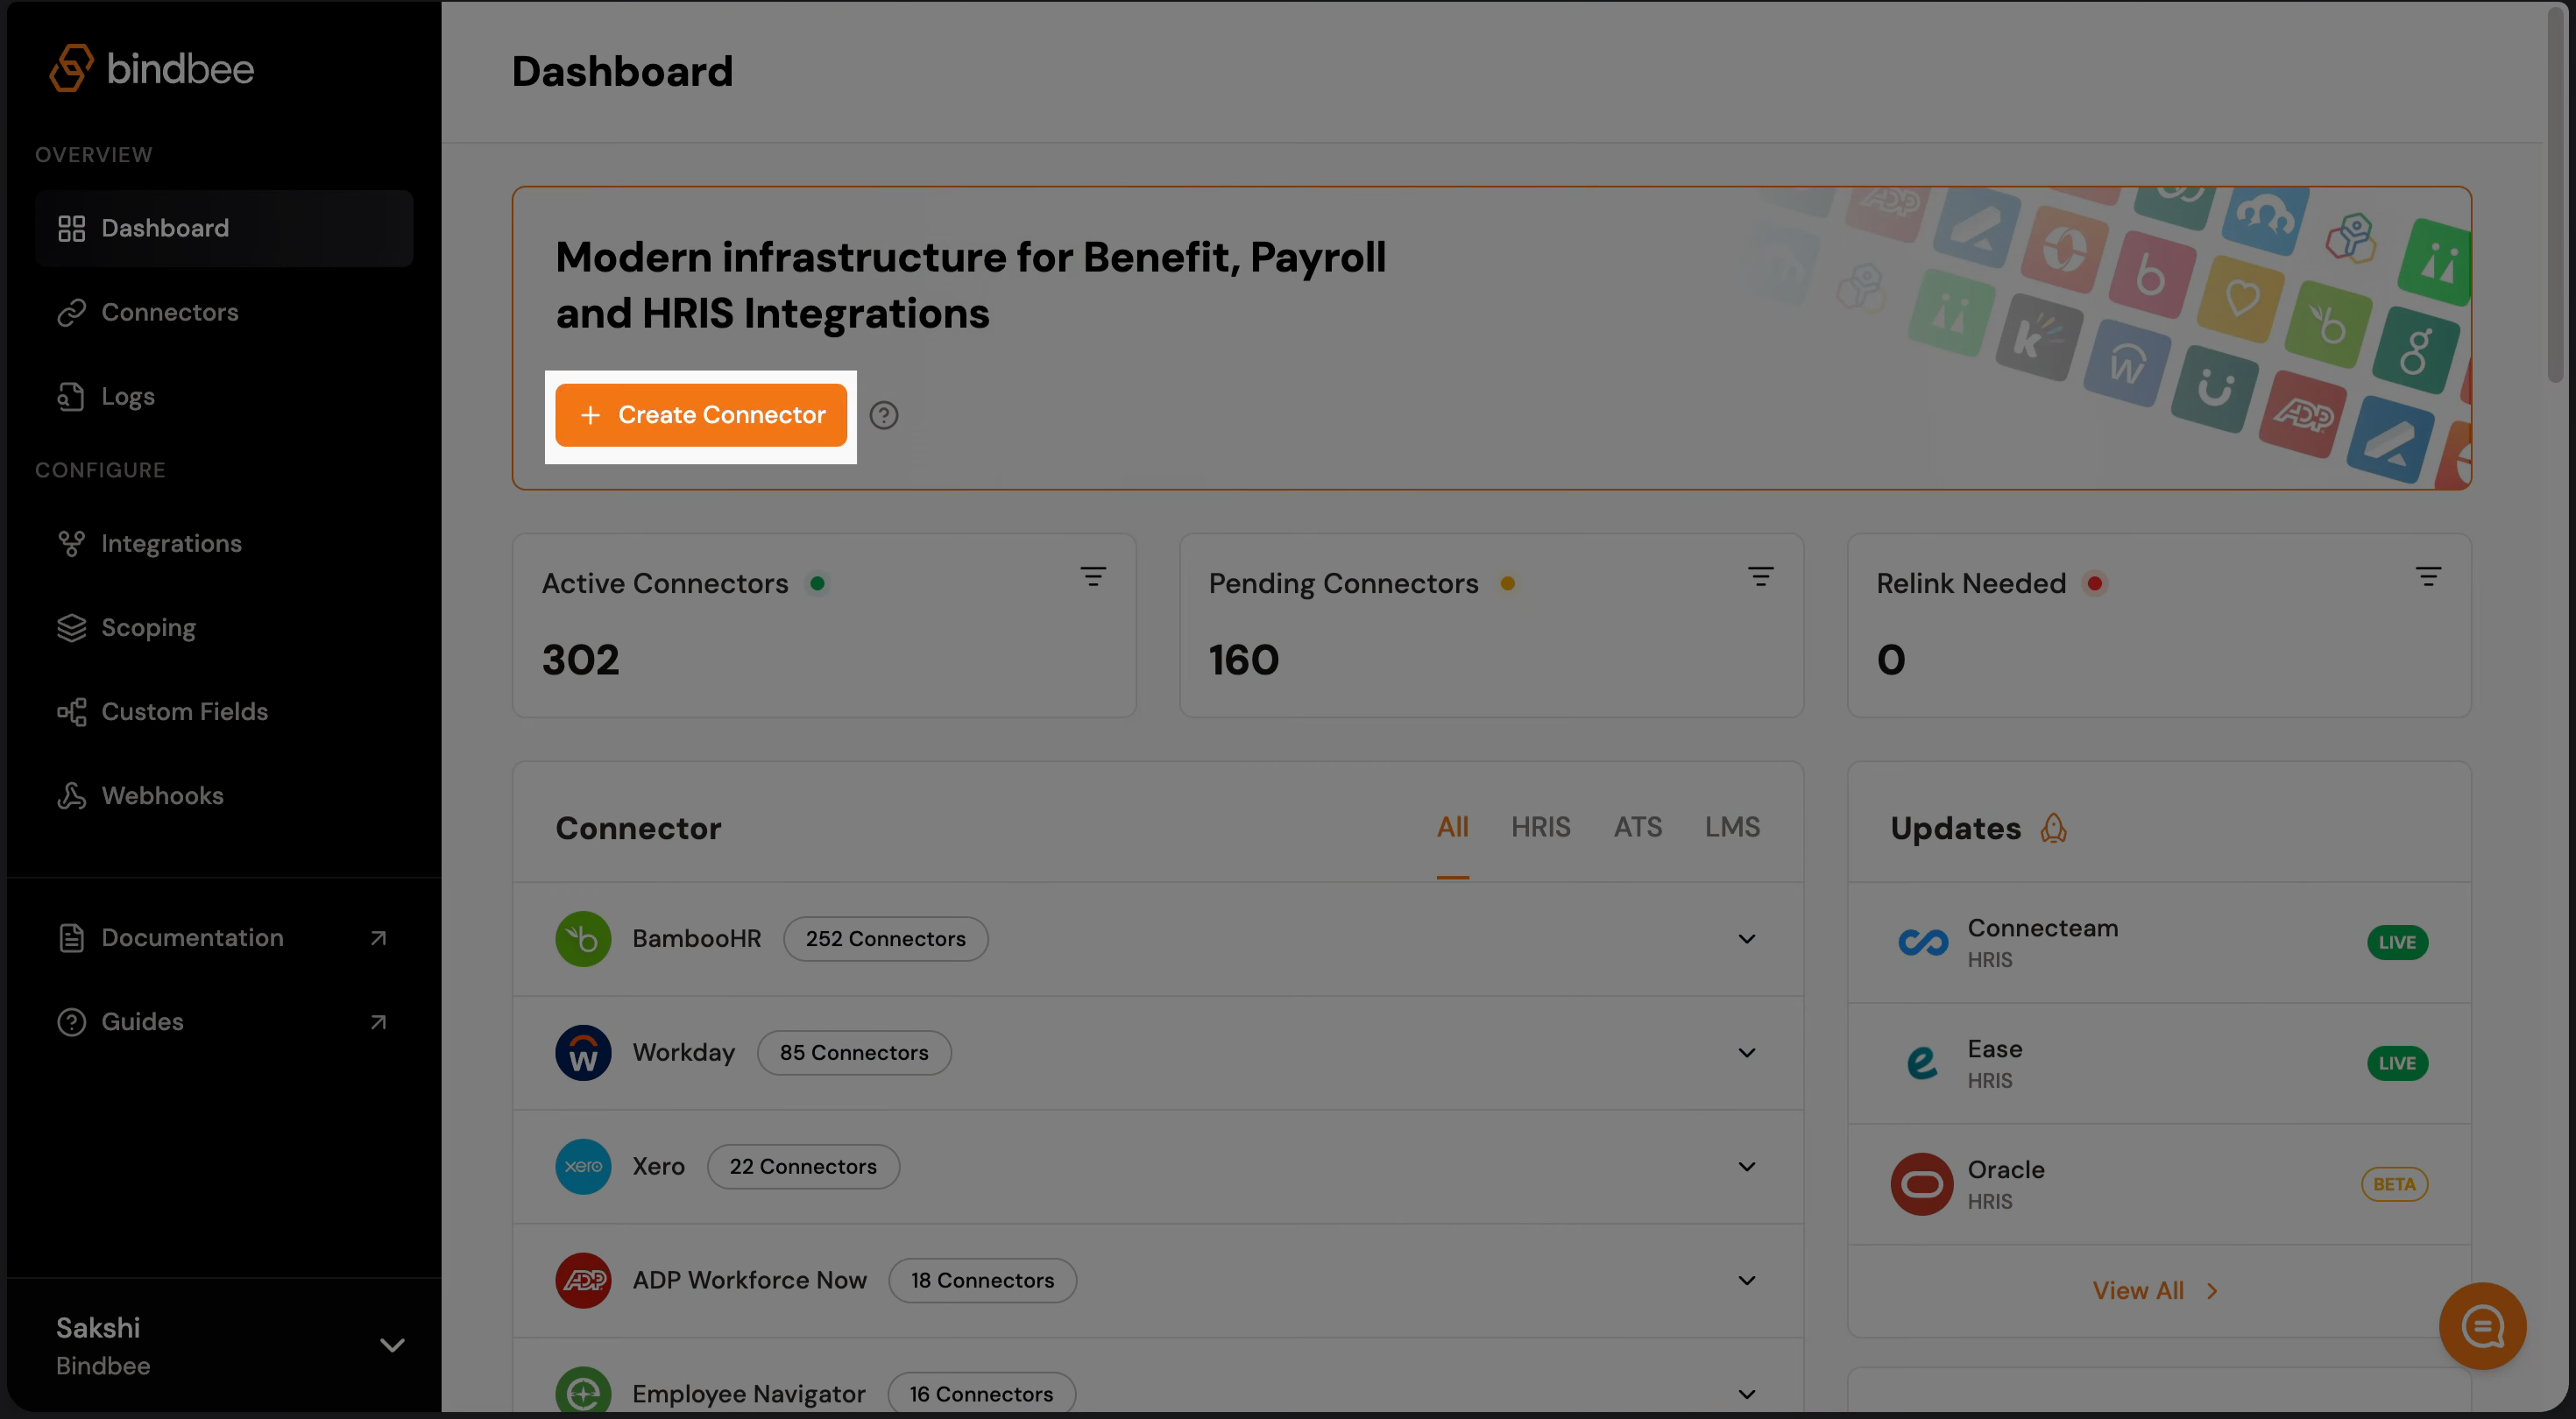
Step 1: Go to your Bindbee dashboard and click "Create Connector".
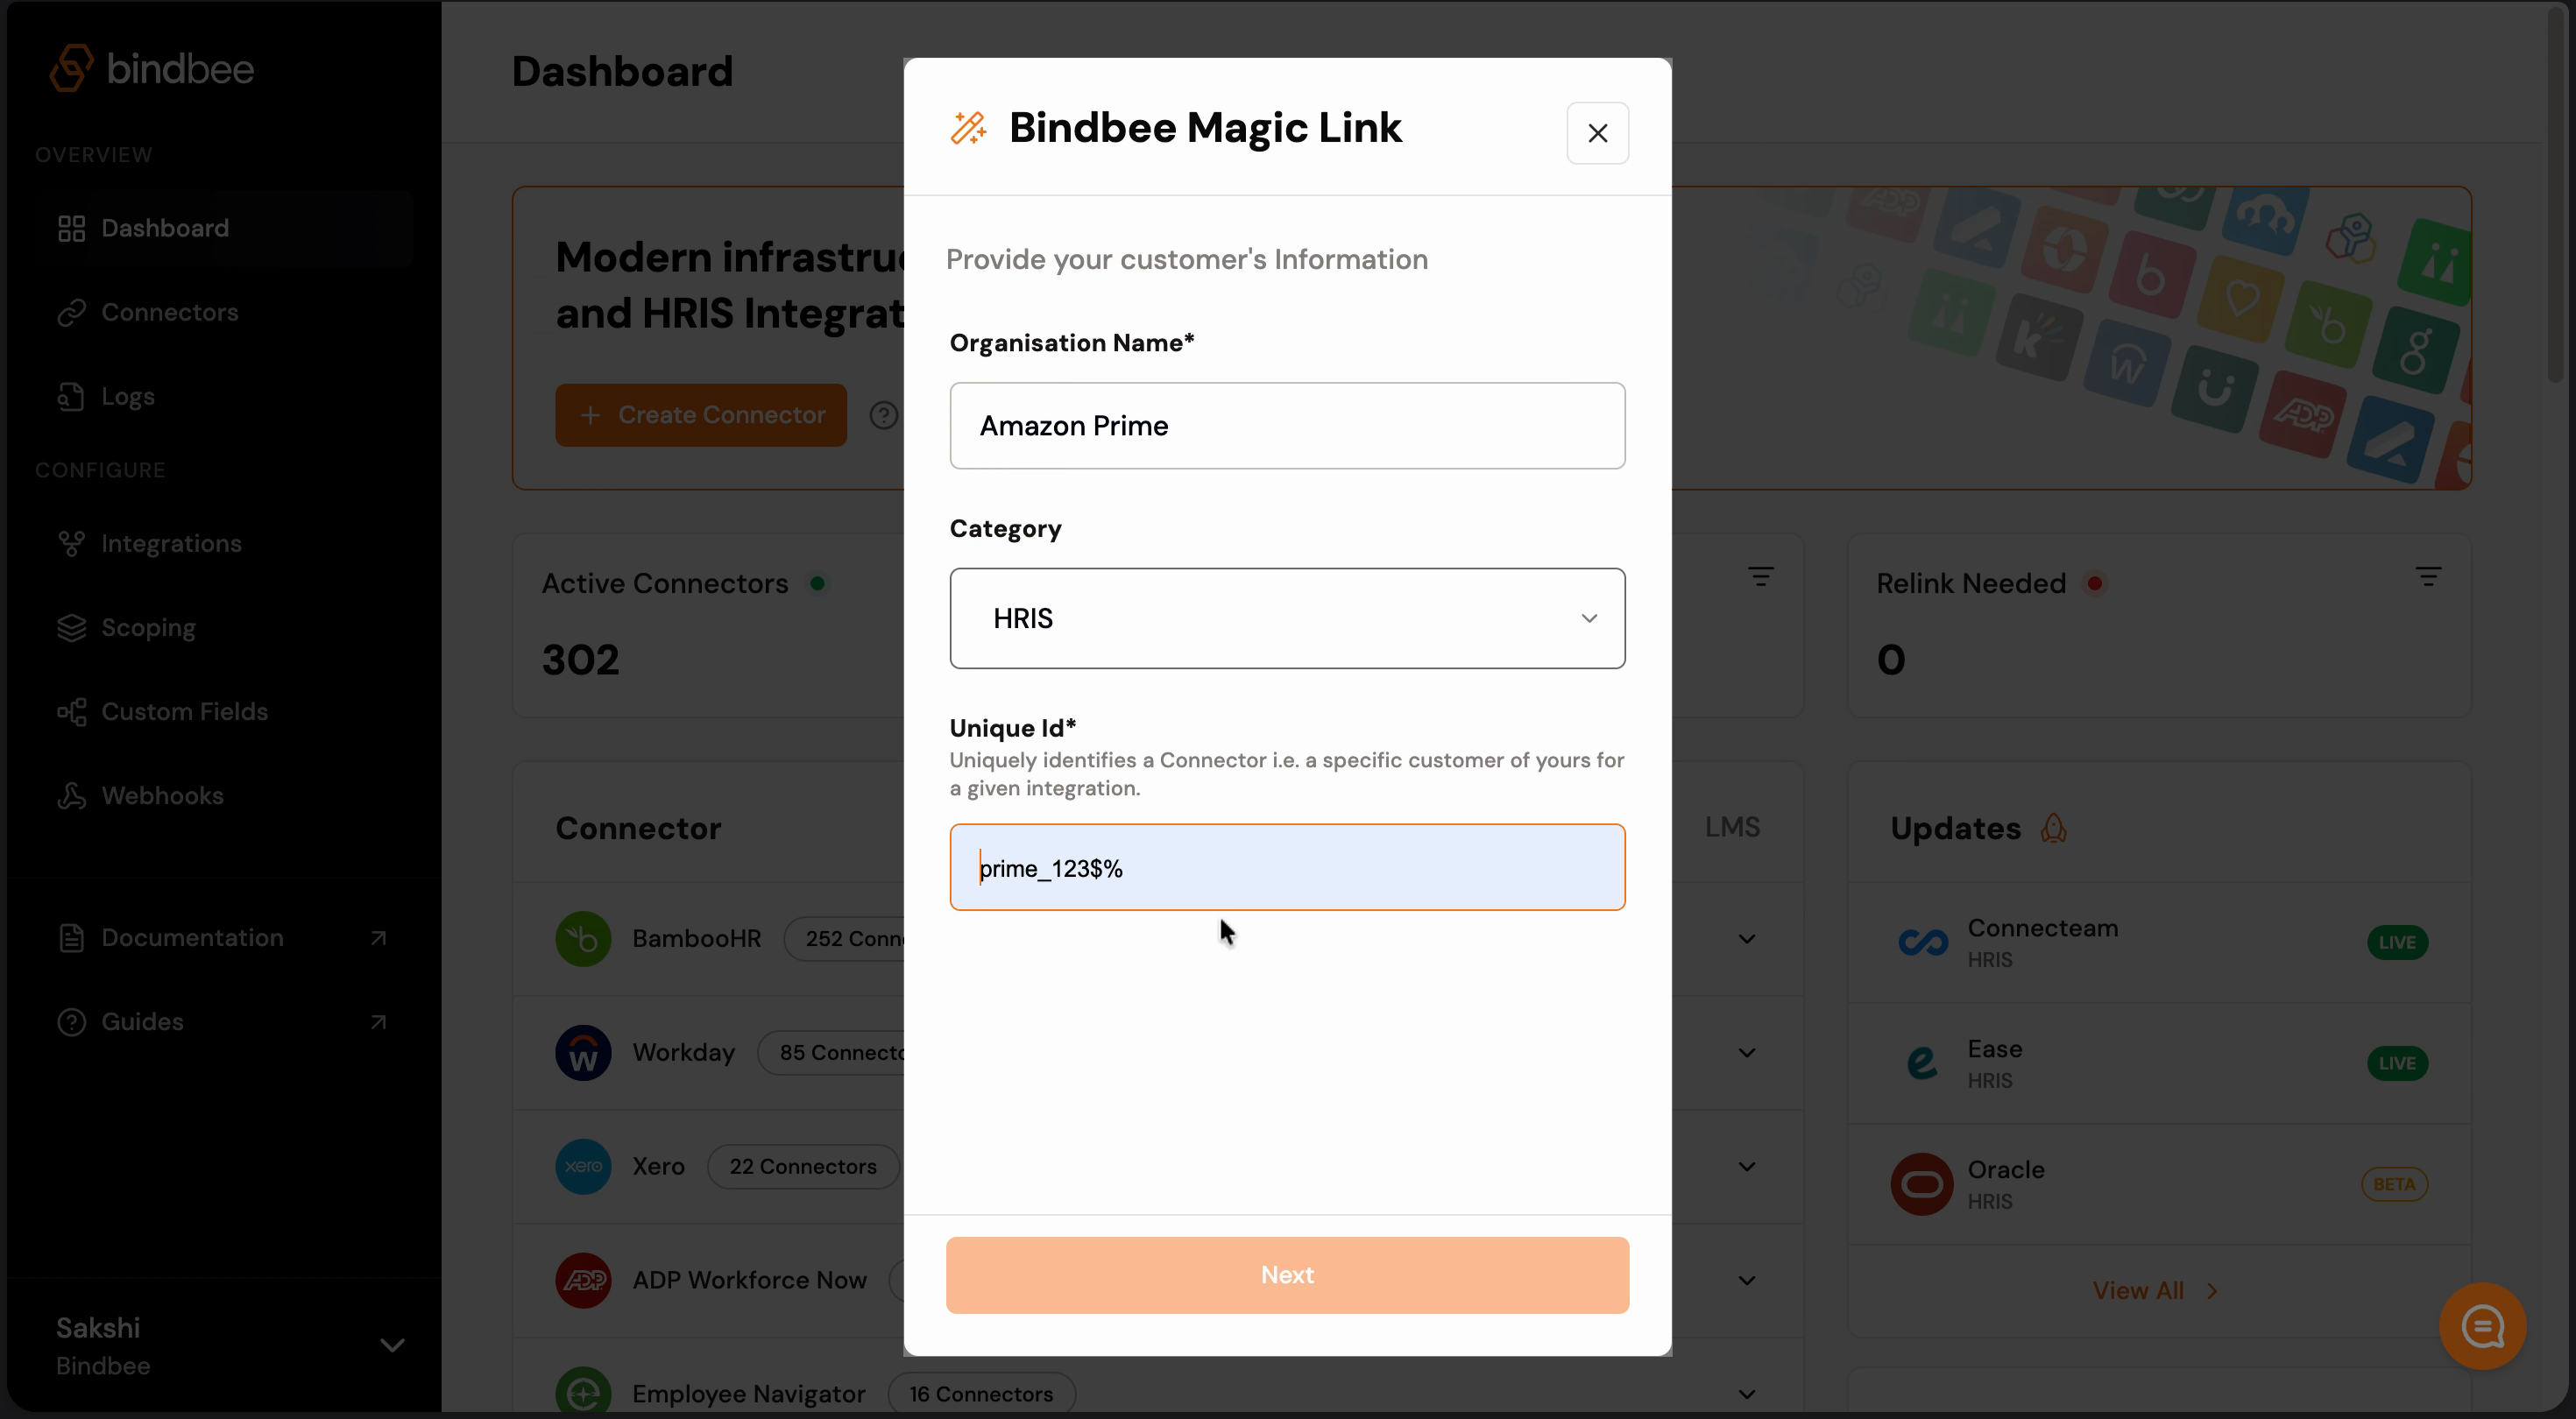
Step 2: Enter the name of the organization, category (HRIS in this case) and a Unique ID. Then click on "Next".
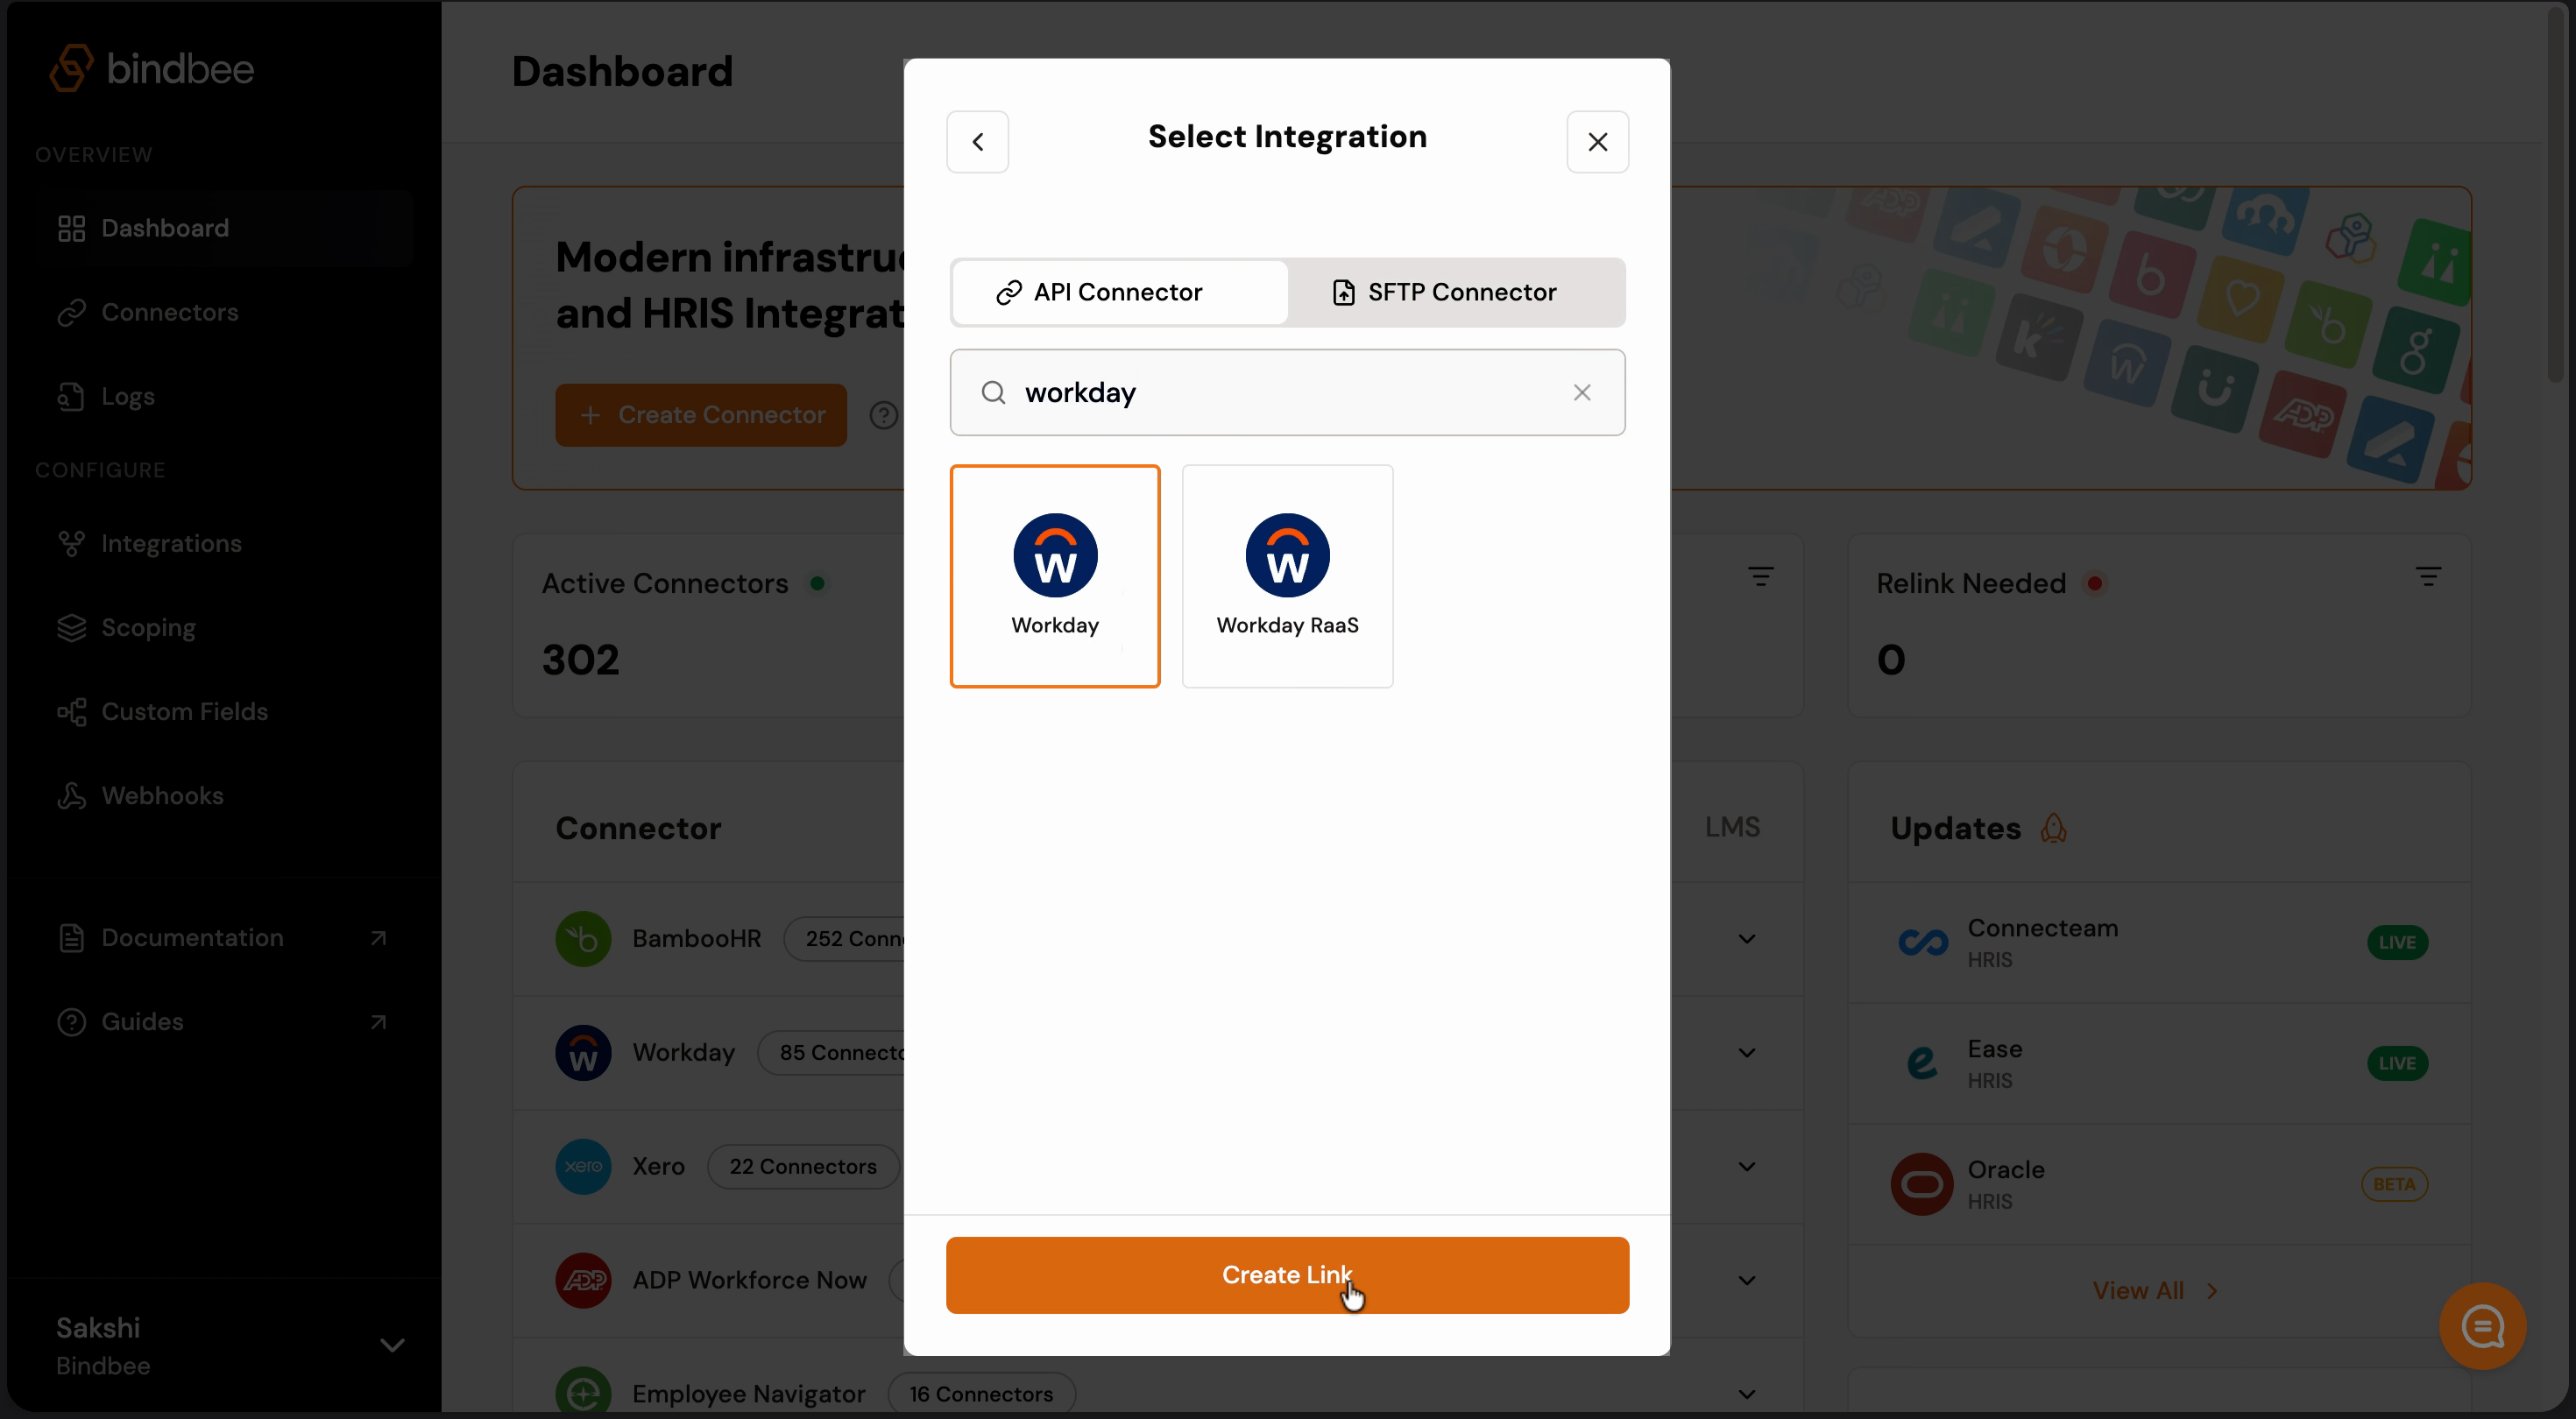
Step 3: For this example, select Workday as your integration and click on "Create Link".
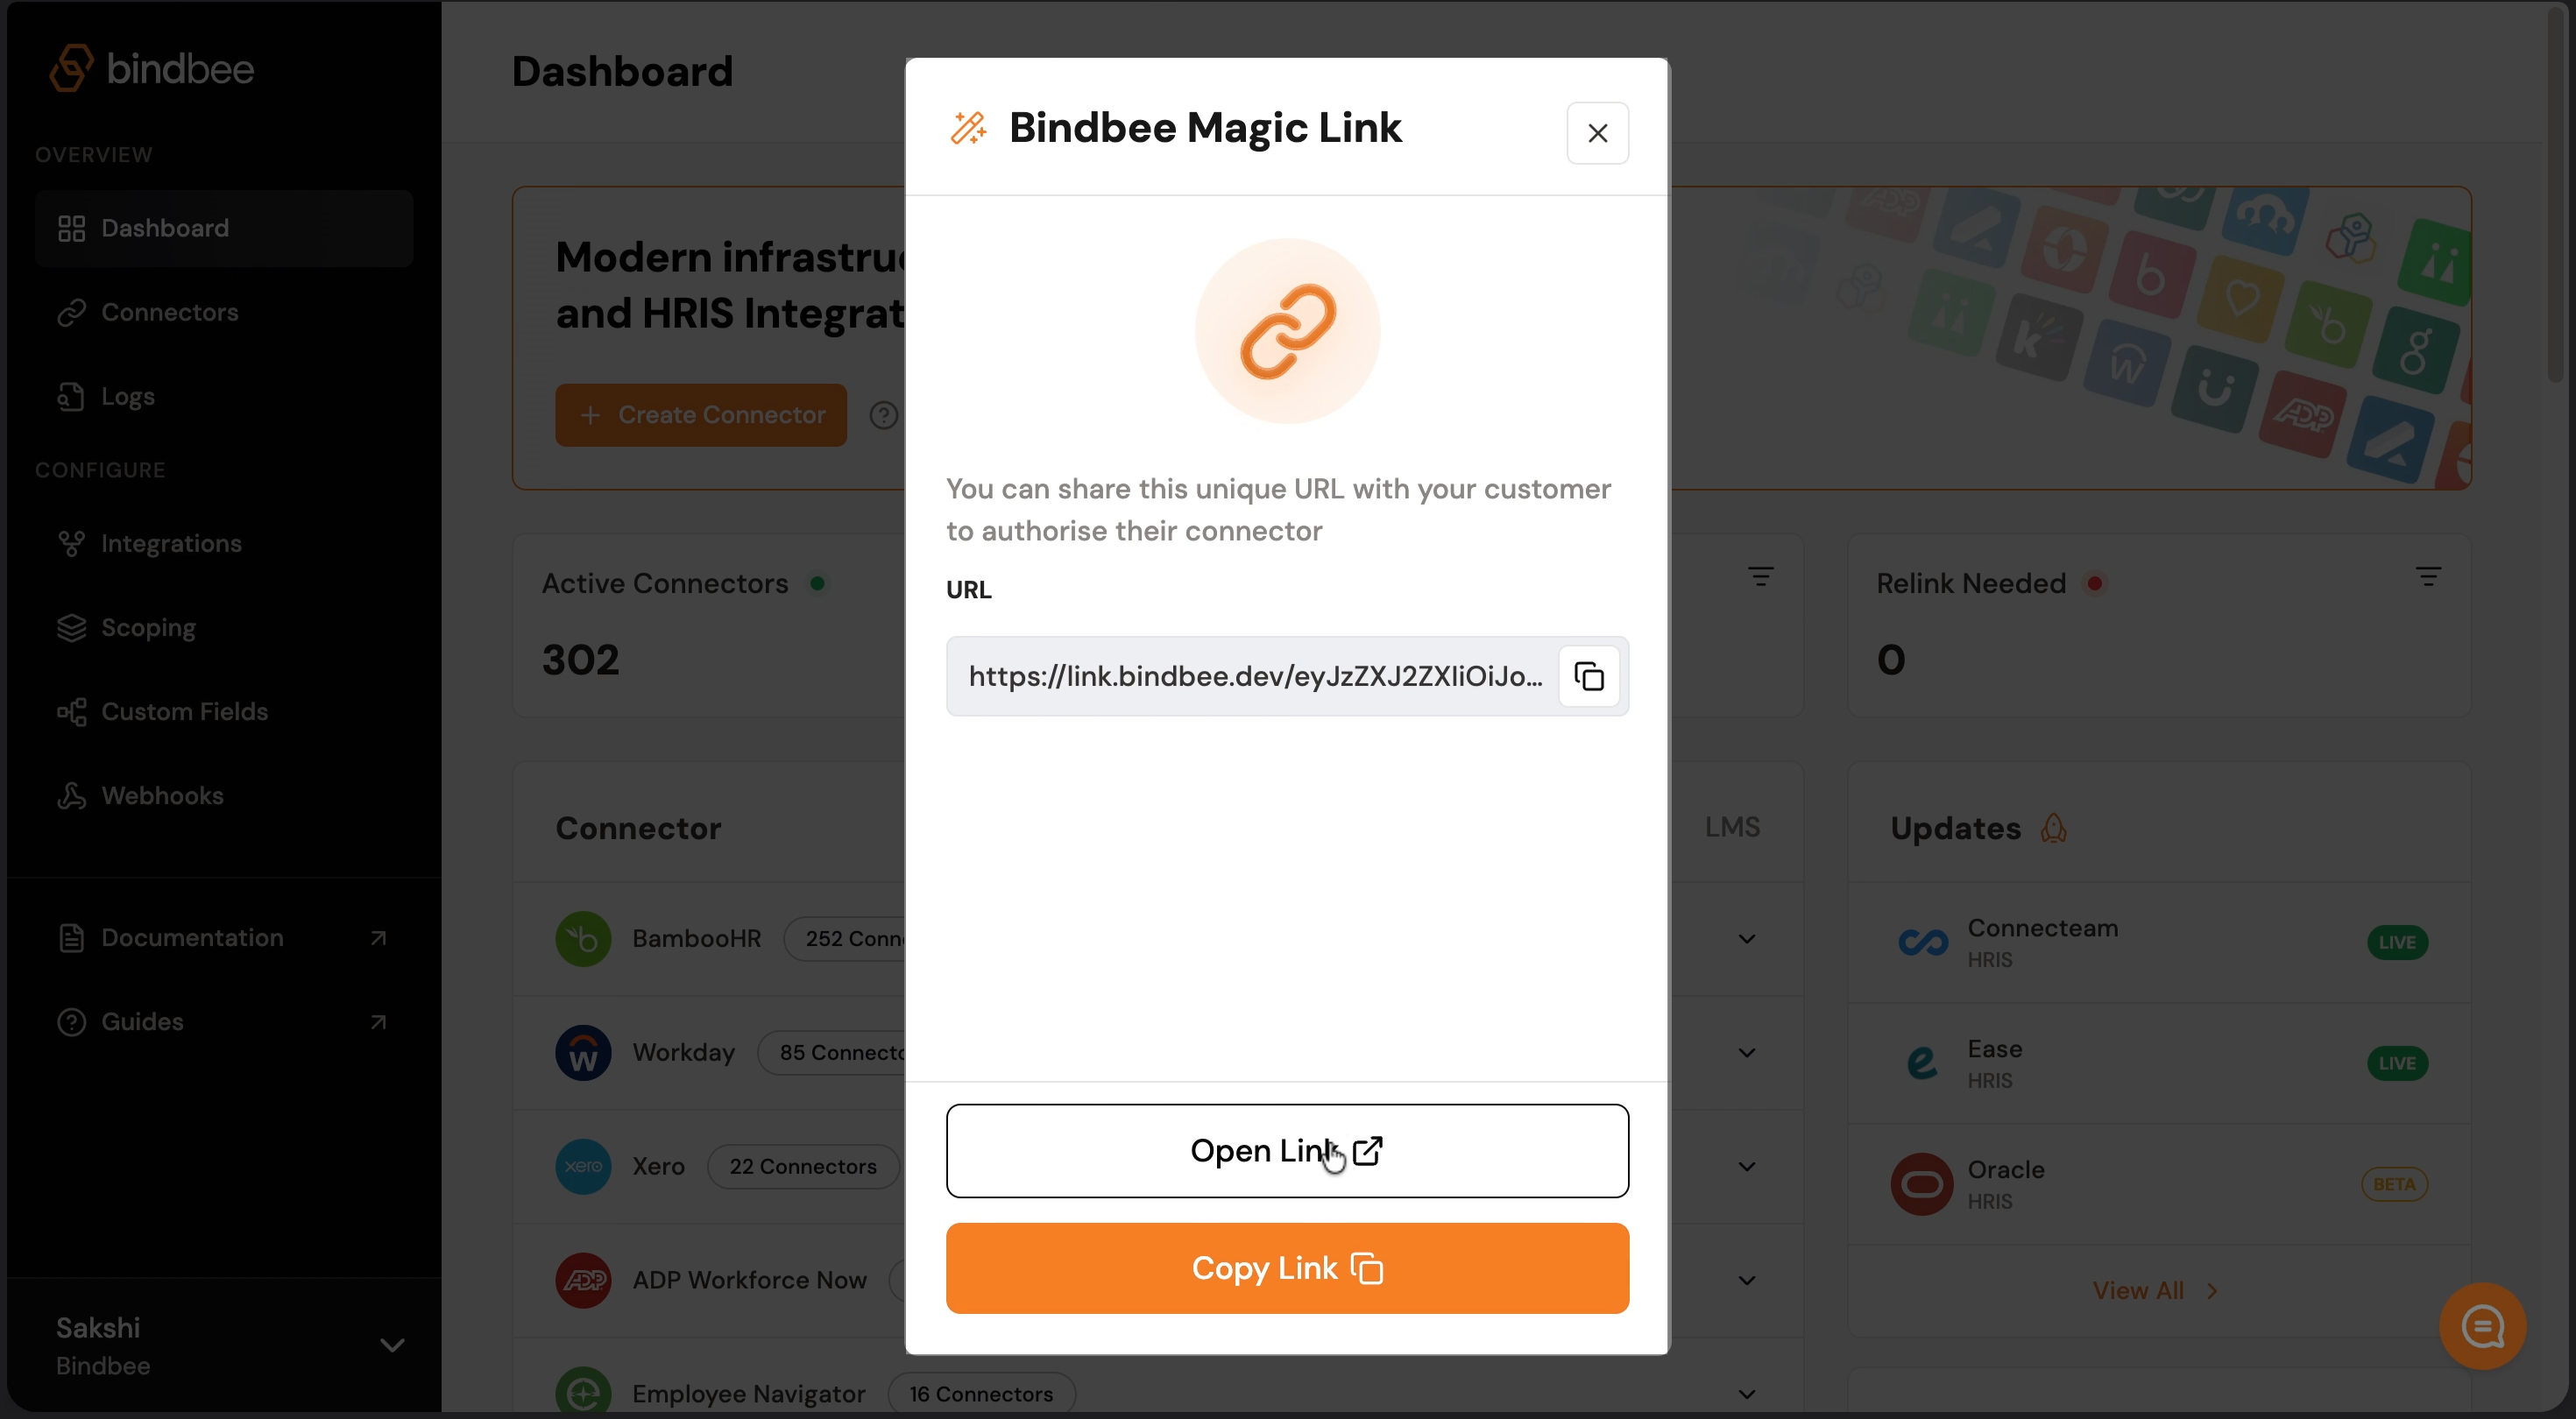
Step 4: Open the link generated for your connector. This link is what you’ll share with your customers.
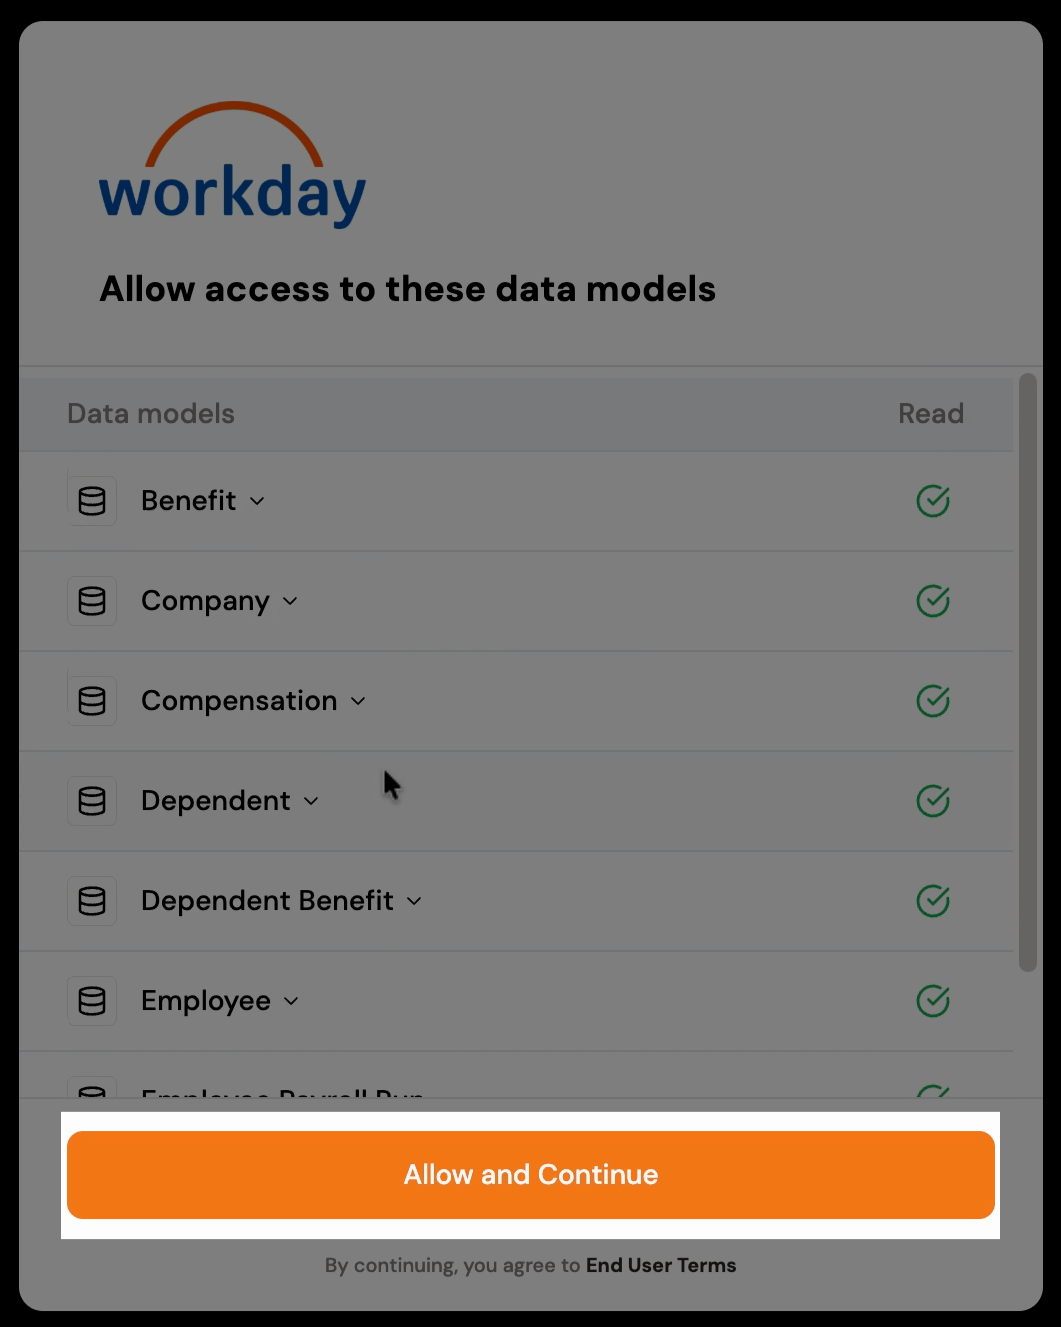
Step 5: Review the scopes listed, then click Allow and Continue.
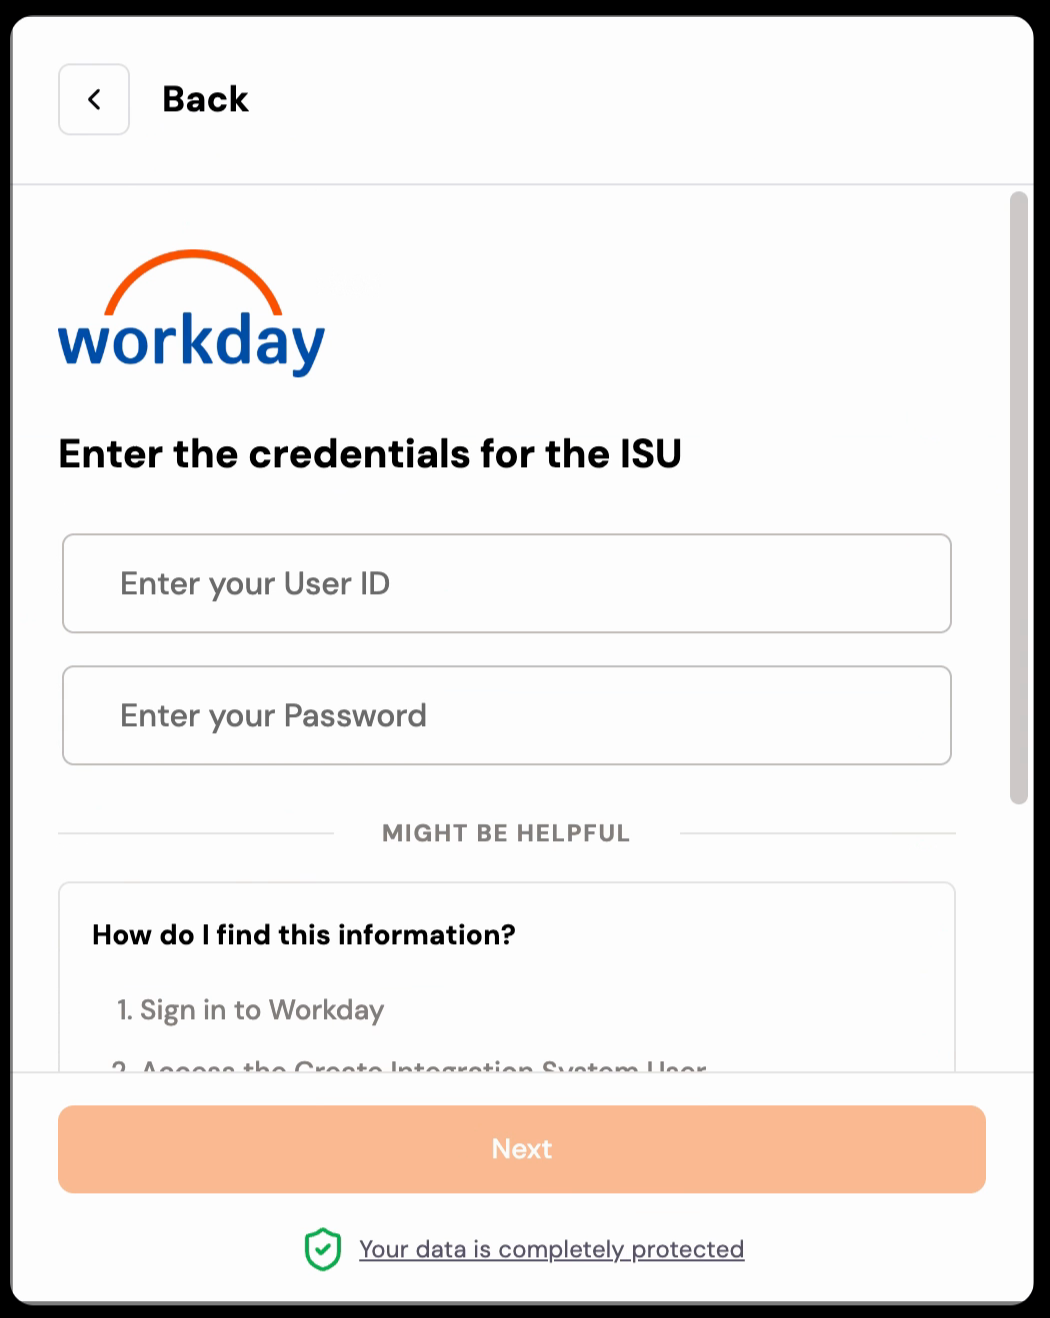
Step 6: Enter your ISU Username and Password, then click "Next".
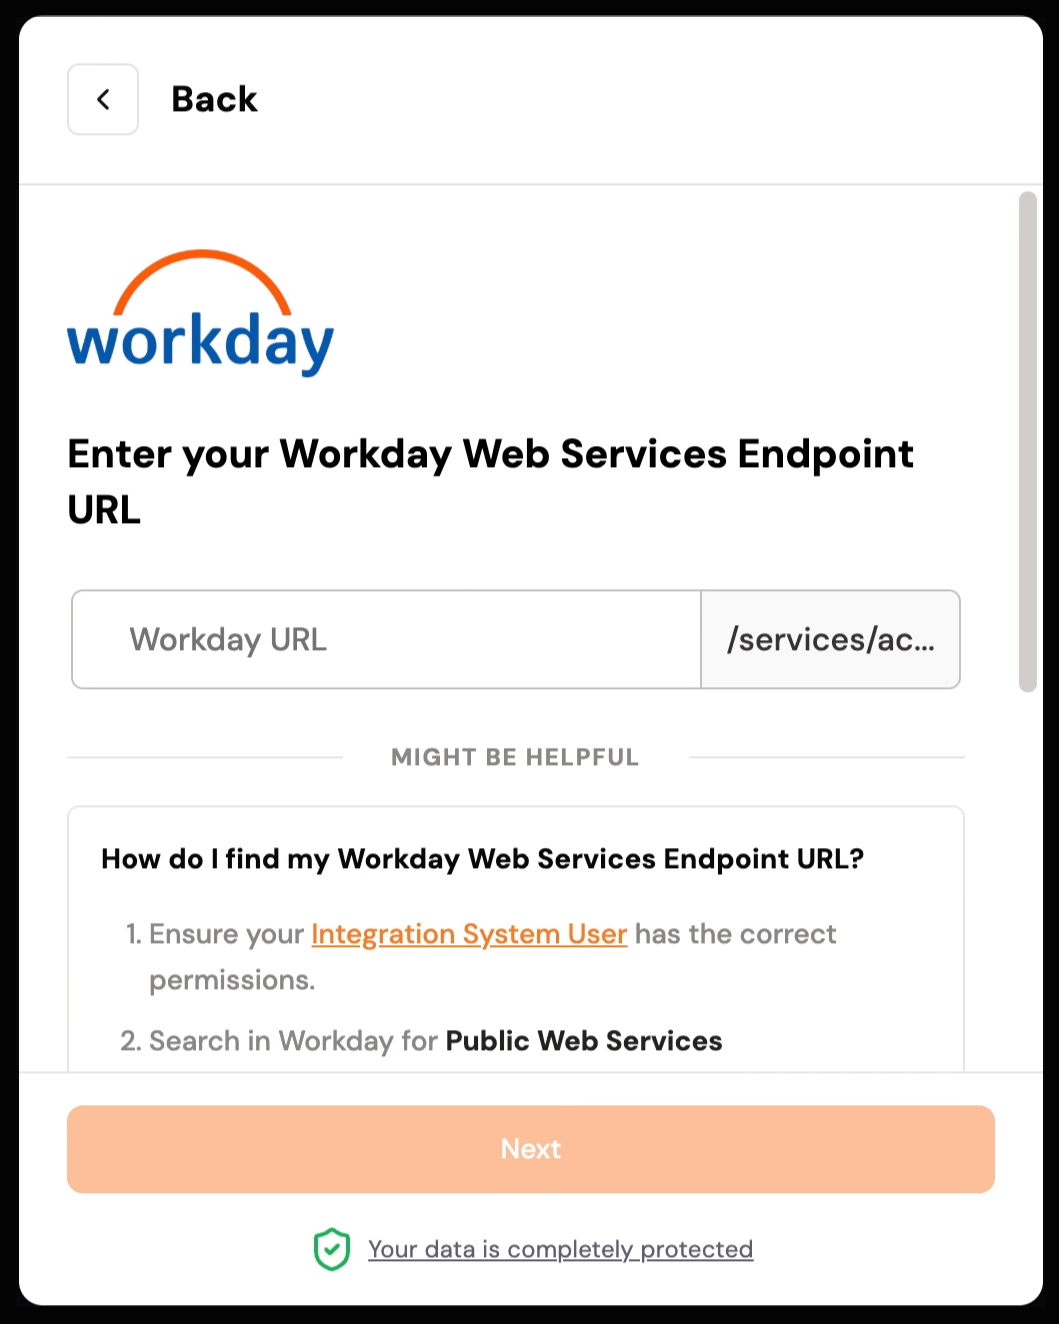
Step 7: Provide the Workday Web Services Endpoint URL and click "Next".
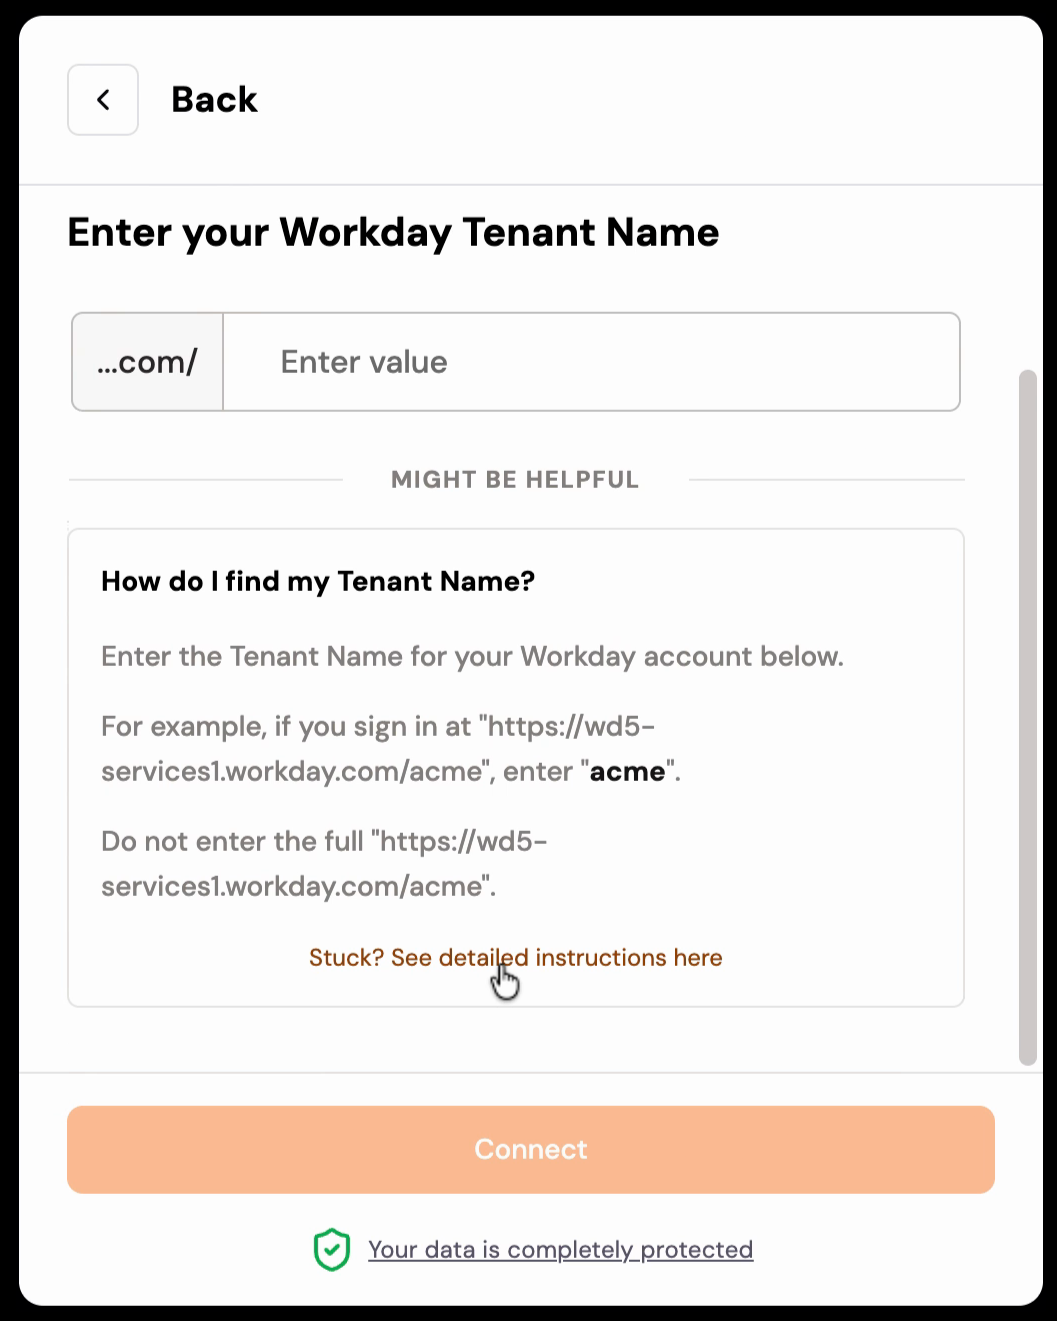
Step 8: Enter the Tenant Name and click "Connect".
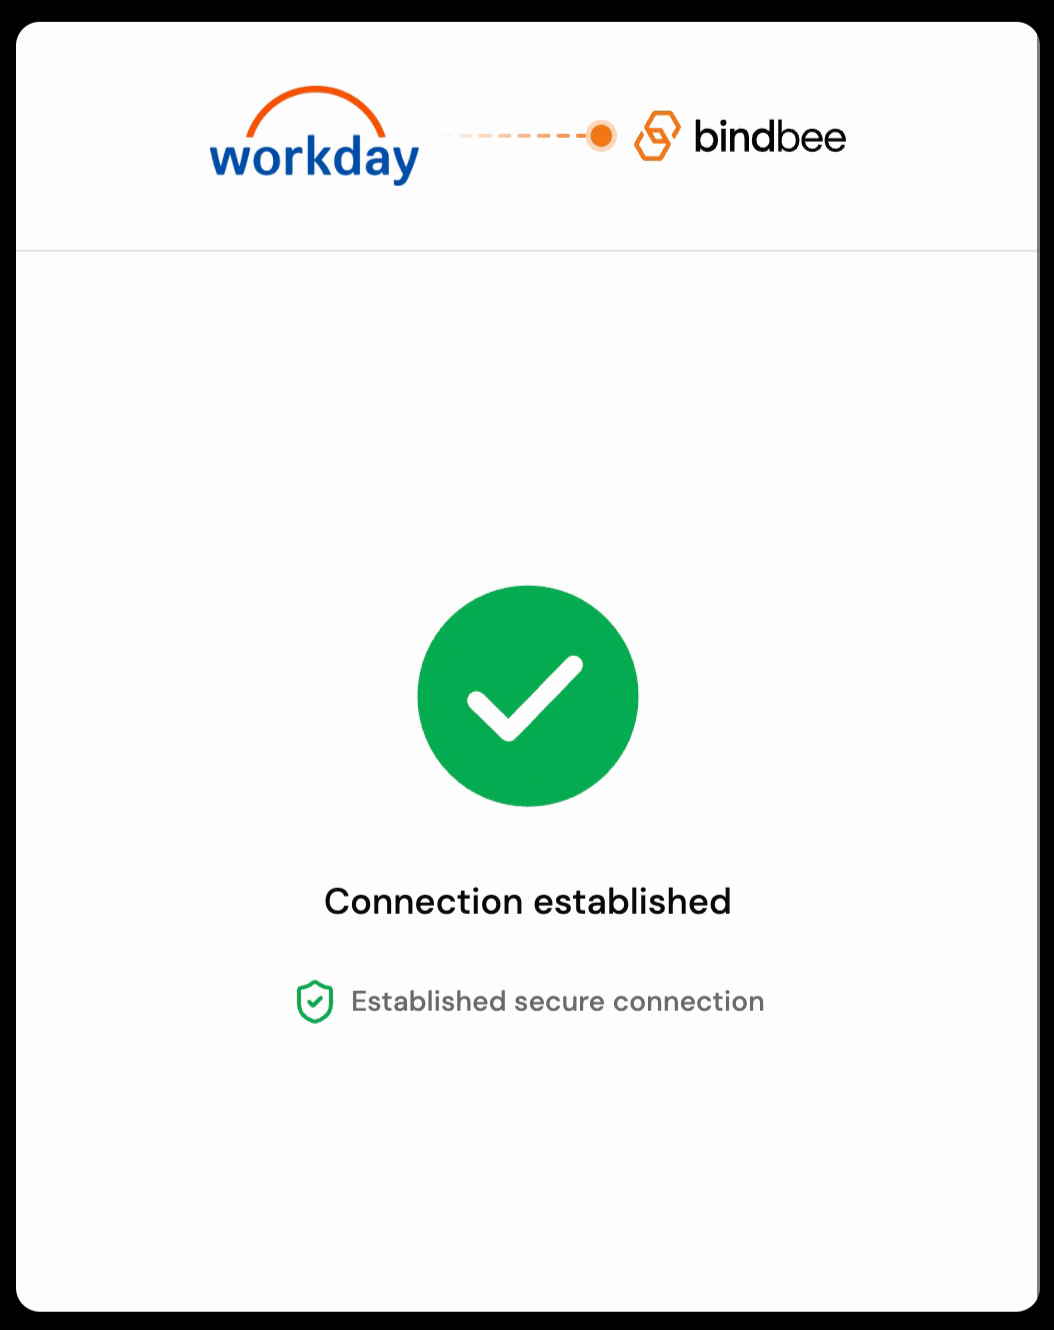
Step 9: Once connection is established, return to your dashboard.
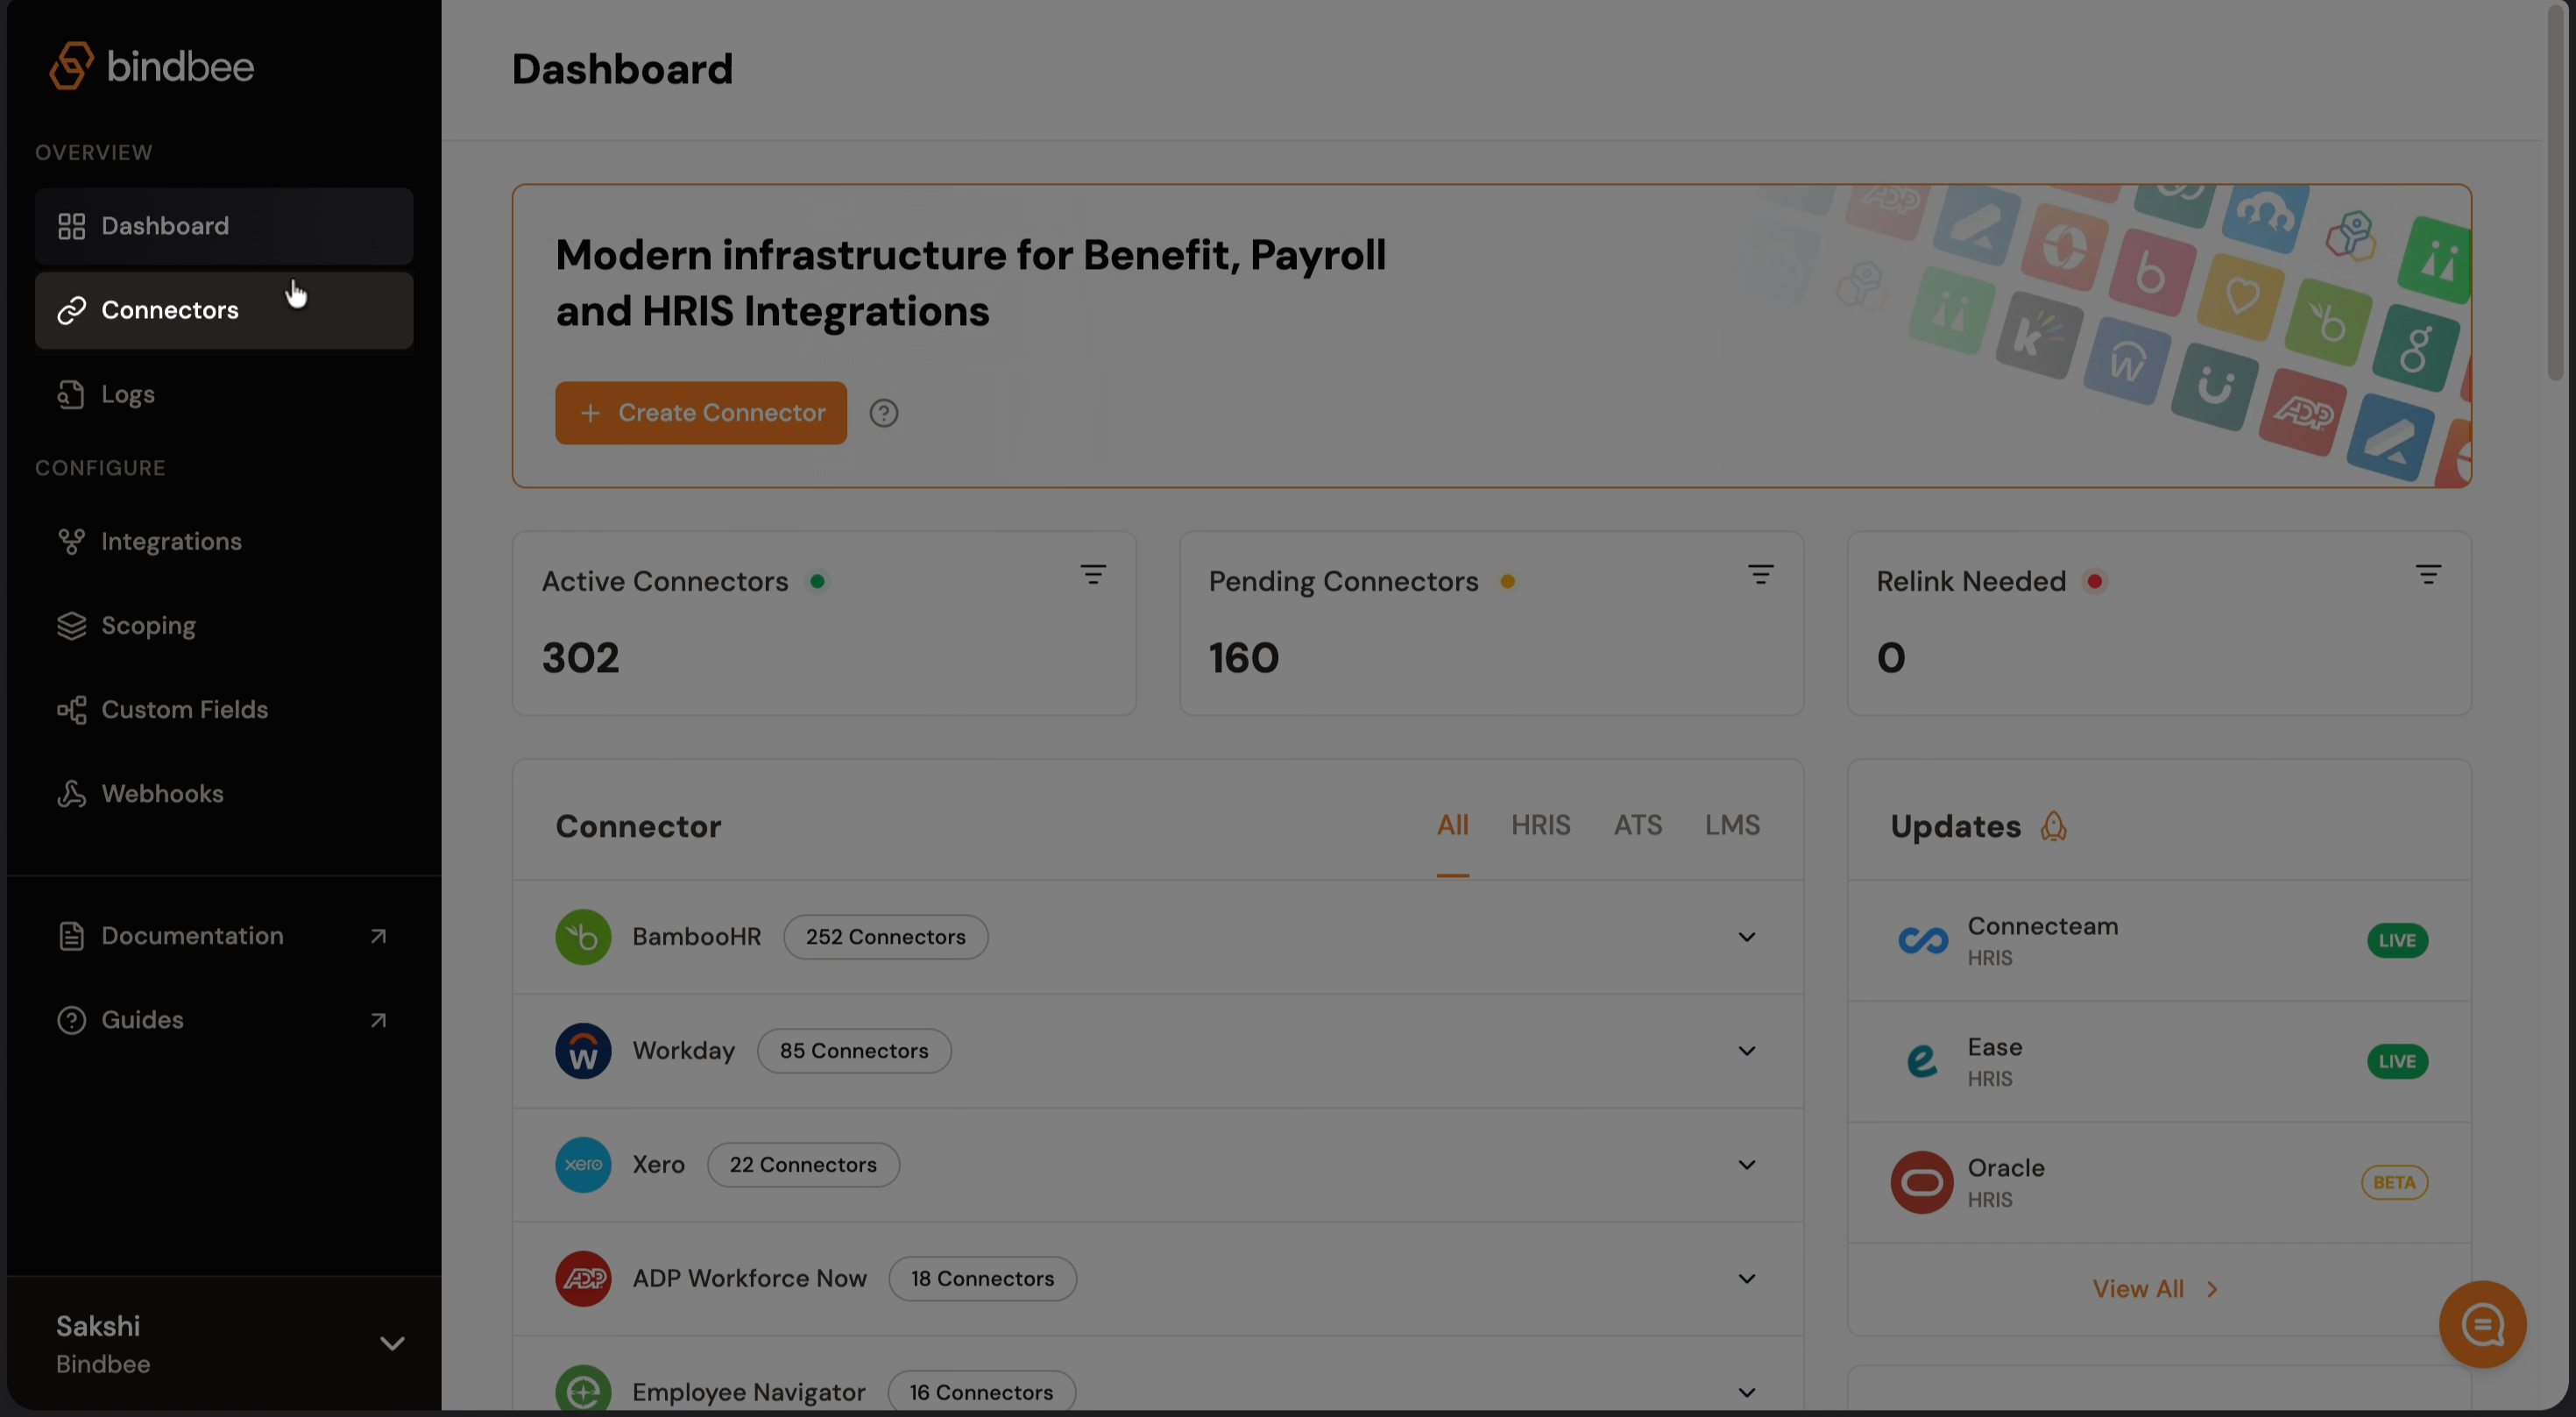
Step 10: Navigate to the Connectors tab to see your newly created connector.
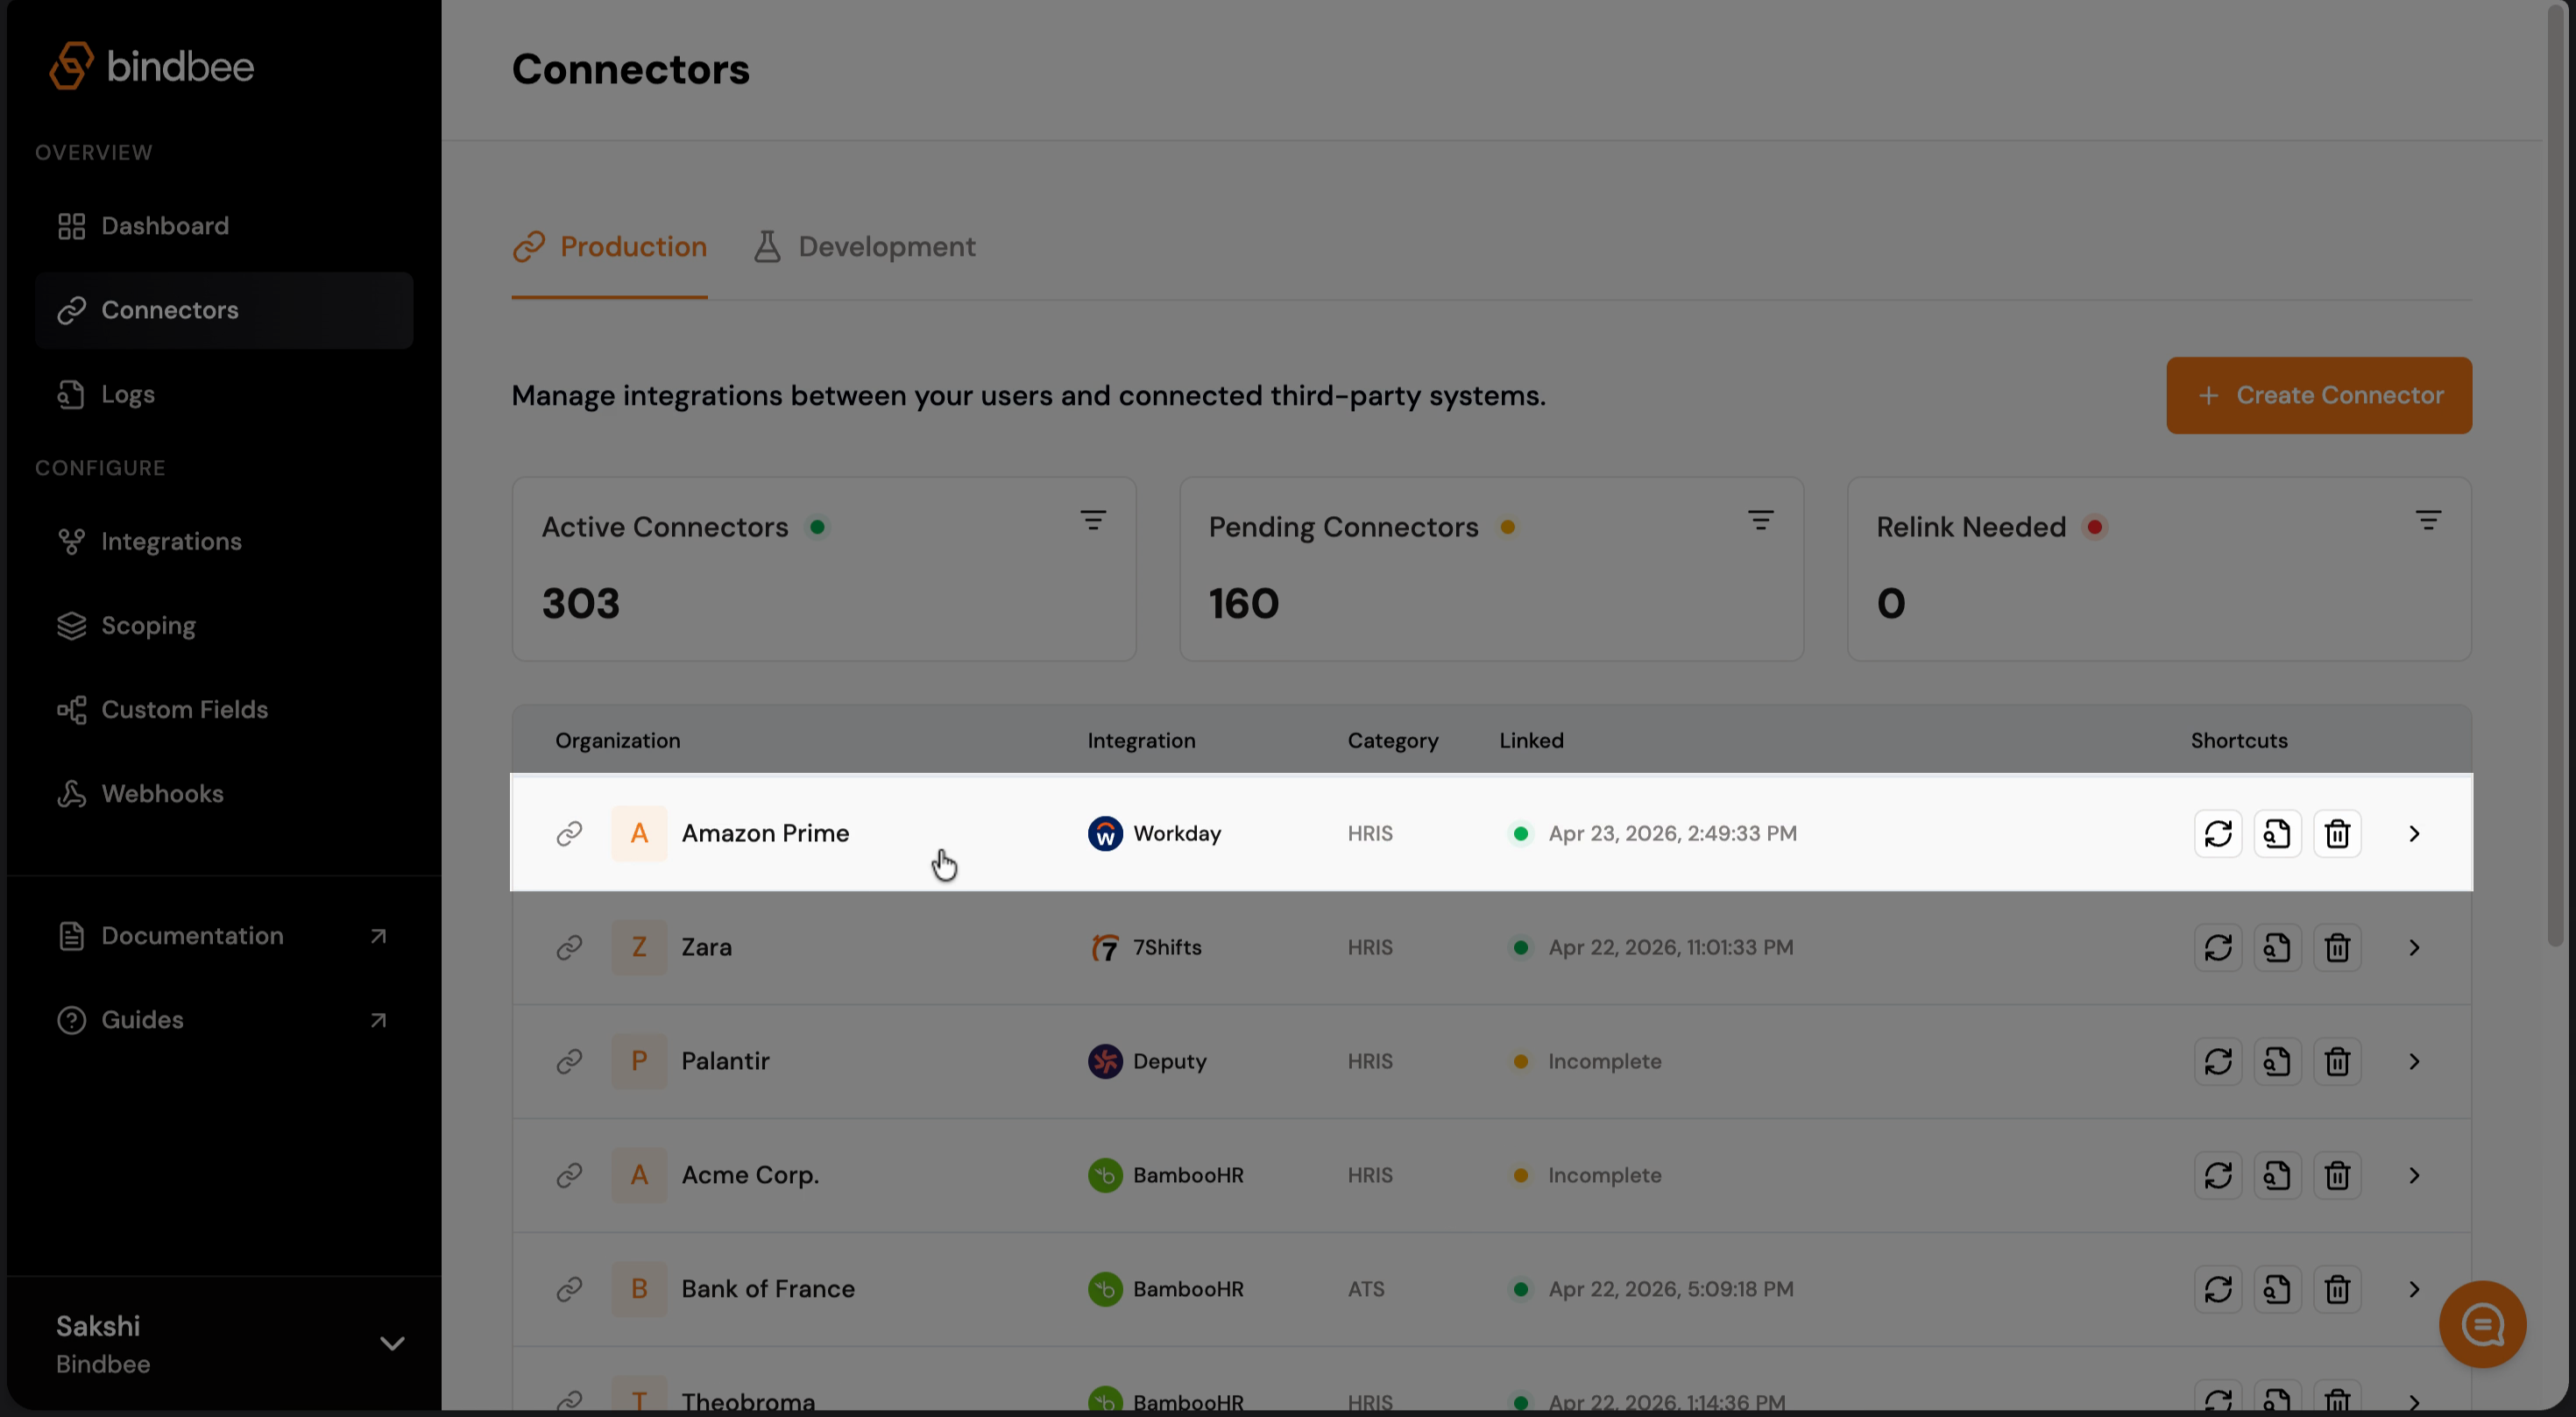
Step 11: Click your connector to view status. Once synced, you're ready to start making API calls through Bindbee.
Test Your Connector
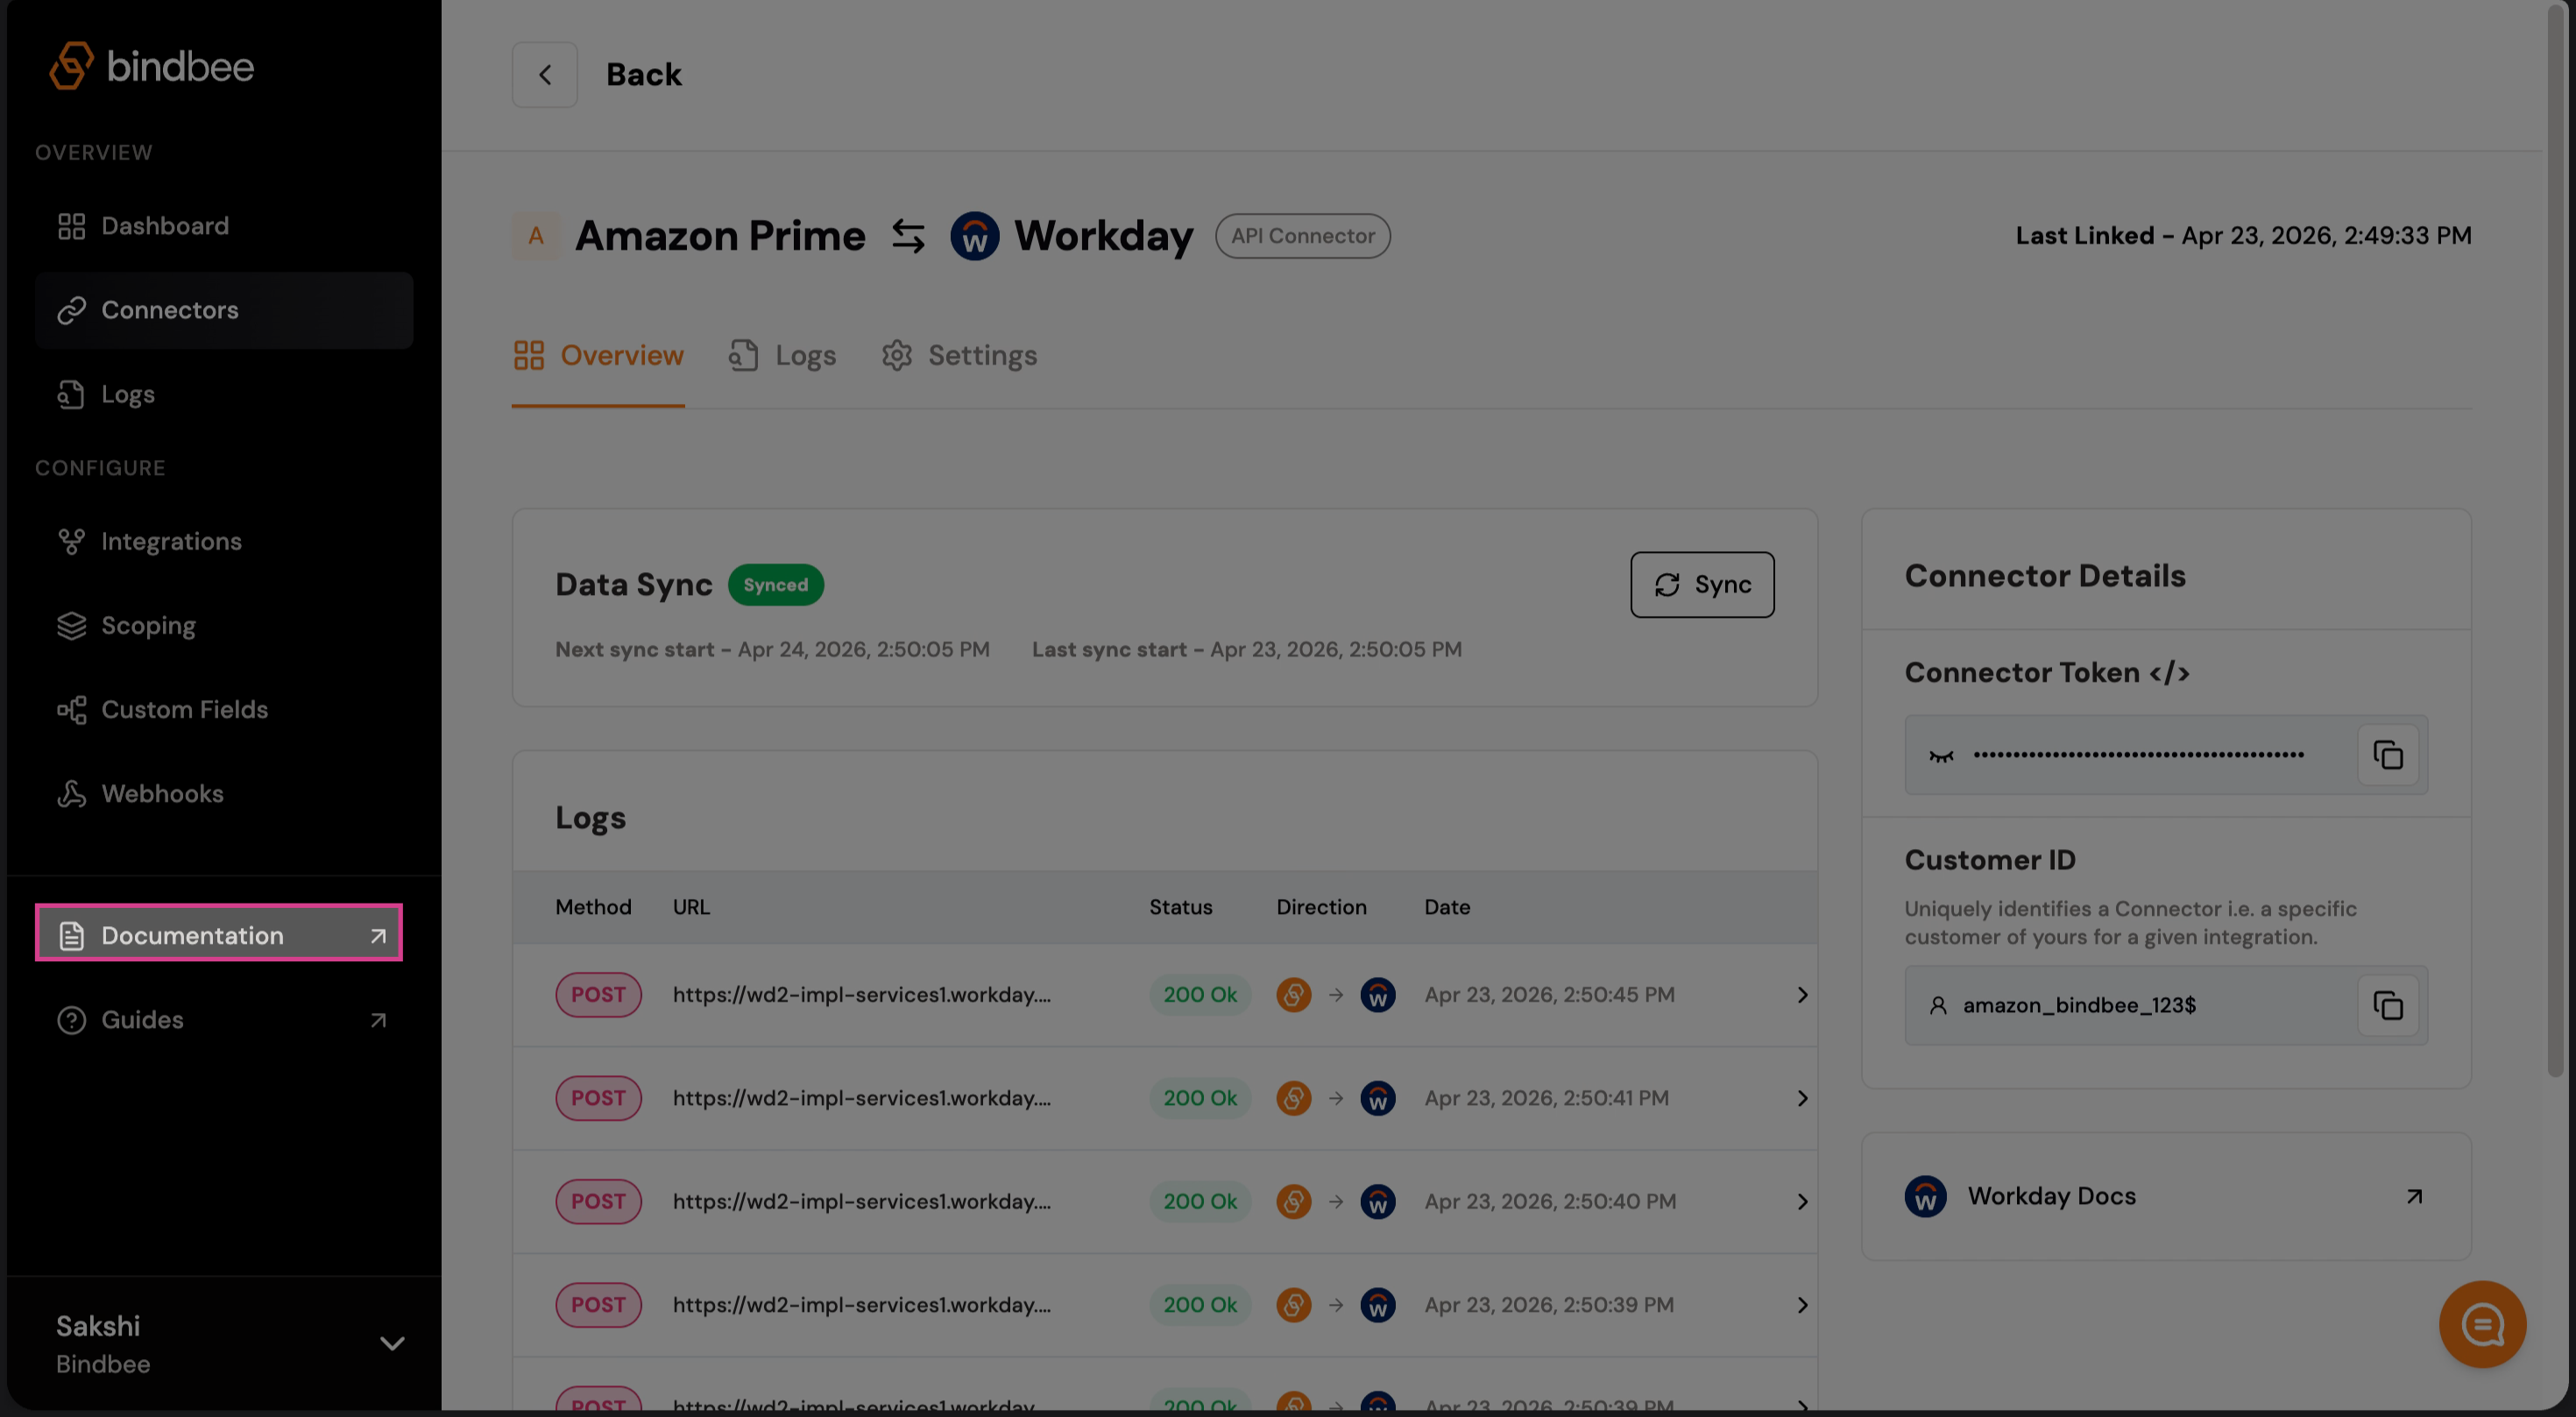
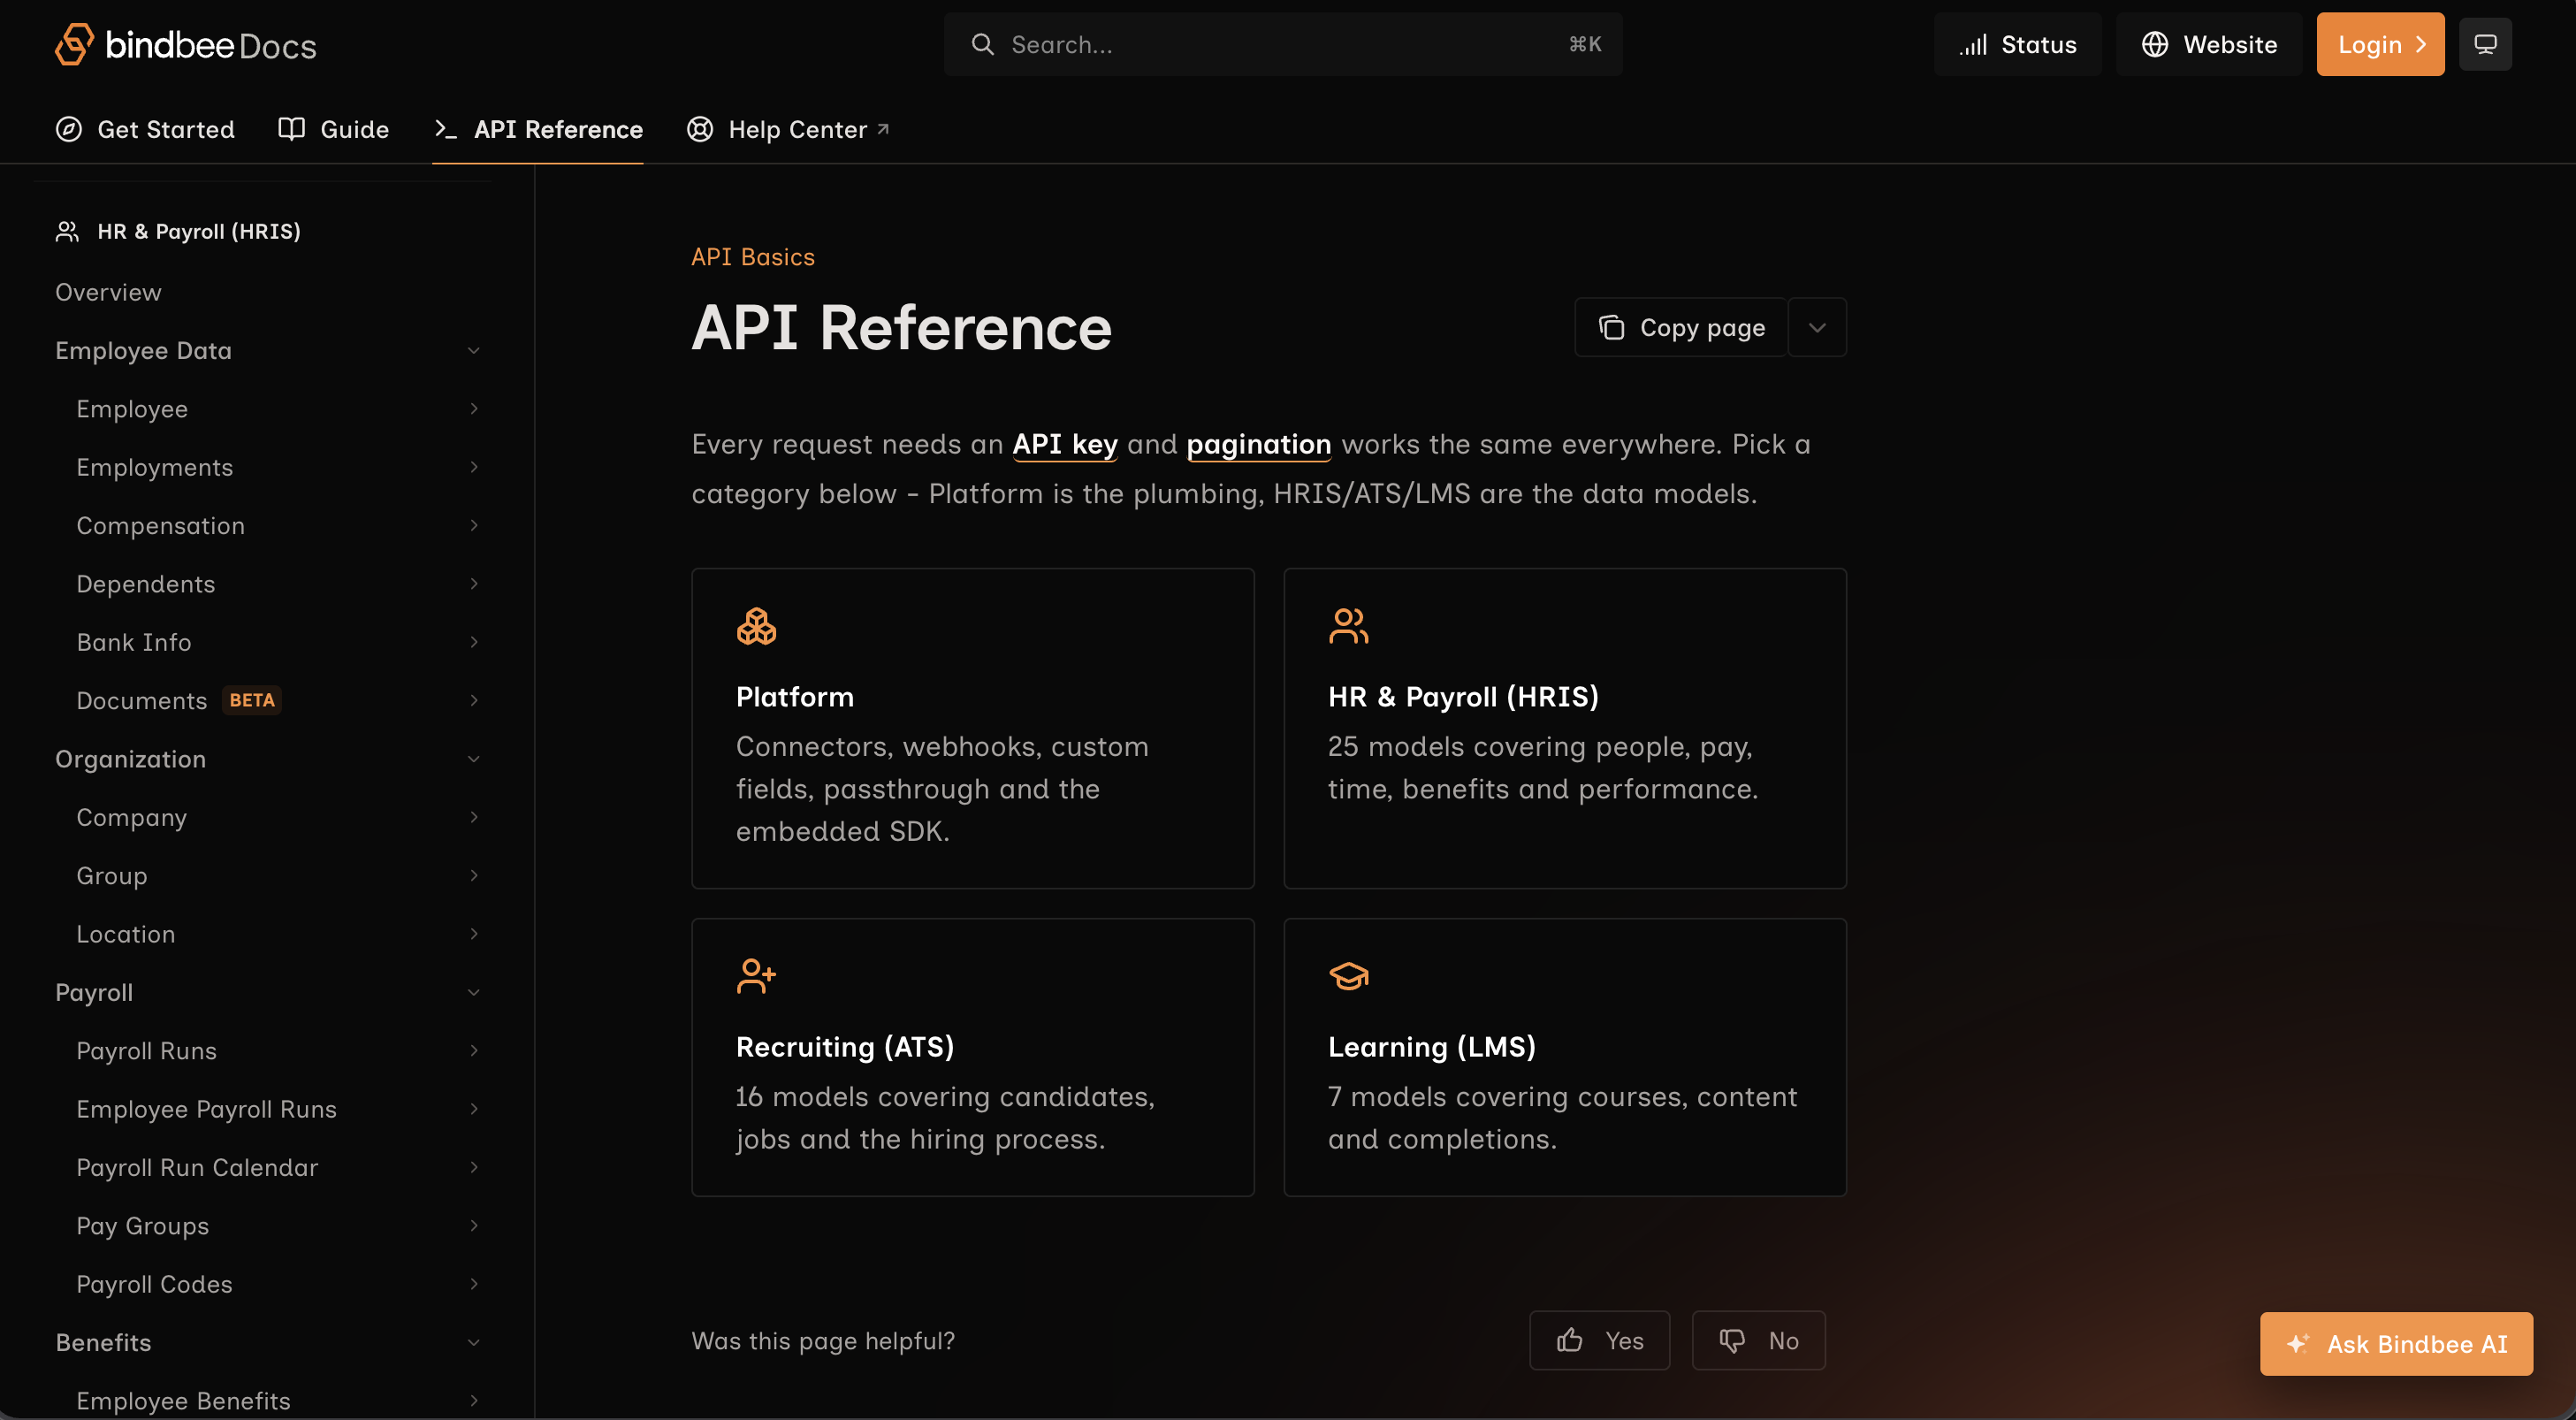
Step 1: Open Bindbee documentation and navigate to the API Reference section.
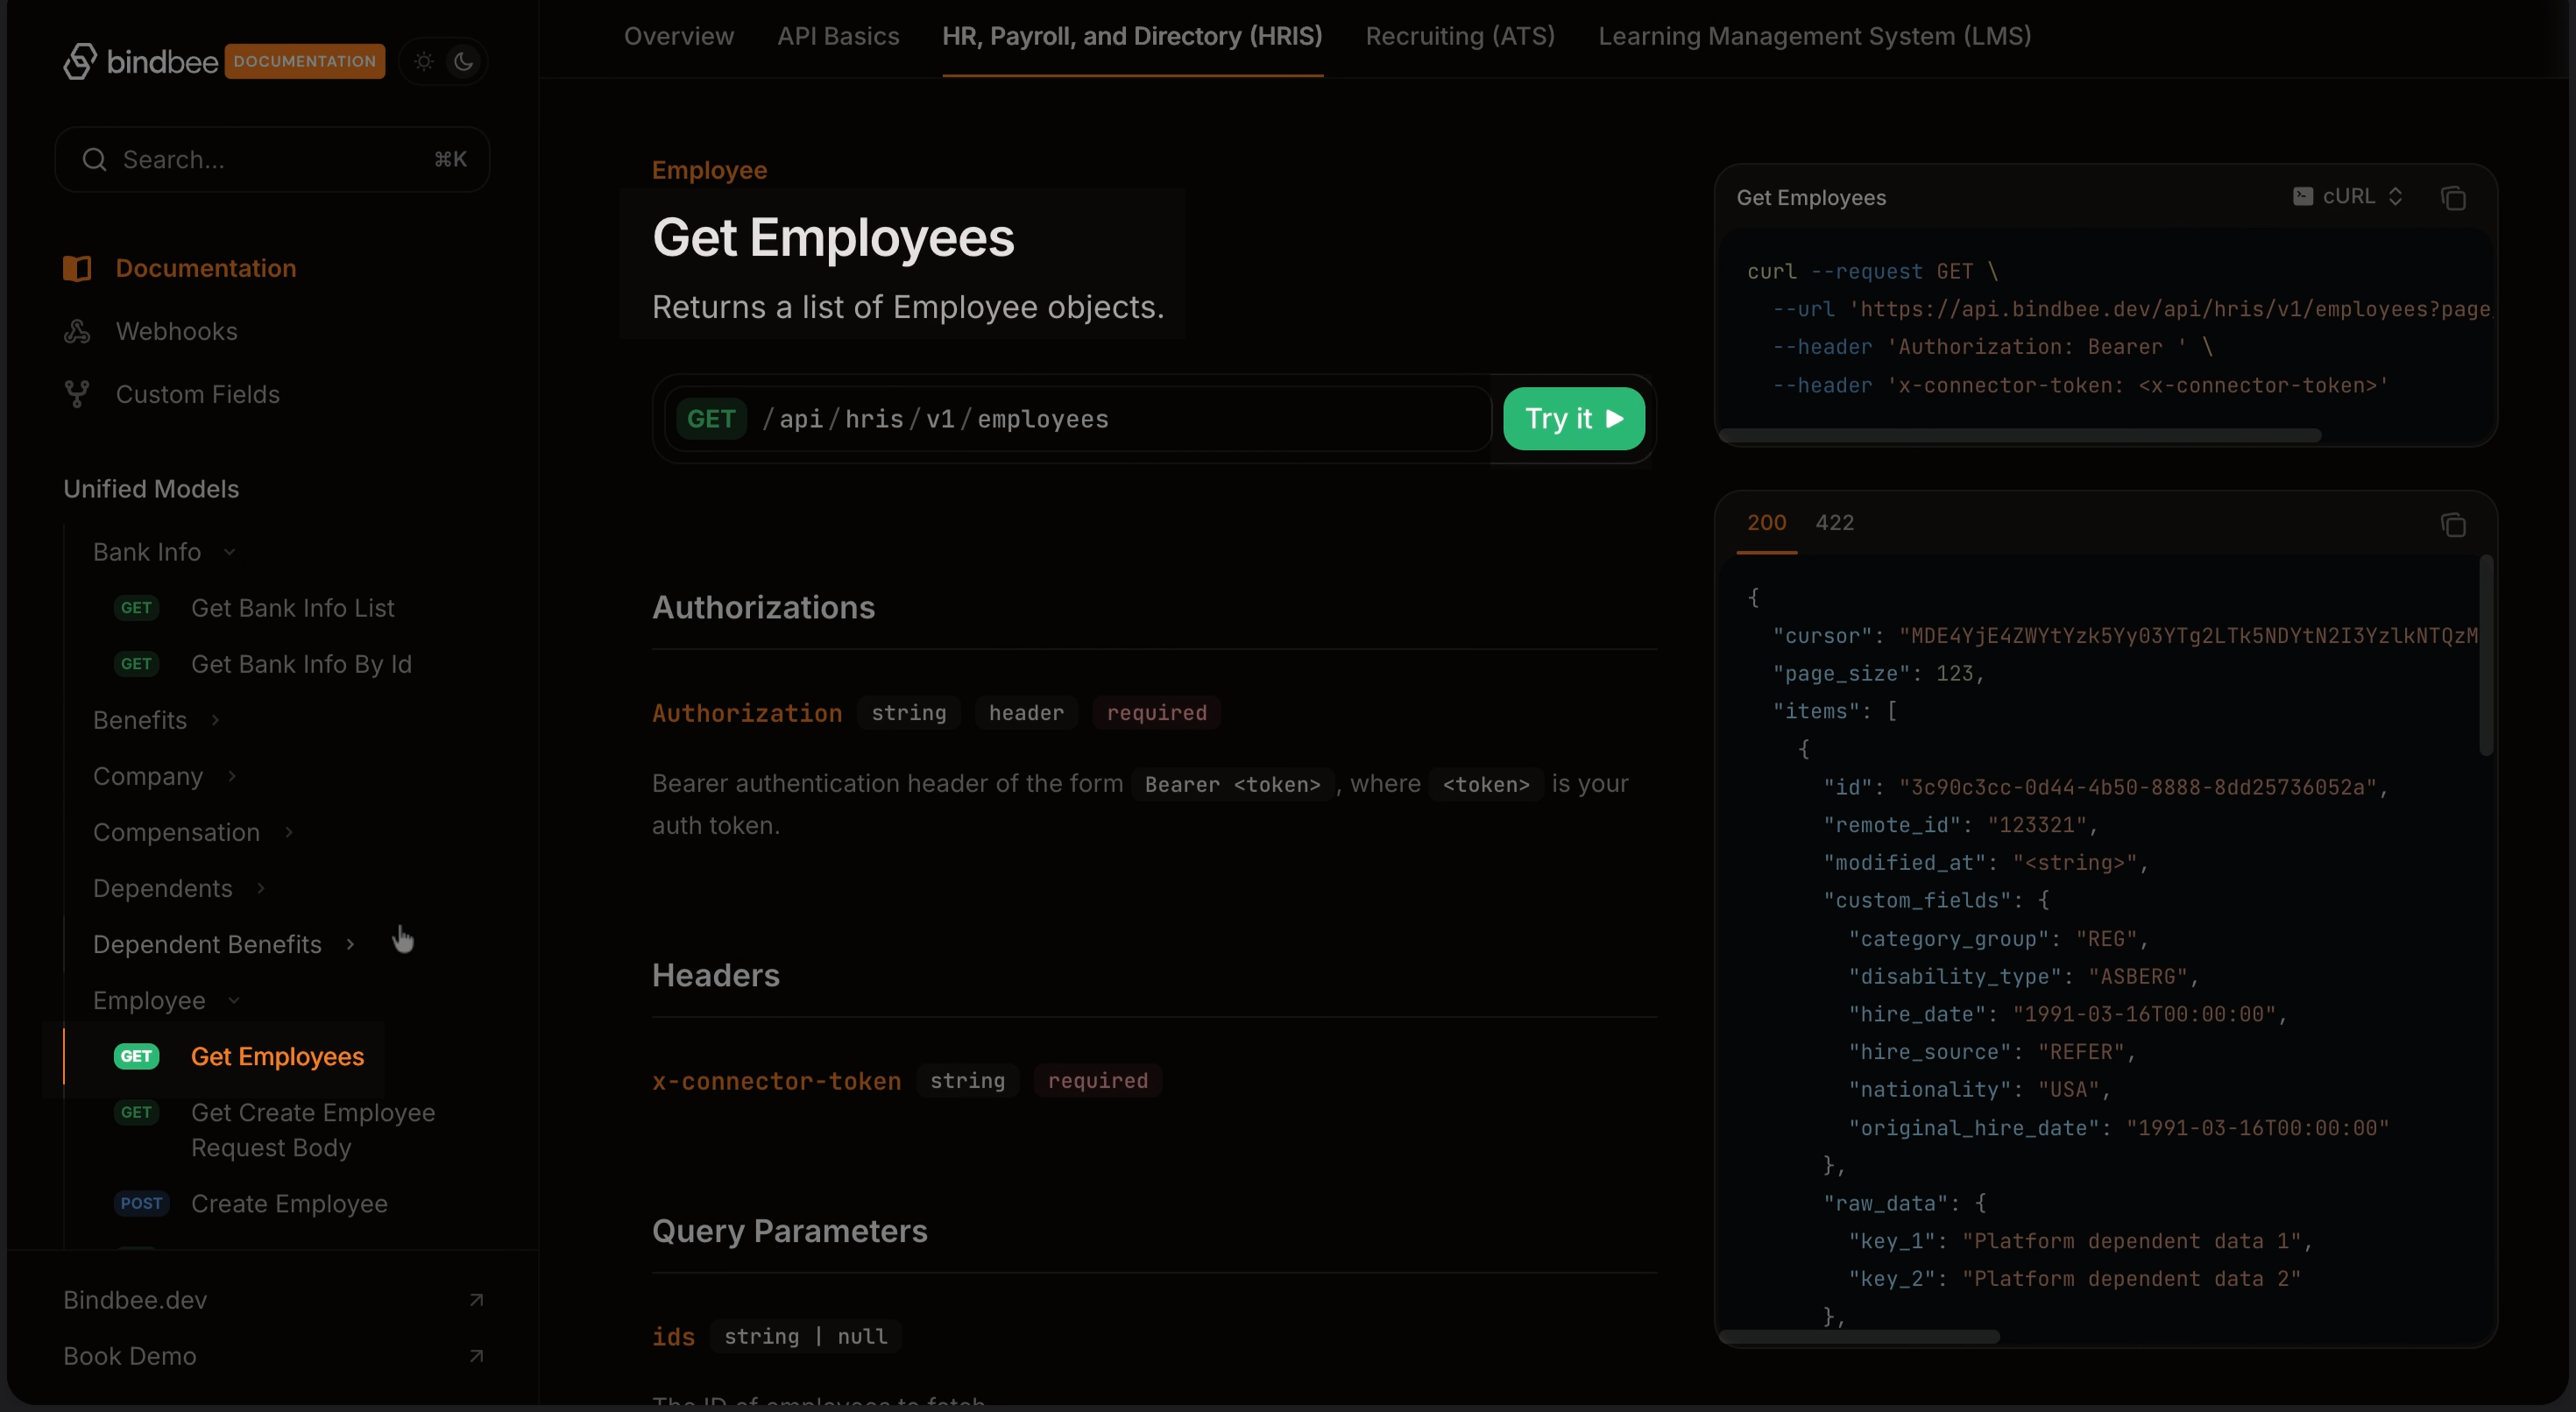
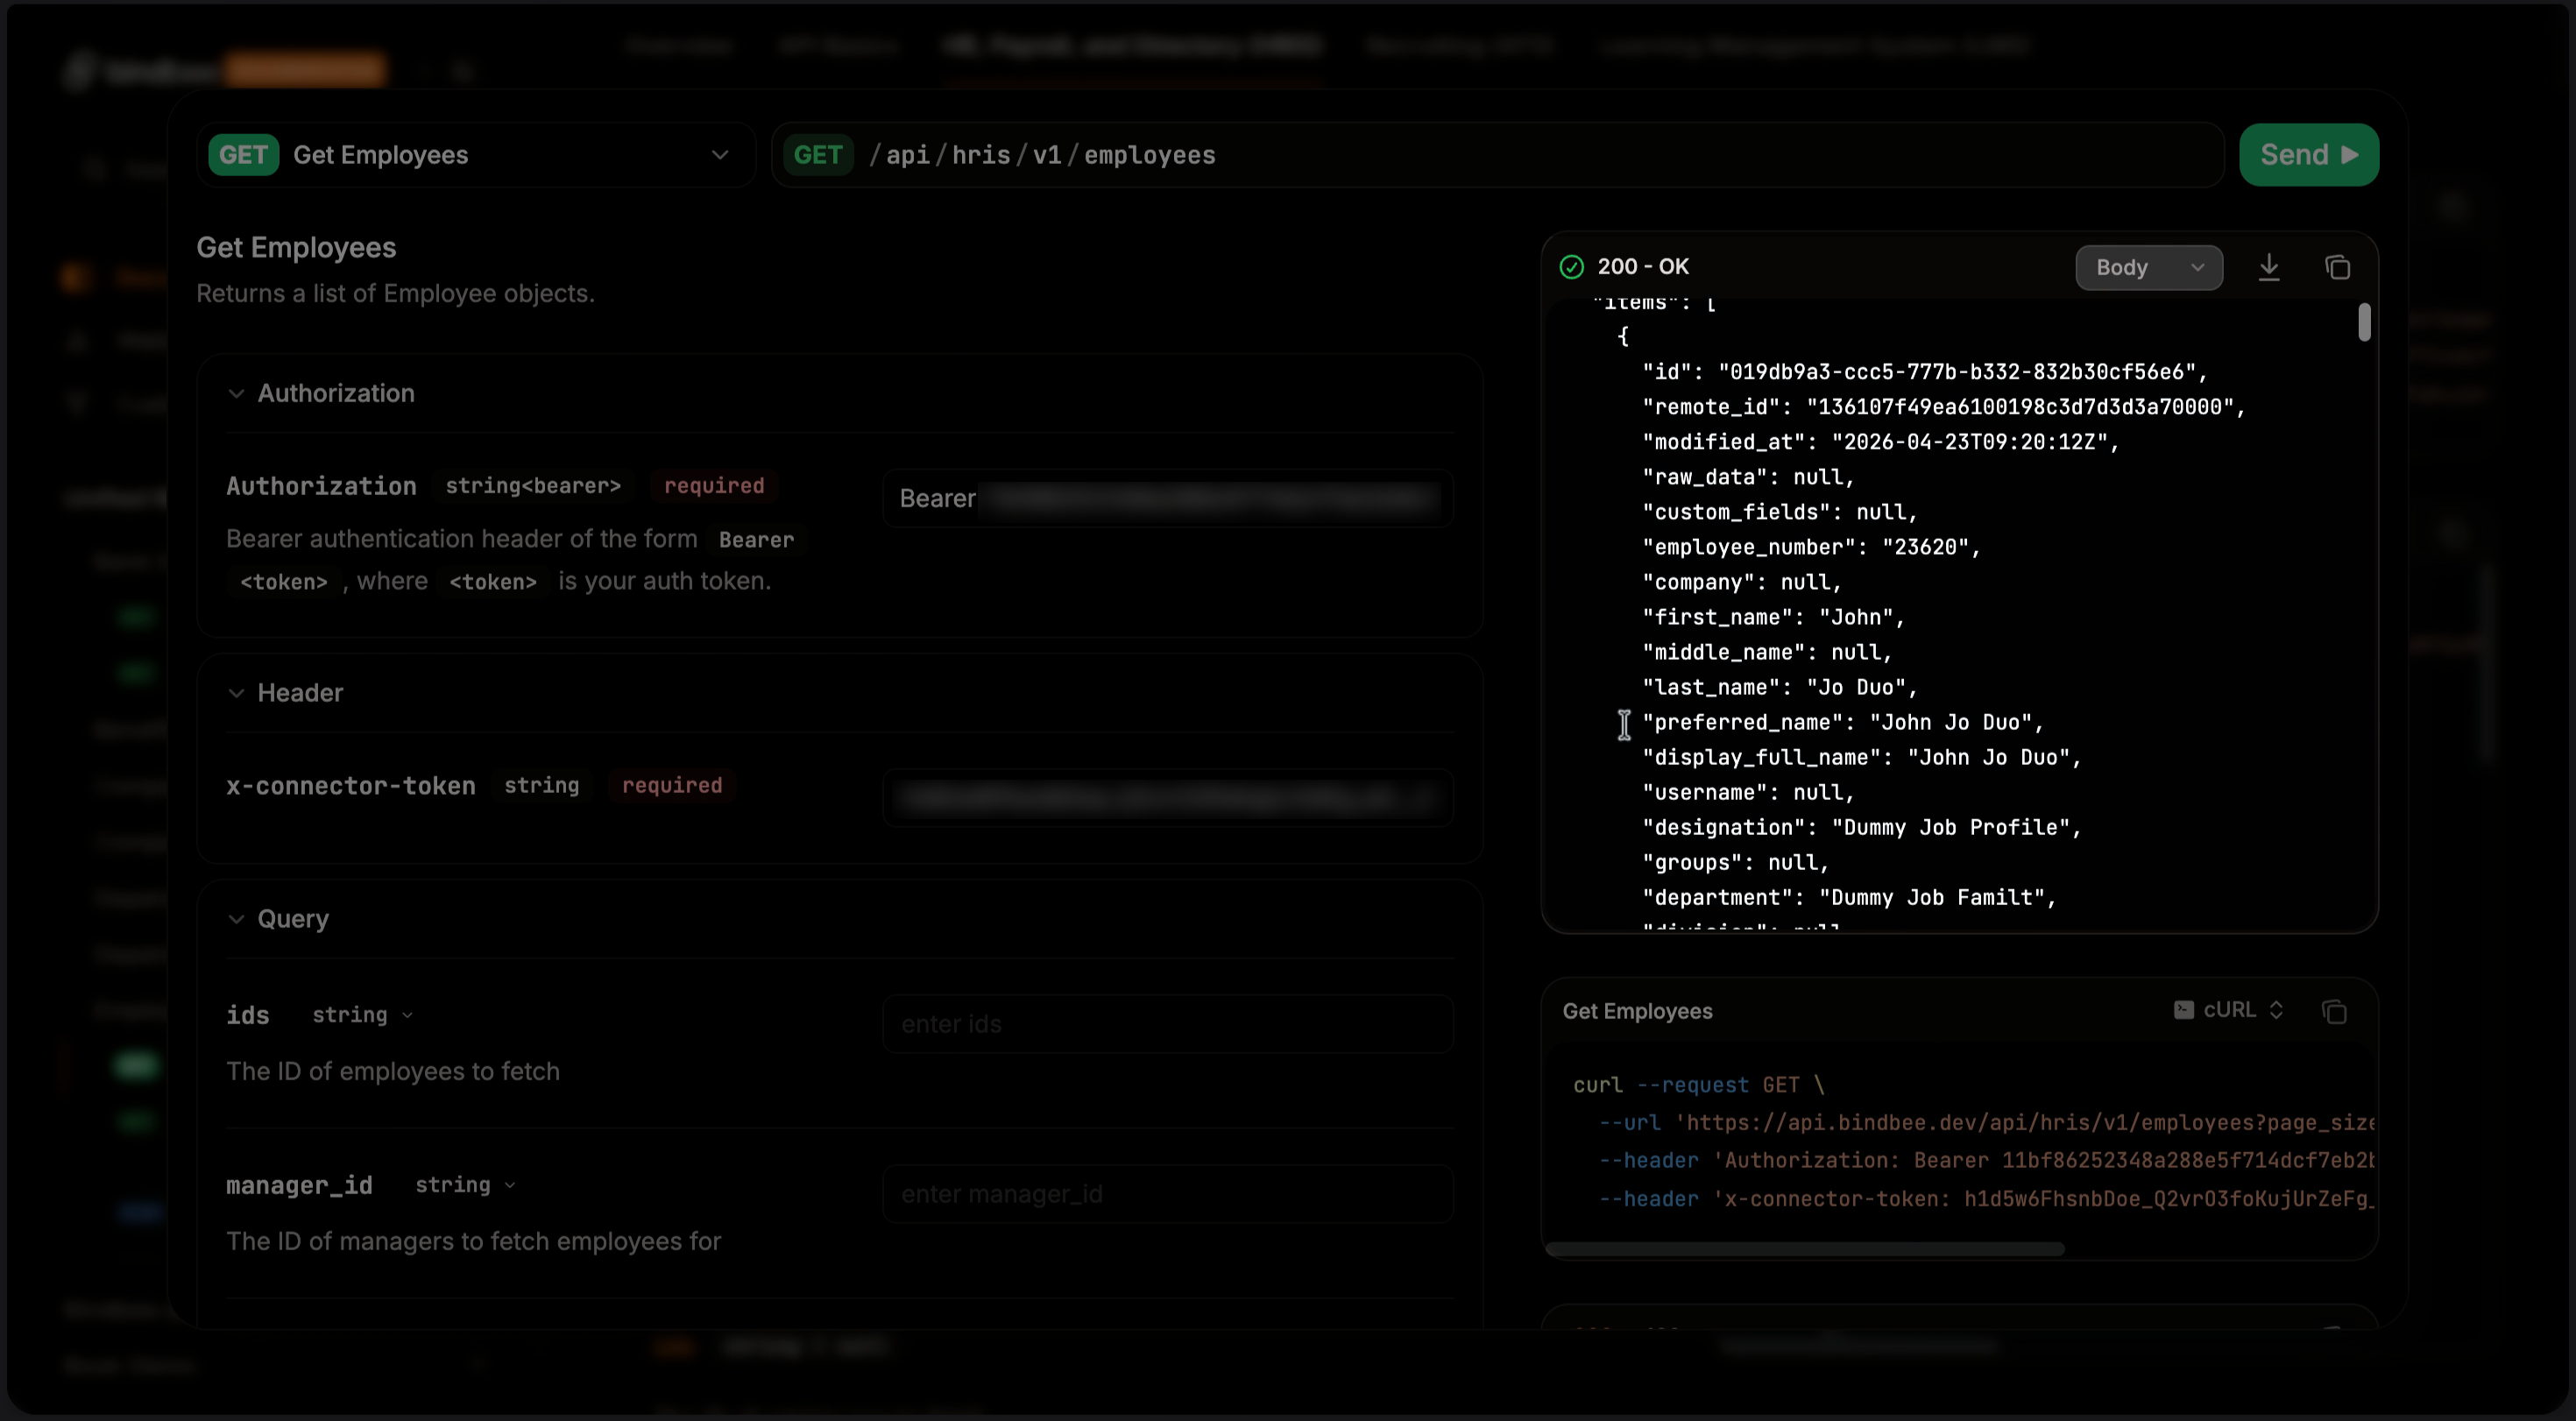
Step 2: Select the endpoint to get employee information "Get Employees". Click Try It.
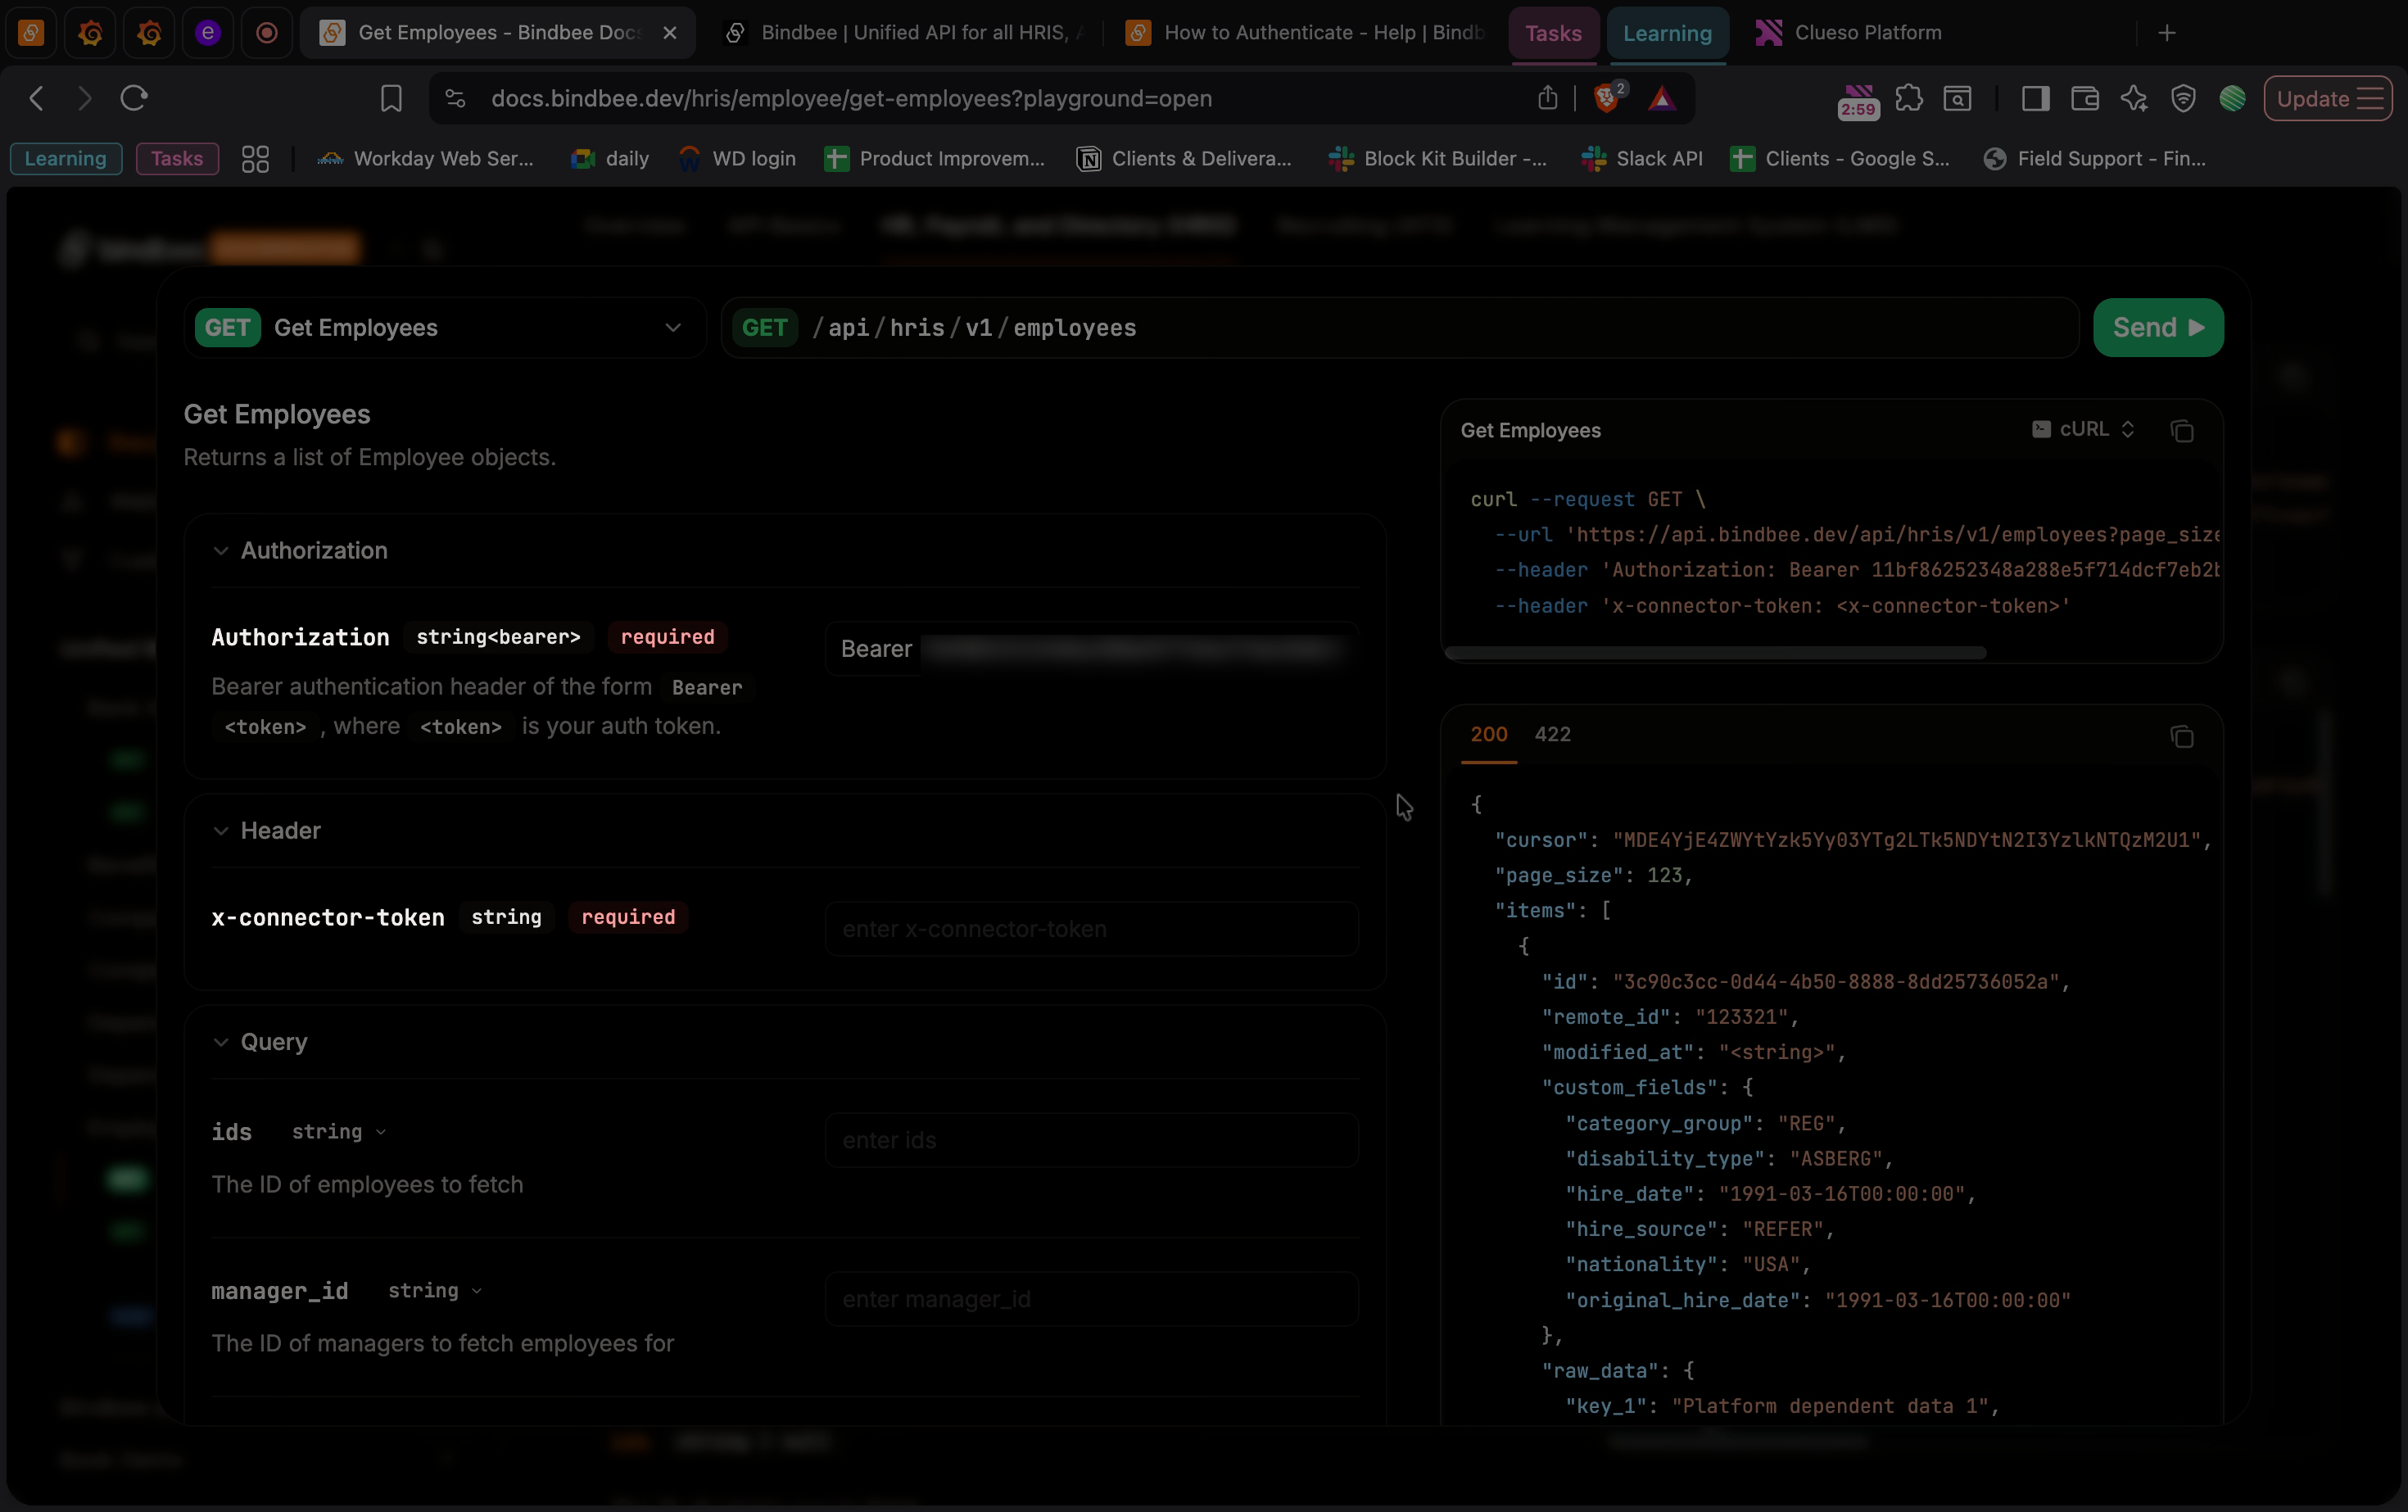
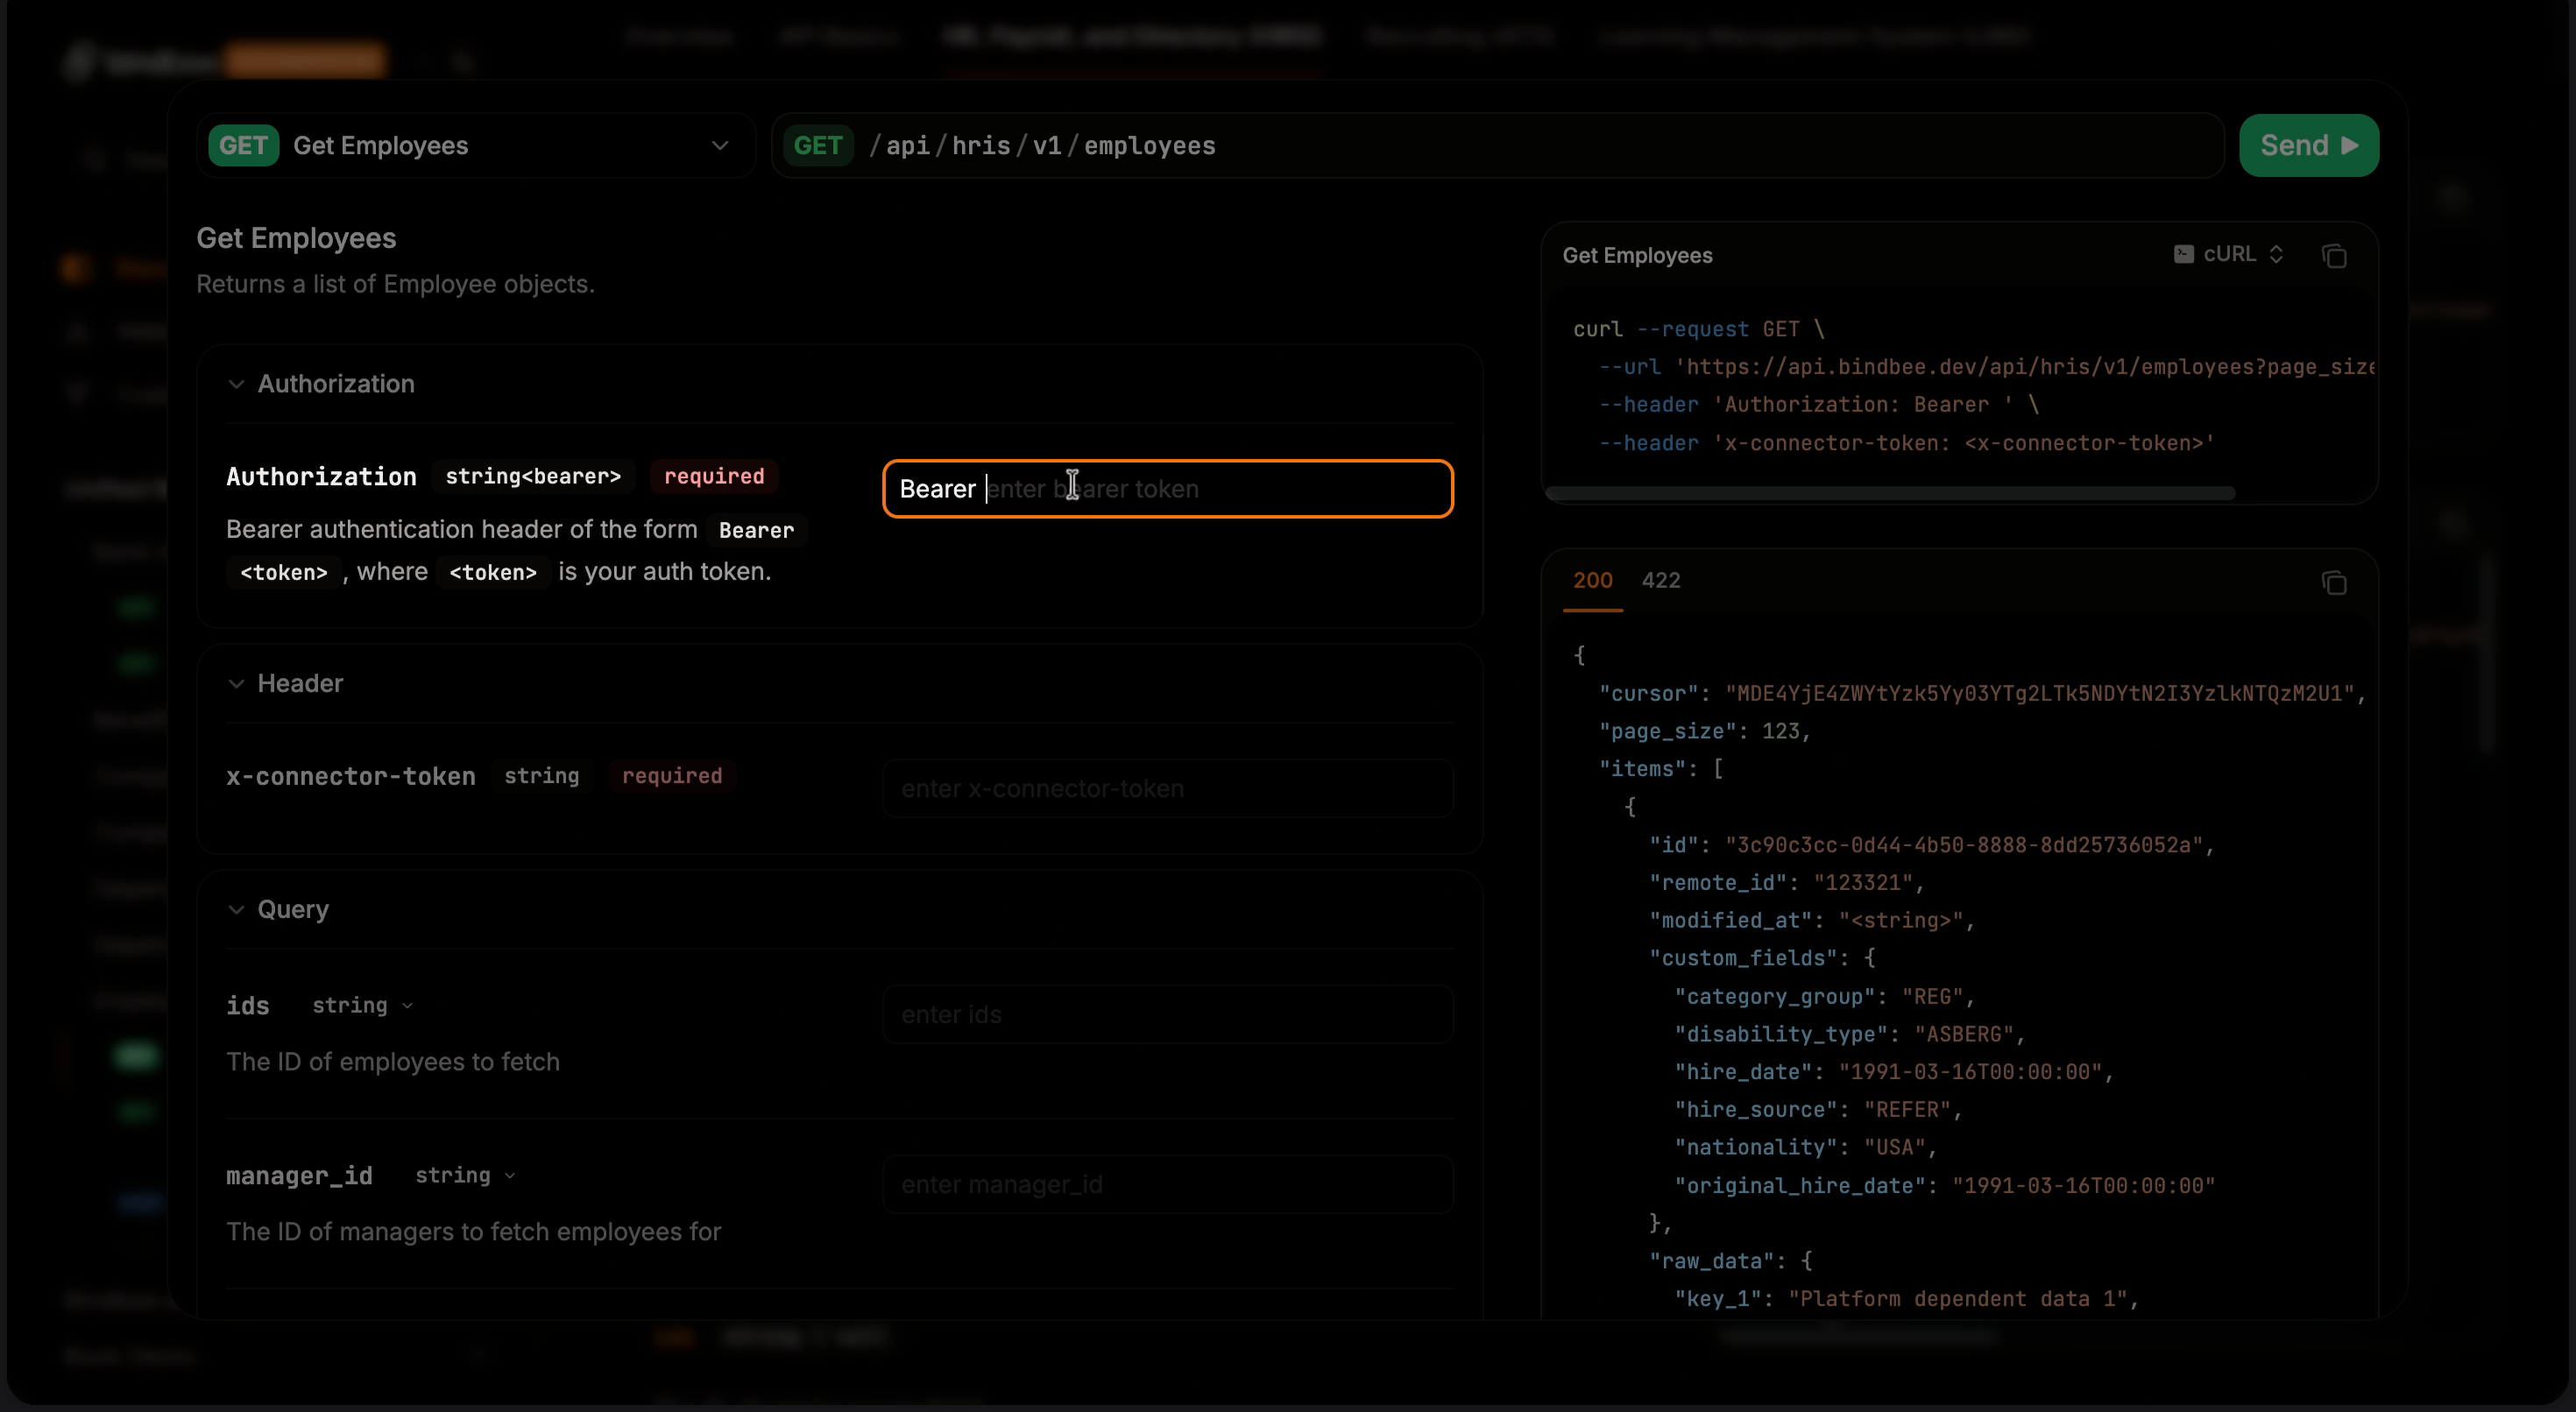
Step 3: Now you need to provide your Bearer Token and the Connector Token.
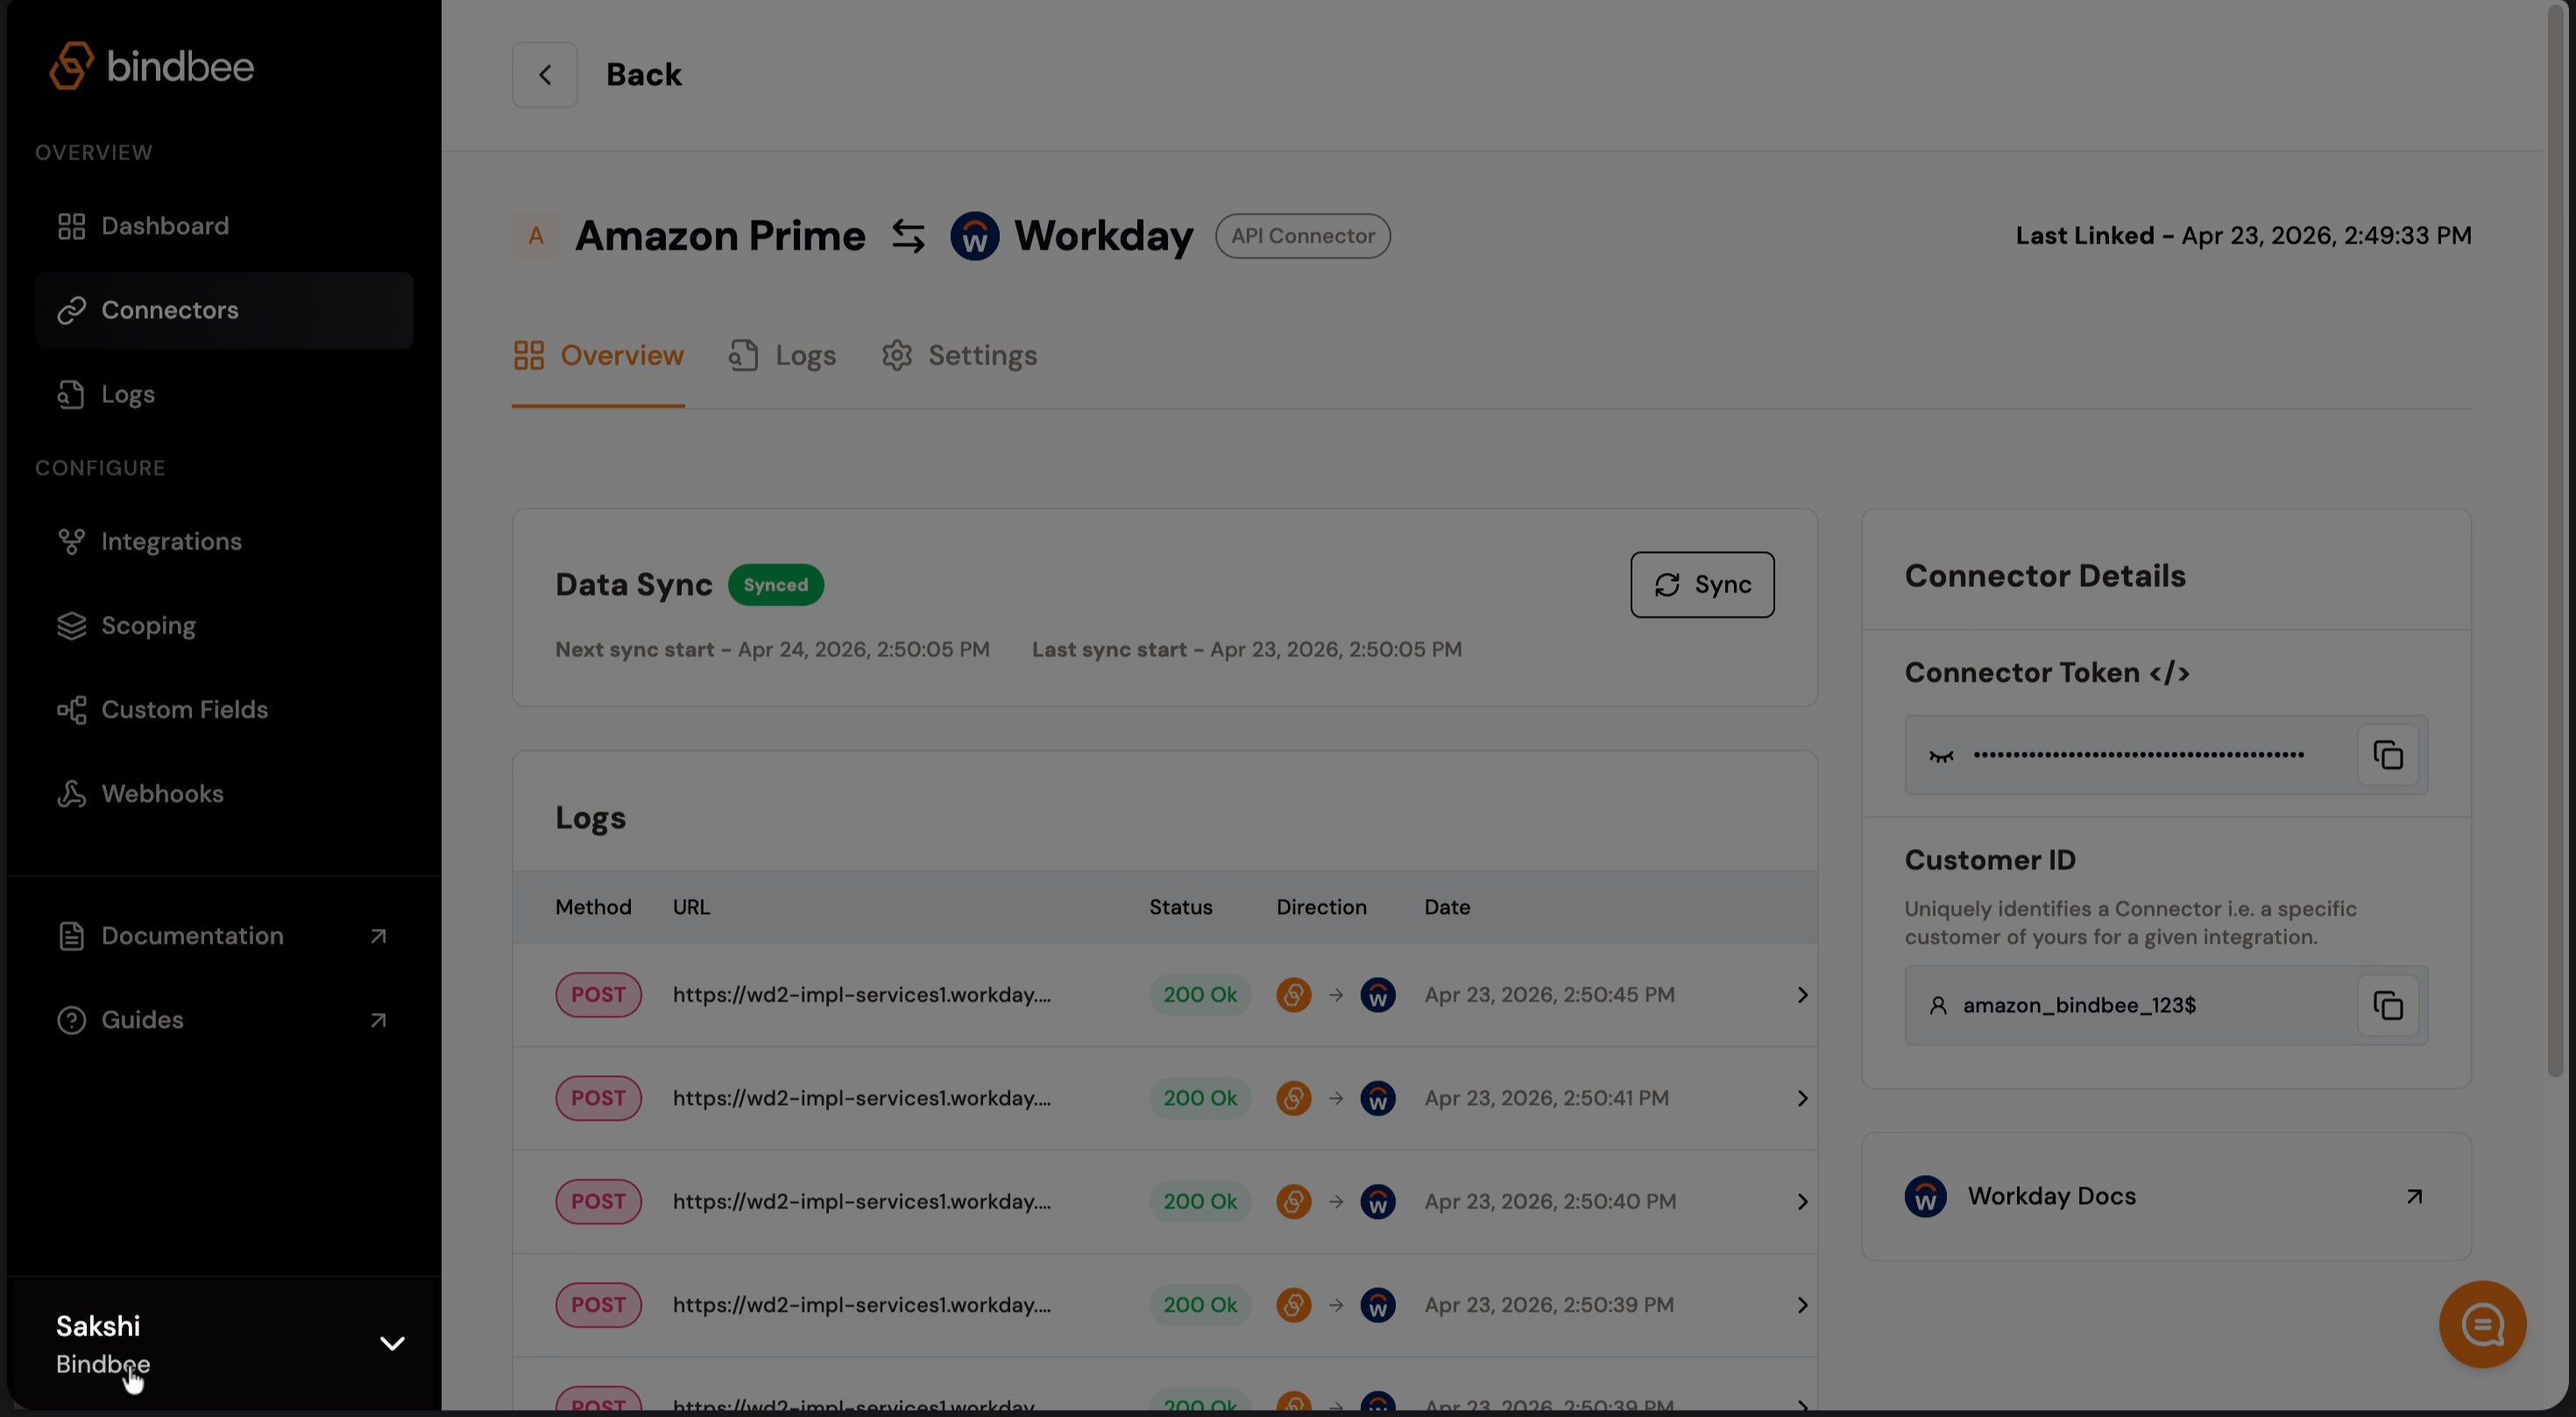
Step 4: To find your Bearer Token, go to the Bindbee dashboard, click your name at the lower-left corner, and select Settings > API Key. Use the production key as we have created a production connector.
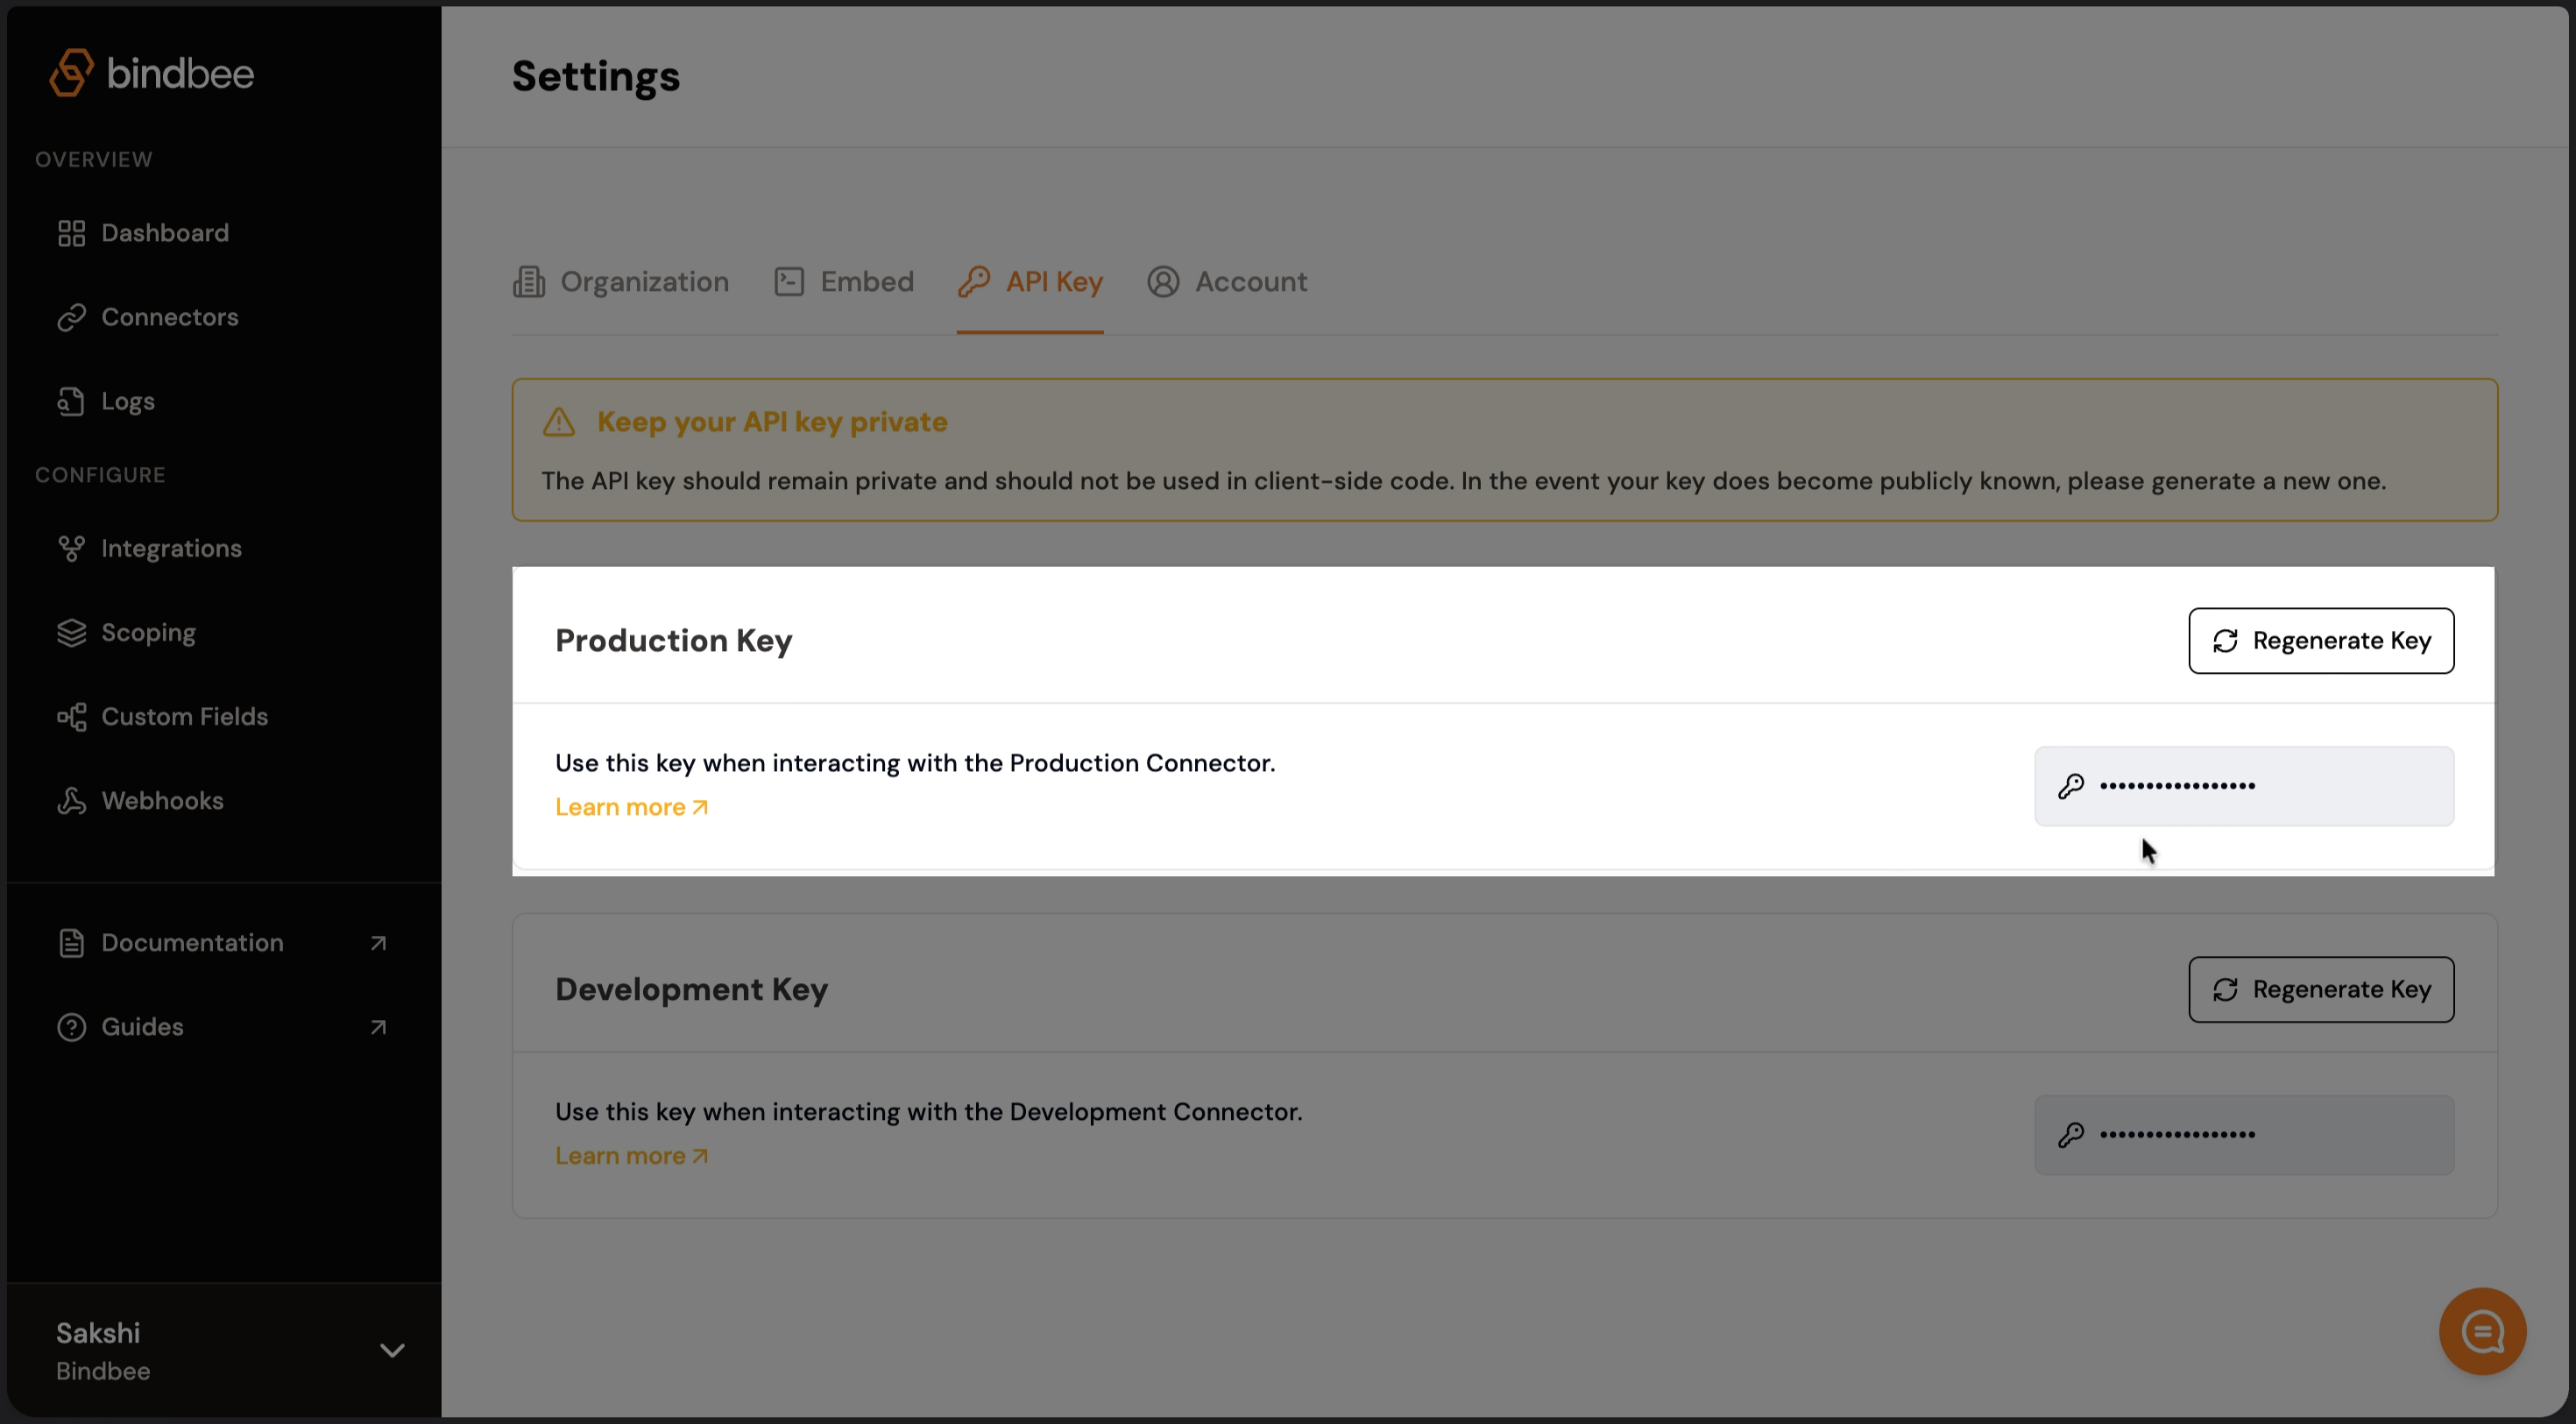
Step 5: Paste your API key into the documentation page.
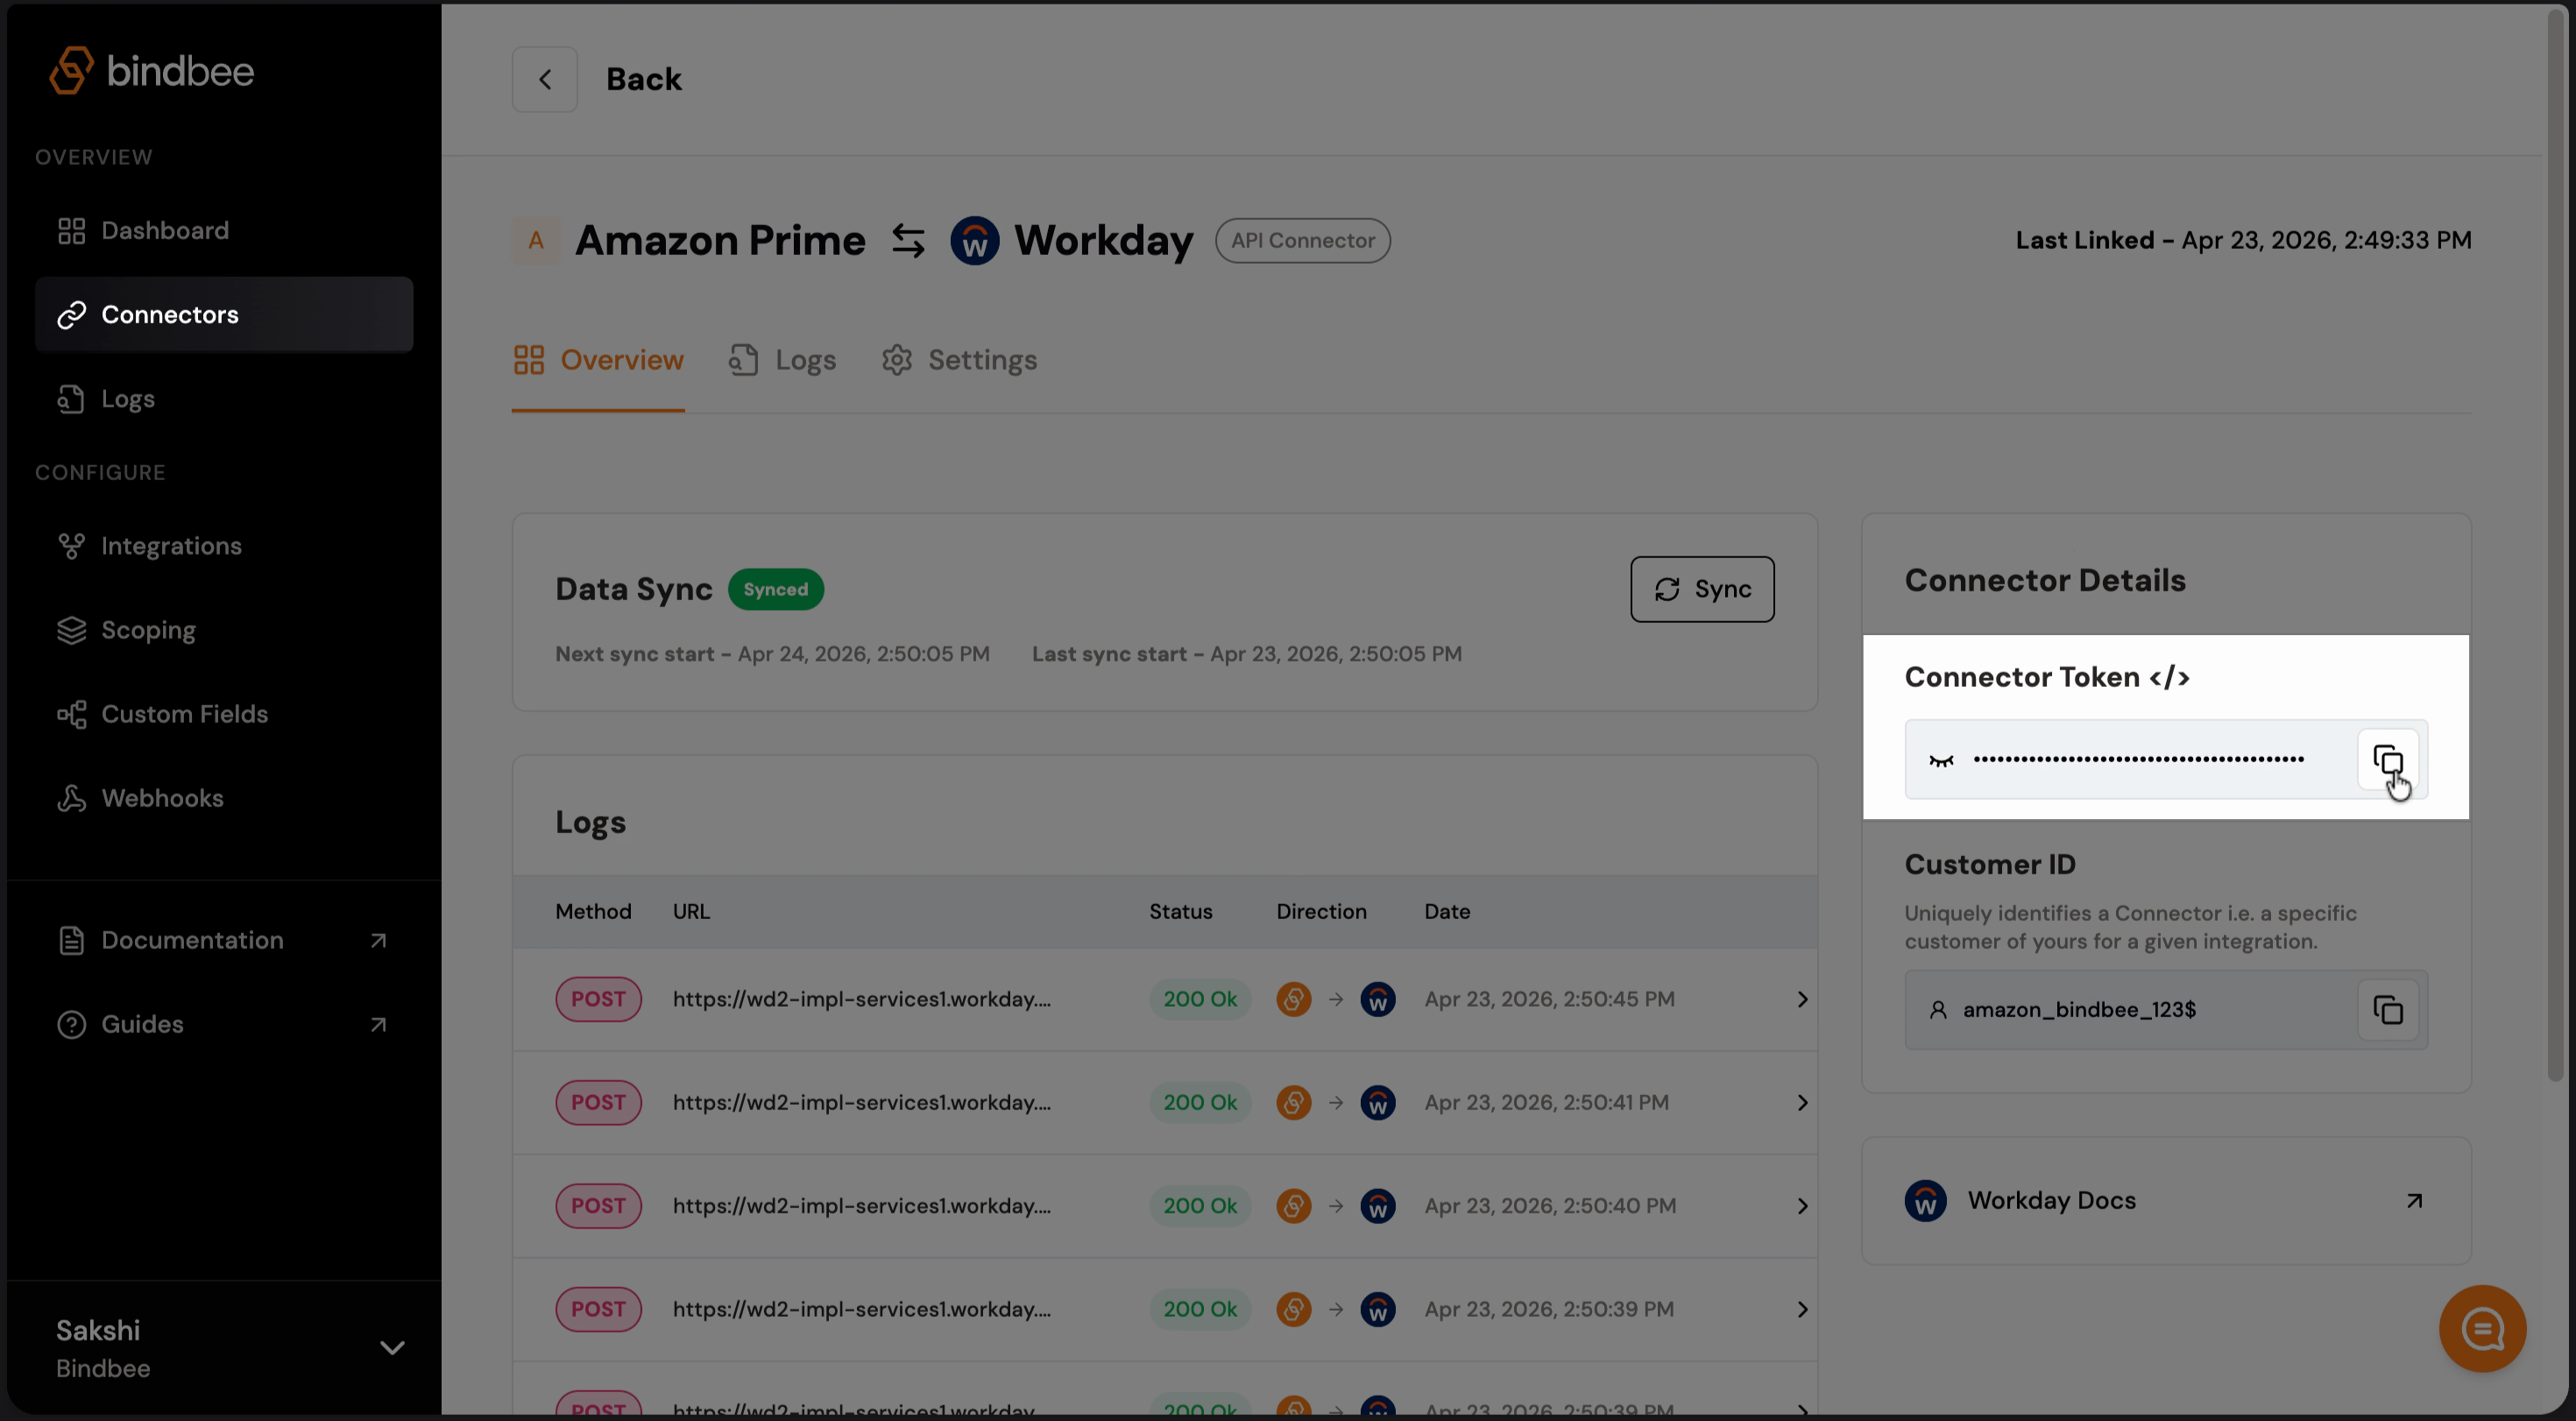
Step 6: Next, get your Connector Token. In the dashboard, open the Connectors tab, select your connector, and copy the token.
Step 7: Paste the Connector Token into the x-connector-token field.
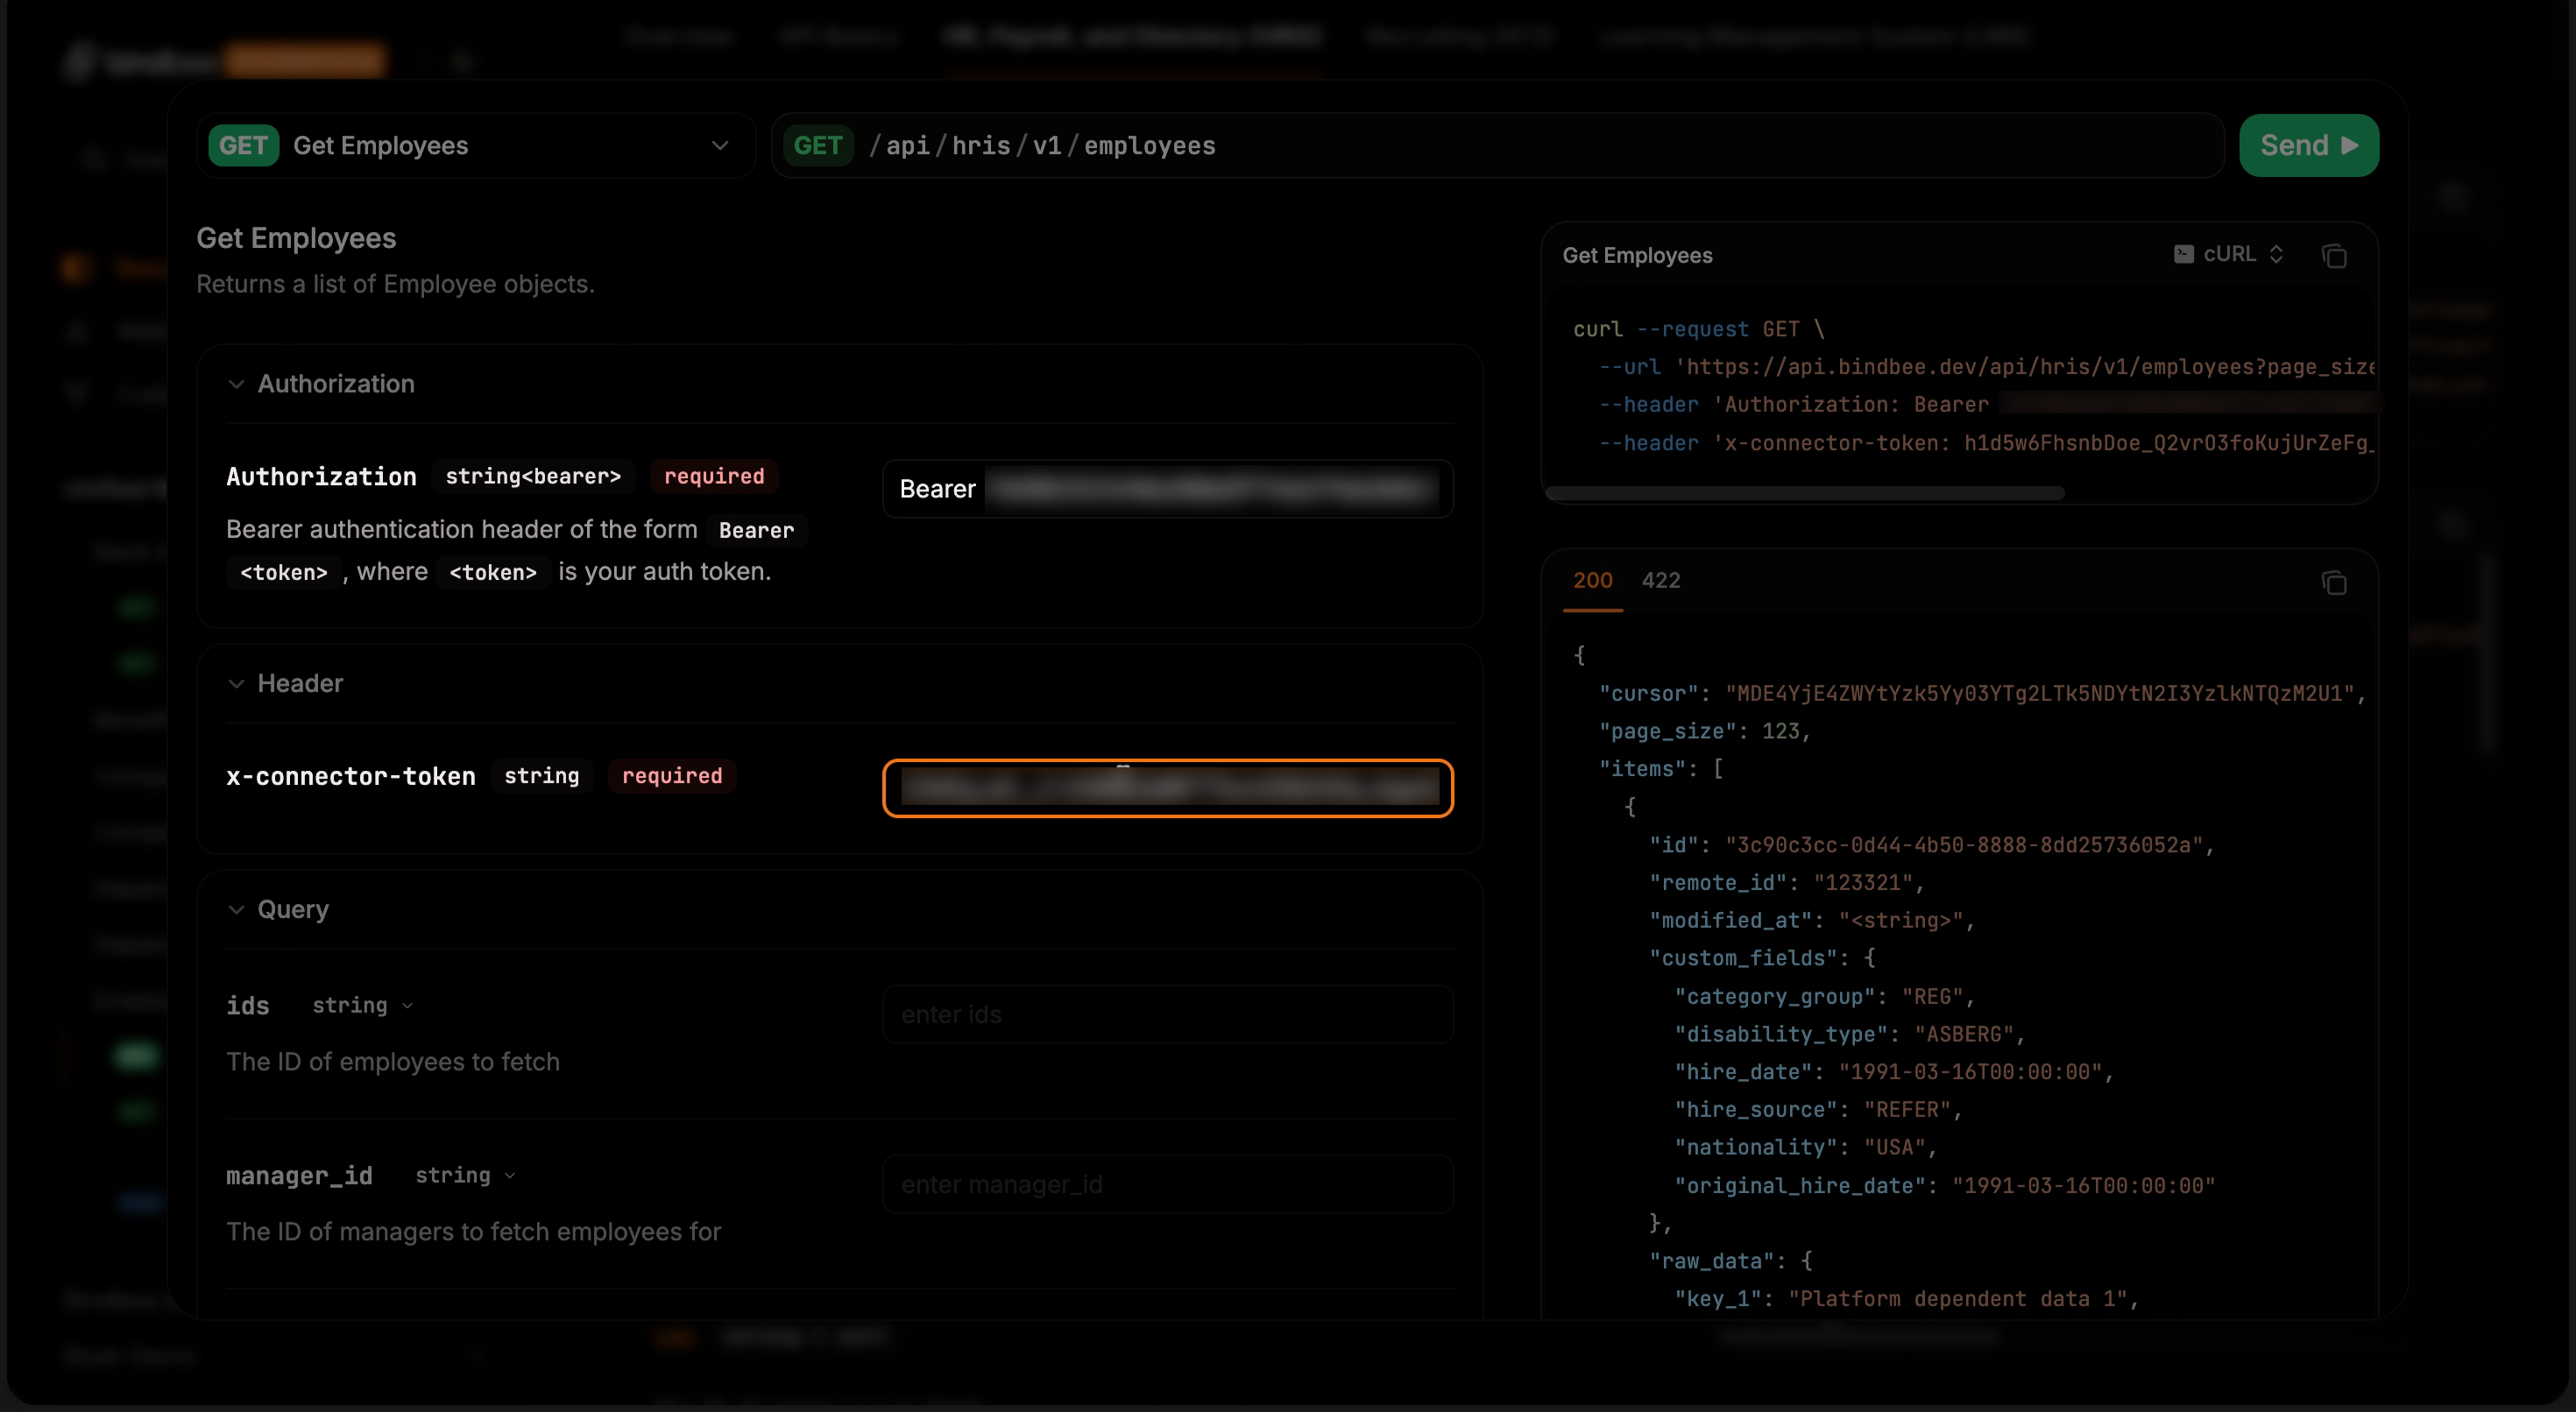
Step 8: Click "Send". You’ll see employee data pulled in from Workday, confirming a successful integration.
That’s it! You’ve successfully set up, connected, and tested a new HRIS connector on Bindbee.